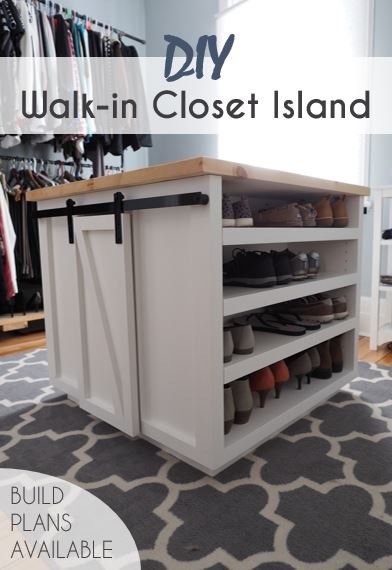
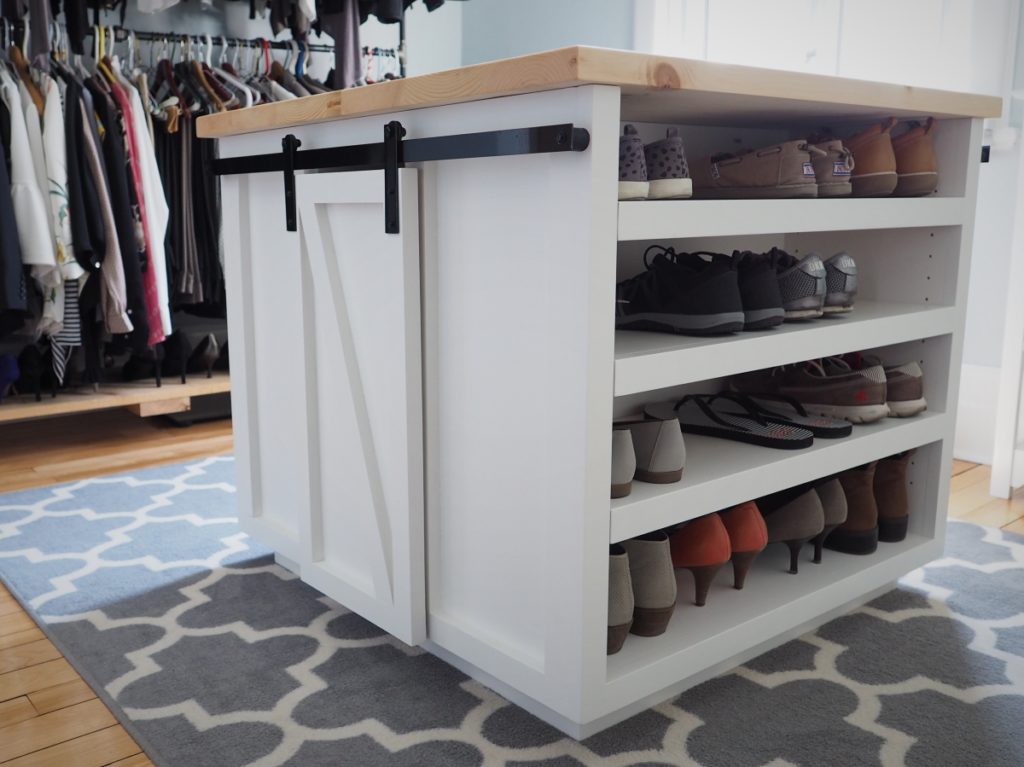
This 4-sided walk-in closet island is packed with storage solutions. Two sides have open shelving to store 32+ pairs of shoes. The other 2 sides have sliding barn doors for “hidden storage”. You can make the barn door hardware yourself, and I’ll show you how. The overall dimension of this closet island are 32″ x 32″ x 30″. You’ll find a link below to the build plans.
Click here to SUBSCRIBE to my YouTube channel for more DIY videos!
For this project I decided to go with hardwood plywood (maple), which is a bit more expensive, but worth it to get nice smooth panels that will look a lot better once painted than regular plywood.
I went the easy route and decided to have all my plywood pieces cut at the store so I wouldn’t have to fight with it and take any chances with my tiny contractor saw. I simply handed my cutting diagram to the guy at Home Depot and he made all my cuts, accurately might I add!
Build A Walk-in Closet Island
The project breaks down into 3 parts:
- Cabinet frame
- Tabletop
- Barn door hardware
— GET THE PLANS HERE — 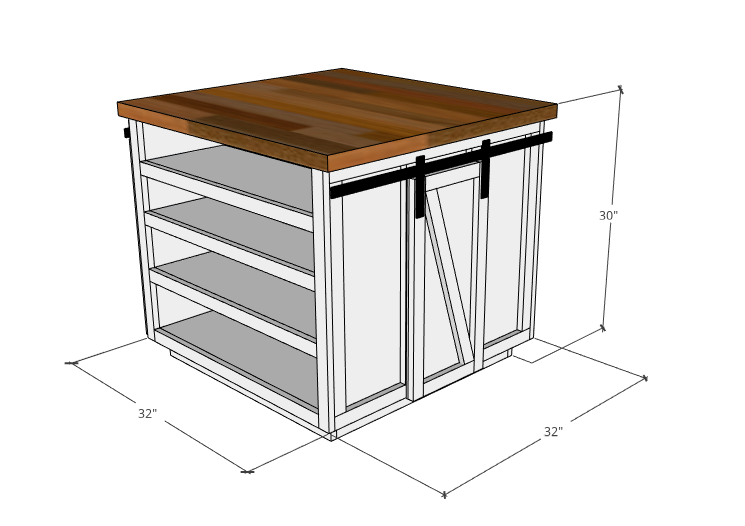
Build the Cabinet Frame
The cabinet is fully assembled using 1-¼” pocket screws, but before assembling, I prepped all my parts for later on by making the holes for all the adjustable shelves, and the slots to attach the top.
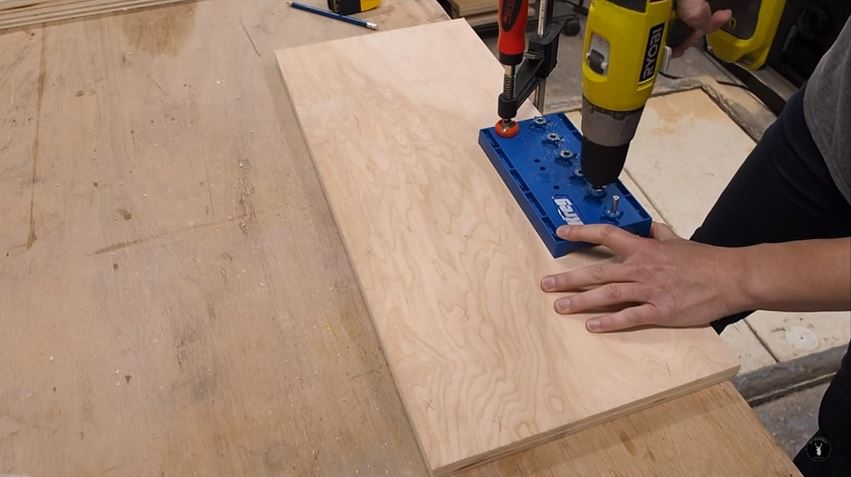
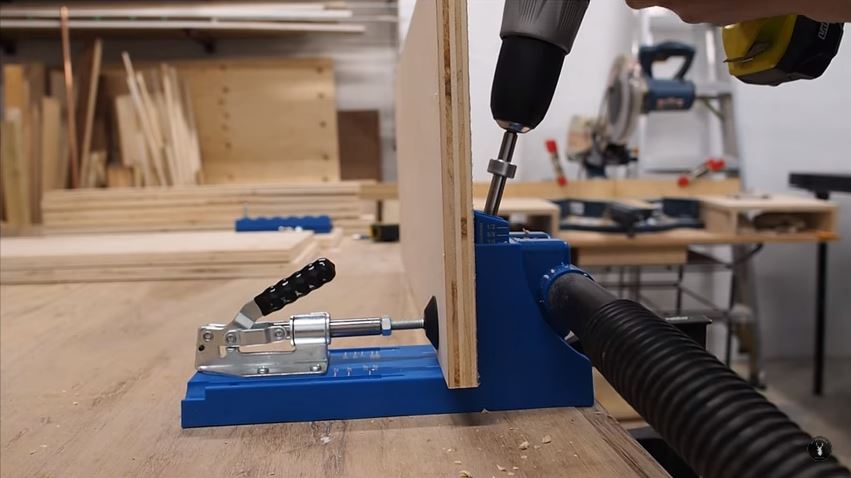
Next I pre-drilled all the pocket holes.
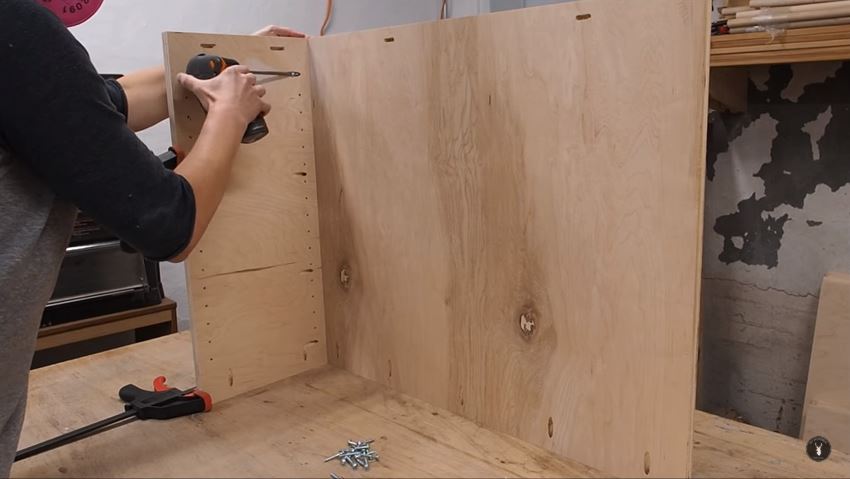
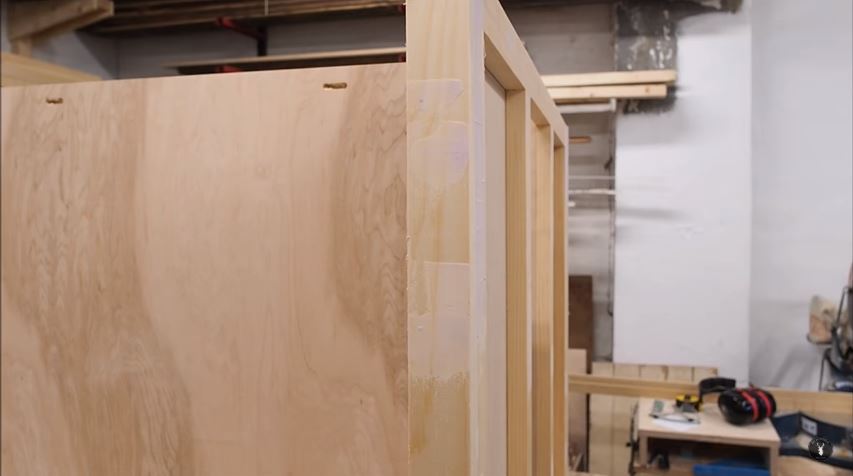
I assembled the walls to the back panels to make to U-shaped formations.
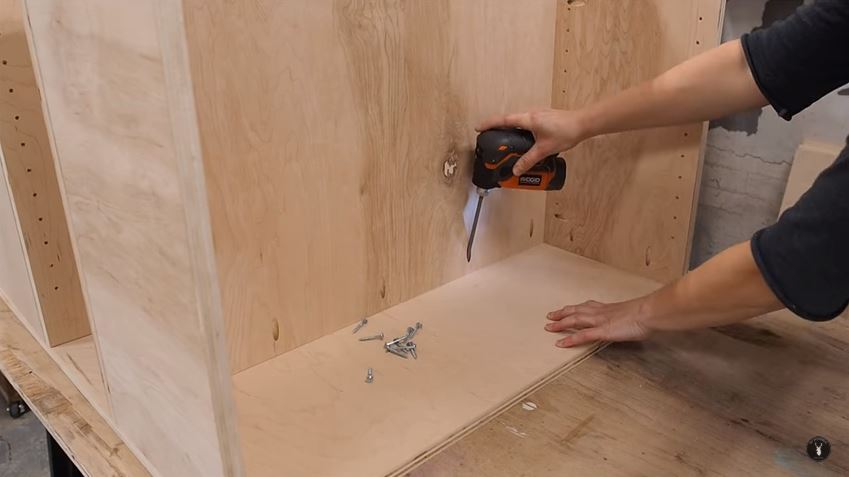
I then positioned both on top of my bottom panel and screwed them down with pocket screws.
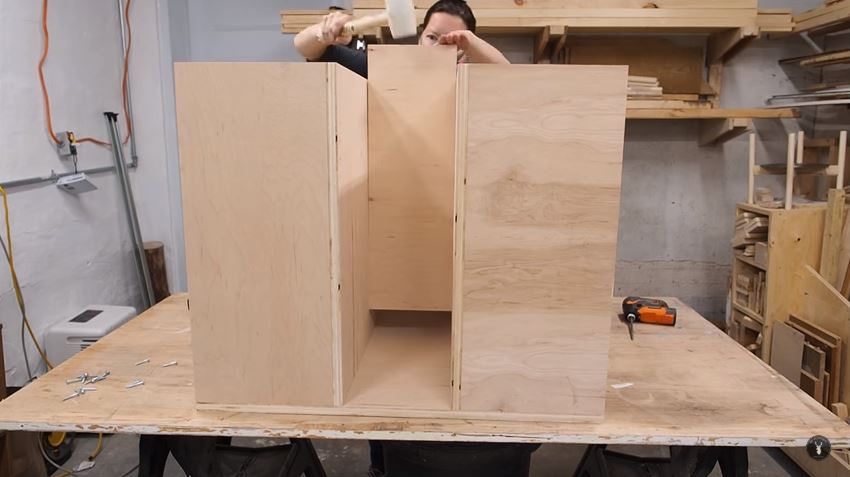
Lastly I slipped in the middle divider and fastened it with pockets screws.
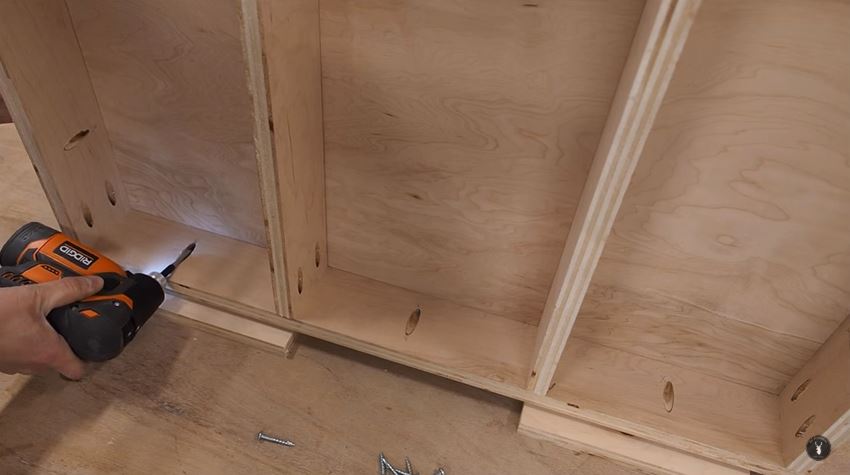
I assembled the toe kick base using pocket holes.

With the cabinet assembled, I flipped it on it’s side and attached the base using the pre-drilled pocket holes I had made, And making sure to leave 1″ spacing on all sides.
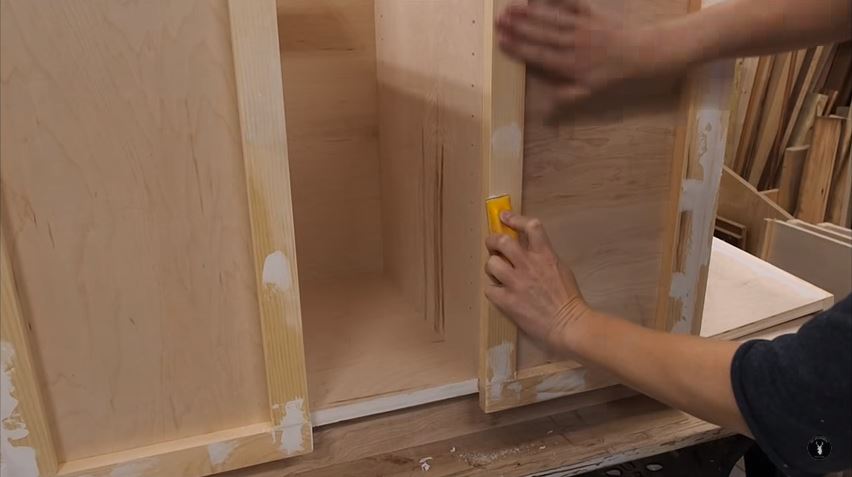
Face framing
To dress it up a little, I decided to add some face framing made from 1×2 pine boards. I attached them with some glue and brad nails.
I also used the same method to cap the front side of all my long shelves.
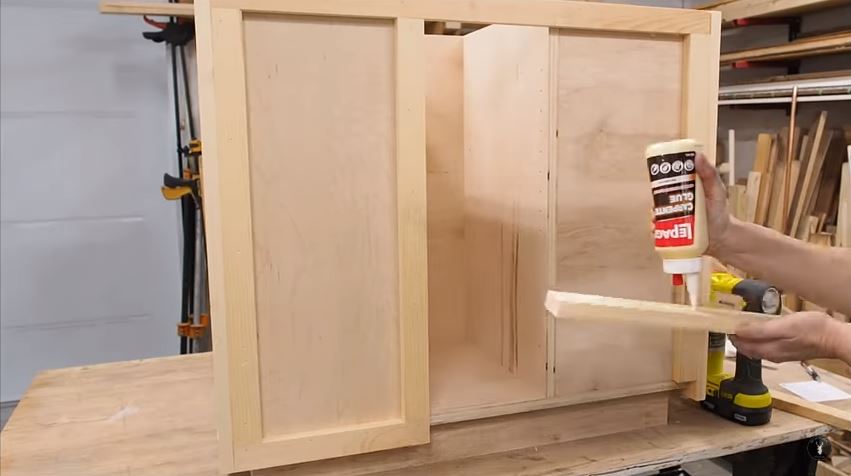
Doors
To build the doors I used ¼ birch plywood as a backer, and added some 1×2 pine framing that I glued and nailed in from the back of the ¼ inch panel to create a 3D effect.
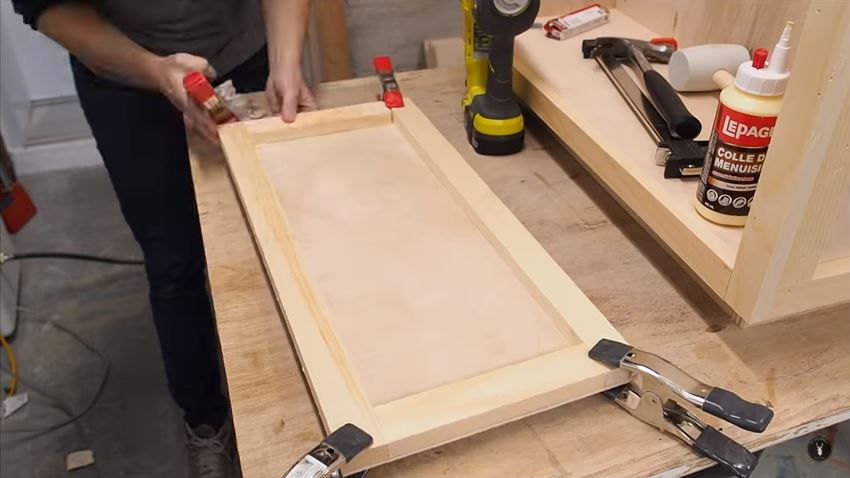
To add the diagonal piece, I simply laid my piece of wood on top of the door and lined up the corners, then traced my cut line with a ruler, lining it up visually. Not exact science, but it worked out perfectly.
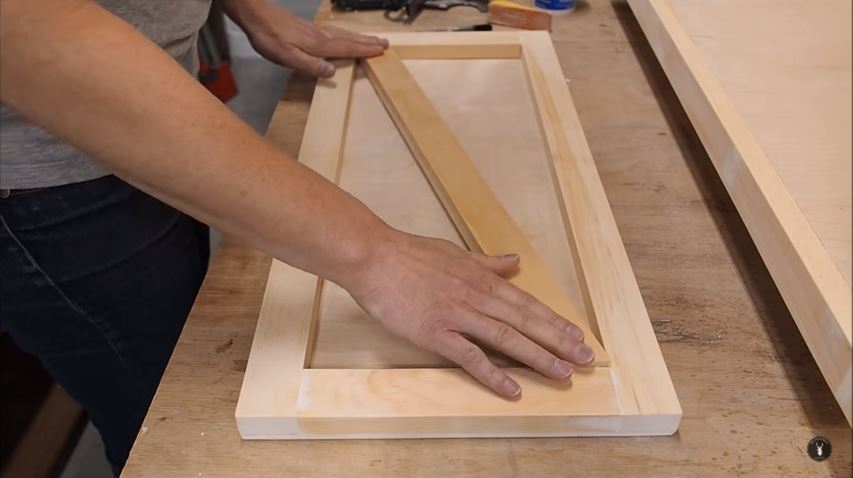
I carried the piece over to my miter saw and adjusted the angle of the saw until it lined up with my marking.
Paint prep
Before moving onto paint, I filled all the nail holes and cracks using DryDex, a spackling that goes on pink and dries white.
Once dry, I sanded everything down until smooth using 120-grit sandpaper.
I vacuumed up all the dust and carried the base, shelves and doors out to my spray tent. I went with an alkyd enamel finish paint that I applied with my HomeRight Super Finish Max Extra HVLP paint sprayer. I applied 3 coats, lightly sanding with 320-grit sandpaper in between each coat.

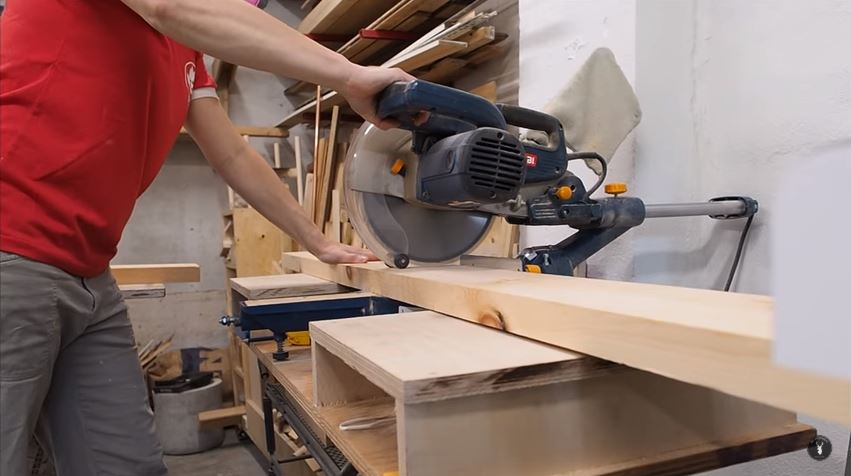
Build the Tabletop
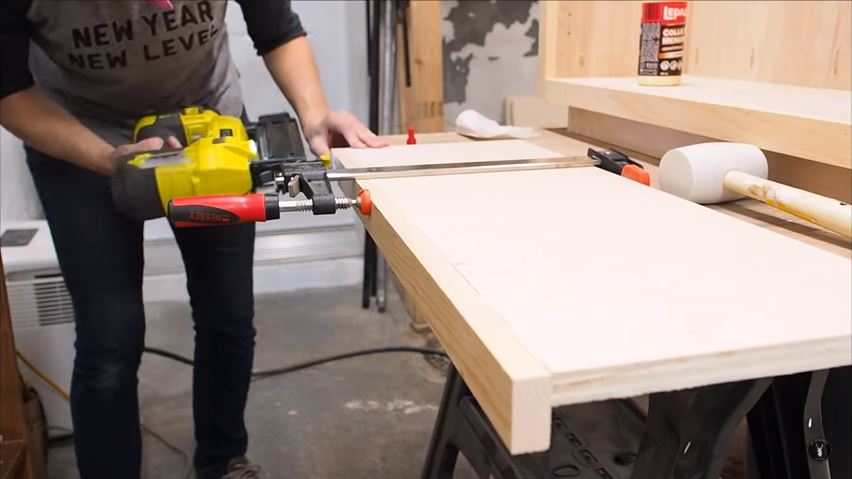
I used finish pine to build the top, which means it’s already been jointed and planed square. Therefore all I need to do is cut the 2x6x6 boards in half so I’ll have six pieces.
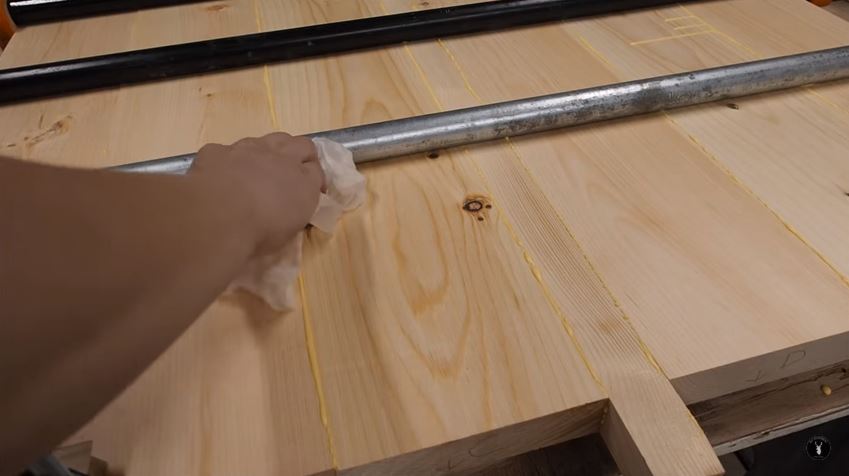
I applied a generous amount of glue to all the edges with a glue brush and clamped the boards together to form the table top.
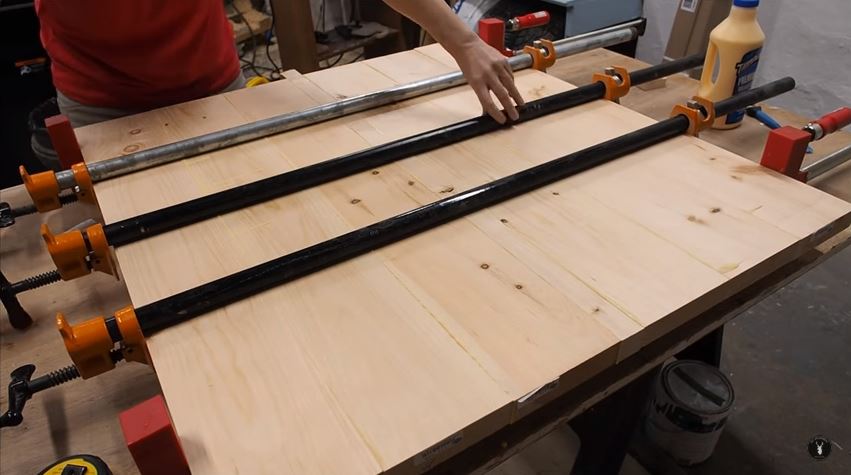
I used a wet rag to wipe of all the squeeze out before it had time to dry.
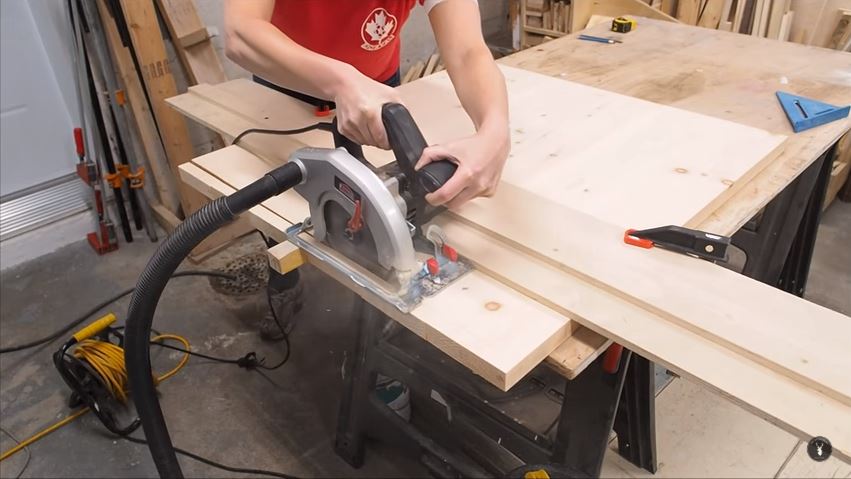
I trimmed down and squared the tabletop by marking it with a T-square and using a straight edge and my circular saw to make the cut.
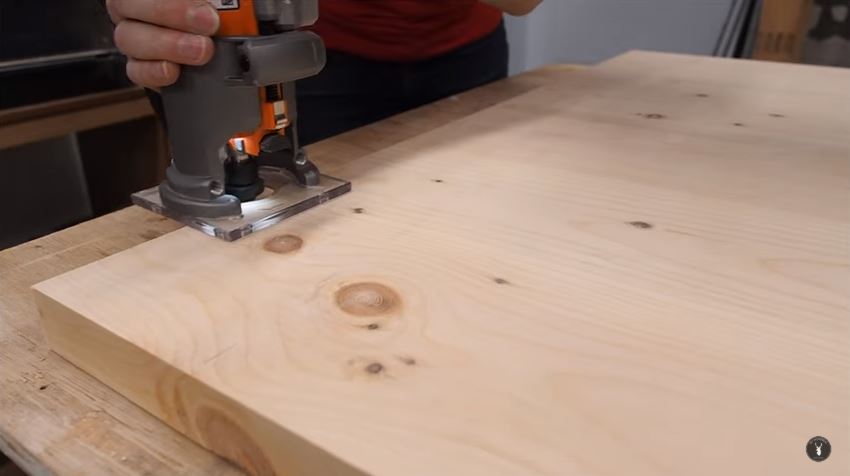
After letting it dry overnight, I sanded it down to using 80-grit, the moving up to 120-grit and finally 180-grit. I used my trim router with a round over bit to round over the edges, going around the tabletop in a counterclockwise direction.
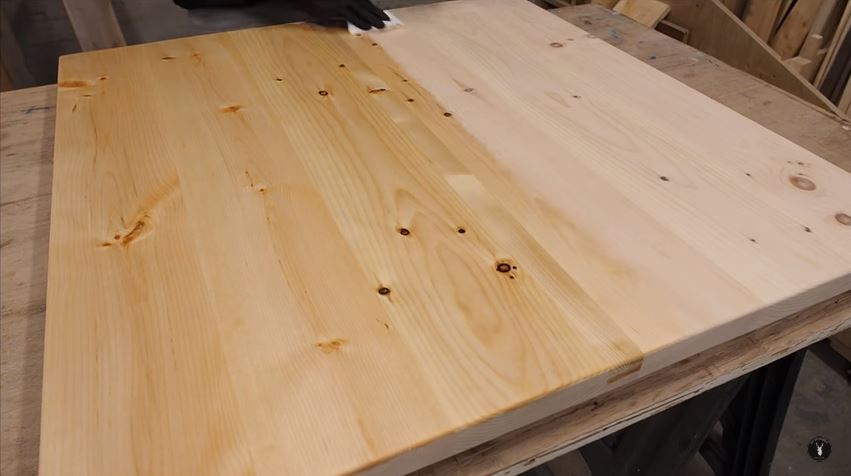
To finish the top, I skipped the stain since I wanted a natural wood look and I decided to try out wipe-on poly for the first time. I applied 3 coats. For a smooth finish, I let each coat dry 24 hours, then lightly sanded it with 320-grit sandpaper before applying the next coat.
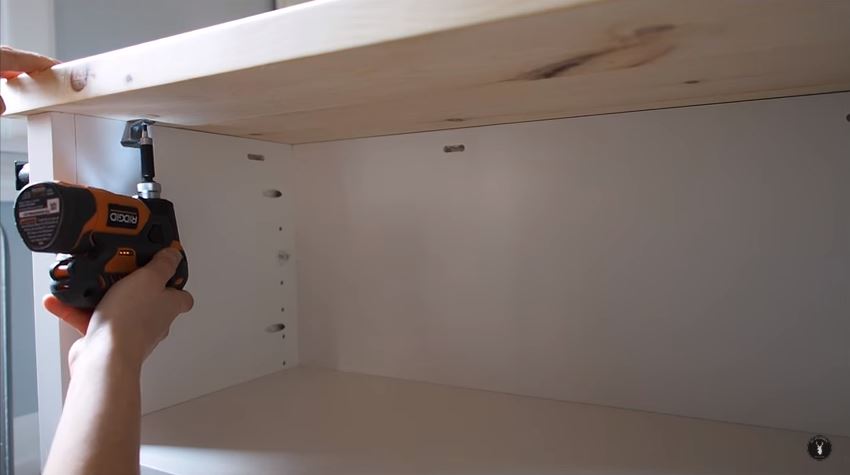
To attach the top to the cabinet, I used some tabletop fasteners, also called Z-clips. This will allow for wood movement as the tabletop expands and contracts with the seasons. I simply slipped them into the pre-cut slots and screwed them into the underside of the tabletop.
Sliding Barn Door Hardware
You could buy a small sliding barn door hardware kit, but I decided to make my own after watching a tutorial from Shanty 2 Chic.
You’ll need the following hardware:
- (1) aluminum flat bar 1″ x 1/8″ x 8 feet
- (4) Nylon wheels 1″ diameter (O.D.)
- (4) 1″ Nylon spacers
- (8) #8 x 1/2″ metal self-drilling hex screws
- (4) #12 x 2″ hex screws
- (4) 1/4-20 hex bolts x 3/4″ long
- (12) 1/4″ SAE flat washers
- (4) 1/4-20 lock nuts
- Black spray paint
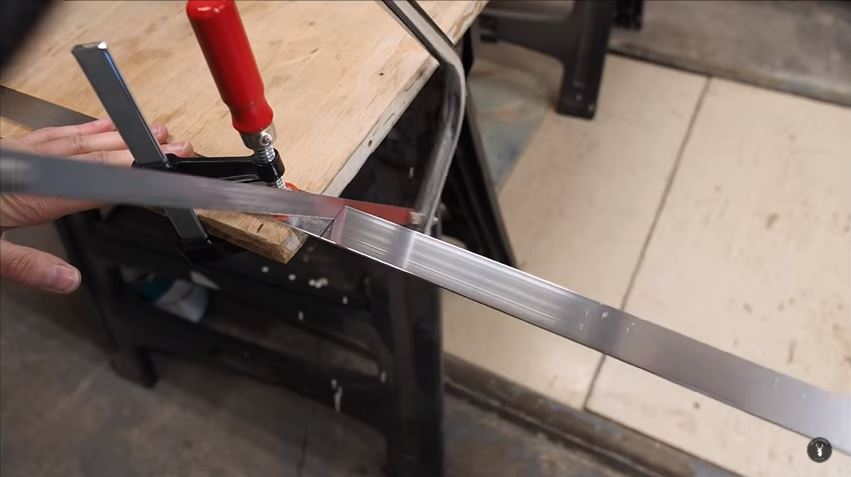
Start by cutting the aluminum bar to length, using a hacksaw or a jigsaw with a metal cutting blade. Use a file or sander to remove the jagged edges.
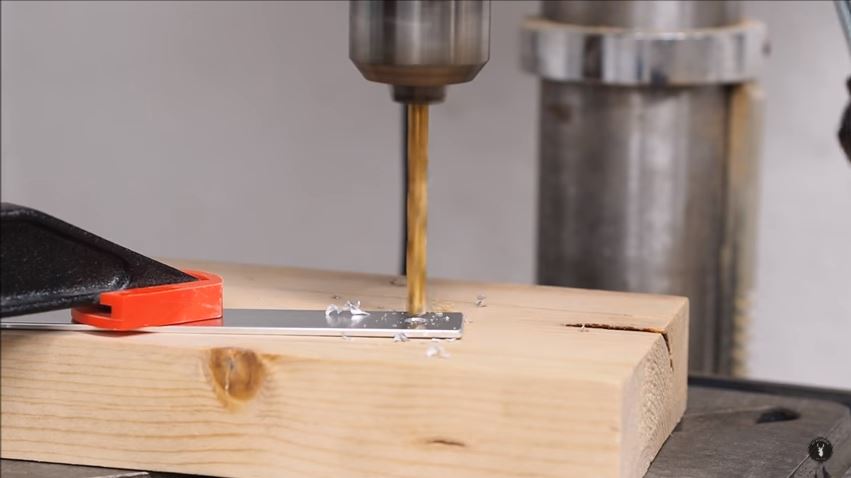
Drill a hole 1/2″ from each end of the 32″ rails using a metal drill bit. Drill a hole 1/2″ from the top of the shorter pieces (5″) that will be mounted to the doors.
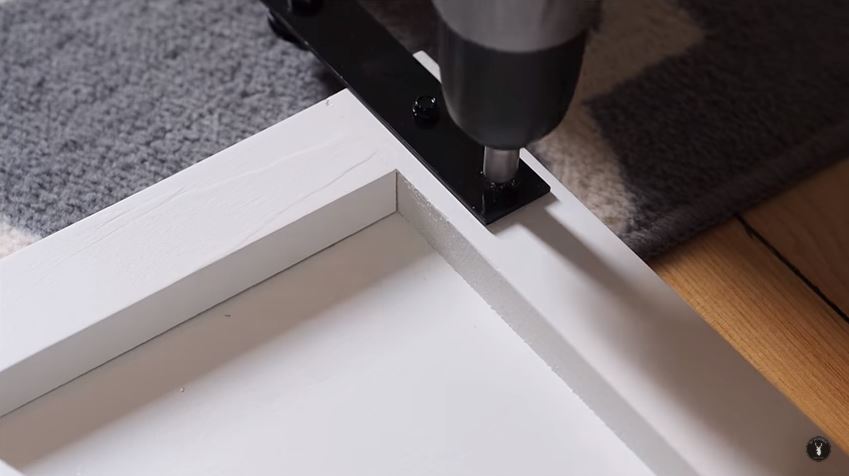
Mount the rail to the cabinet using 2″ hex screws and the nylon spacers.
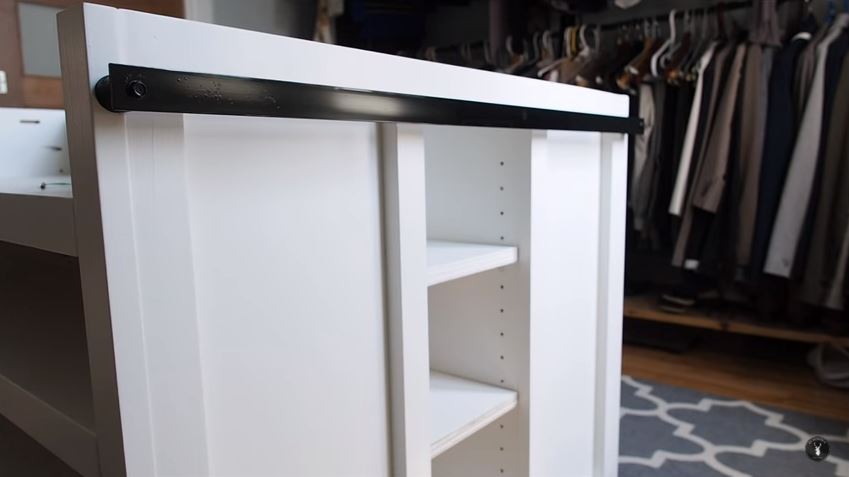
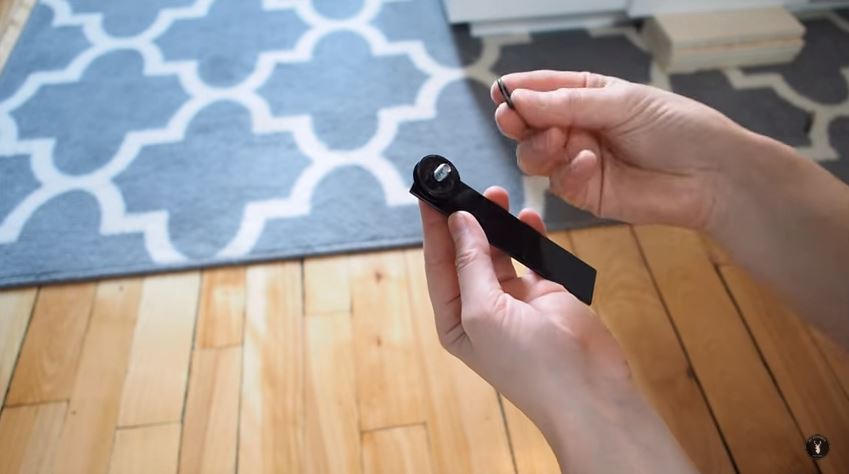
Assemble the barn door hardware: Hex bolt -> flat bar -> washer -> nylon wheel -> washer x2 -> lock nut.
Mount the hardware to the doors using self-drilling hex screws.
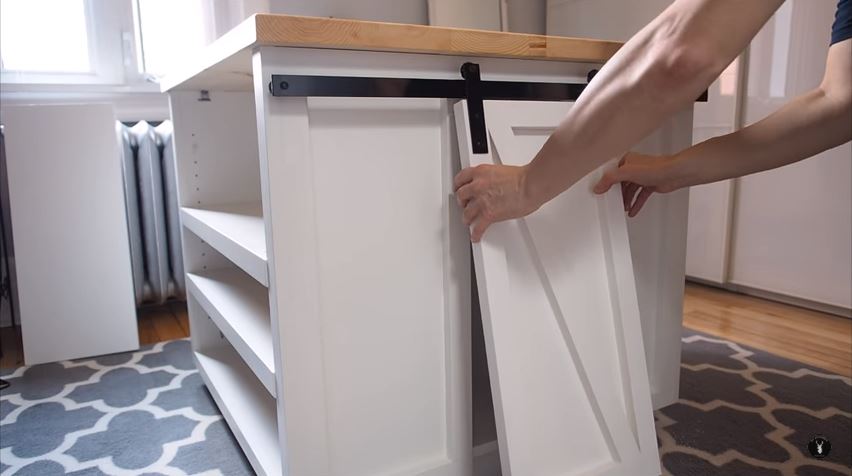
Hang the doors on the railing.
That completes this build! If you want to build this 4-sided island for yourself, you can get the plans here.
CLICK HERE FOR THE PLANS