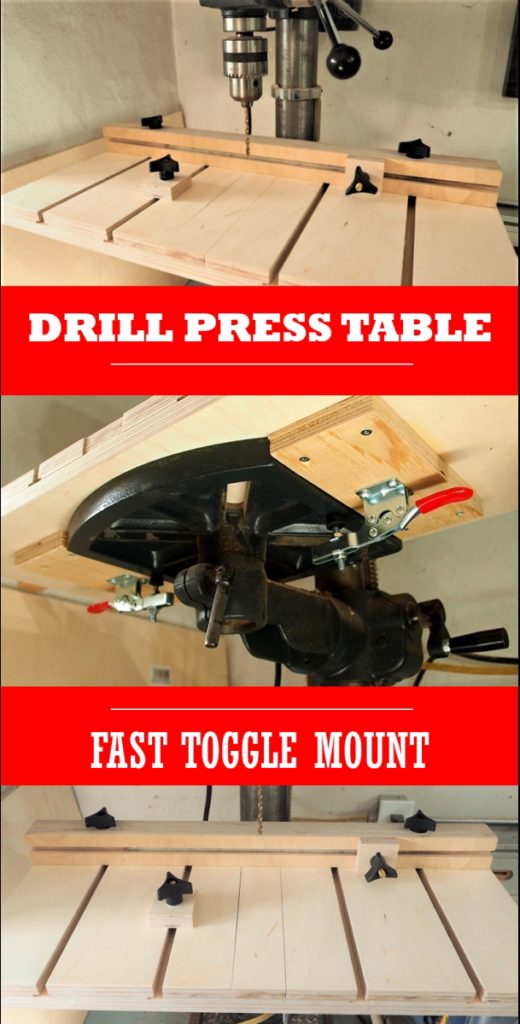
When I think of woodworking jigs, my mind usually goes straight to jigs used for the table saw. But what about the drill press? The drill press has much to offer but always seems to be neglected in my shop due to complicated and lengthy set up. That all changed when I made a drill press table.
A drill press table just makes the drill press so much easier to use. Faster set-up, consistent repeat hole making, added safety, better stability, and better accuracy. There are many DIY drill press table designs out there, so what’s different about mine? I’m glad you asked. When designing this drill press table, I had 3 things in mind:
- Minimal hardware investment ($)
- Easy to mount/dismount in seconds
- Extra T-tracks for greater flexibility
Click here to SUBSCRIBE to my YouTube channel for more DIY videos!
For this project I used Baltic birch, which provides a smooth flat surface. You’ll only need part of a 24 x 48 panel, no need to buy a full sheet.
Materials used
- Toilet bolts
- Star knobs
- Toggle clamps
- Hold down clamps
- 3/4 Birch Plywood
- 1/4 Birch Plywood
- Screws #8 1-1/4 flat head and #12 3/4 pan head
Tools used
- Drill press
- Table saw
- Miter saw
- Palm router
- Straight router bit
- Titebond II
- Glue brush
- 3/8 Drill bit
- Forstner bit
- Clamps
How to Make a Drill Press Table
Start by cutting down the pieces of plywood as per the cut list below. I used a combination of my circular saw to break down the large panel, then moved on to my miter saw and table saw for the smaller cuts. The drill press table dimensions are 12″ x 24″ with a 2 inch tall fence.
Cut list
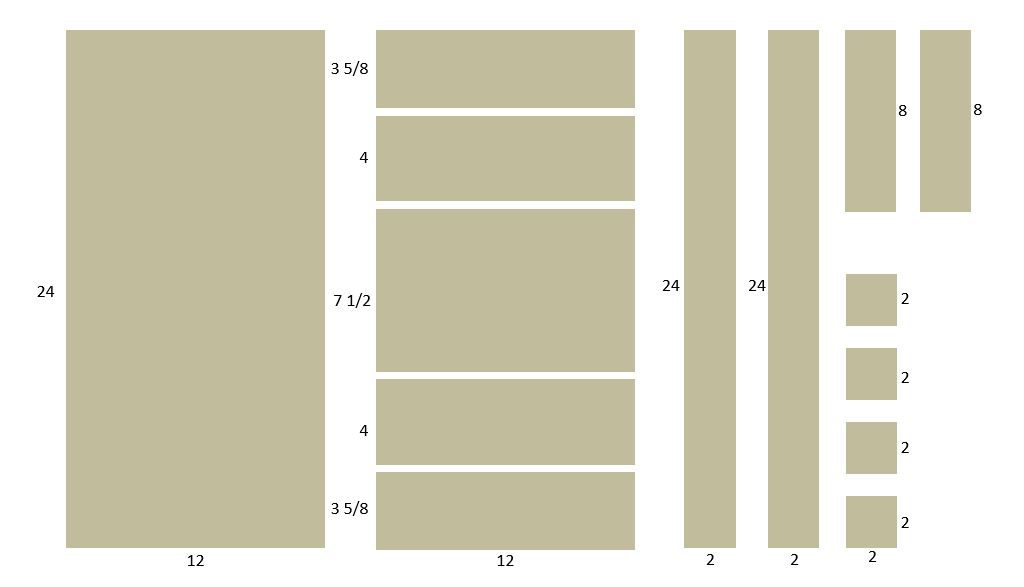
3/4 Baltic birch plywood
- (1) 12 x 24 – Table base
- (2) 12 x 3 5/8 – Top end pieces
- (2) 12 x 4 – Top midway pieces
- (1) 12 x 7 ½ – Top center piece
- (2) 2 x 24 – Fence
- (4) 2 x 2 – Stop blocks
- (2) 2 x 8 – Toggle under mount
1/4 Baltic birch plywood
- (1) 2 x 24 – Fence
Making the Table Top
You can buy factory made T-tracks and T-slot bolts, but I wanted to make this drill press table as inexpensively as possible, with readily available materials. So instead, I chose to make my own T-tracks. Here’s how.
Using a router table (or handheld router) and a straight bit, cut a rabbet on each of the edges highlighted in the diagram below. The rabbets should be 1/4″ wide and about 1/8″ deep.
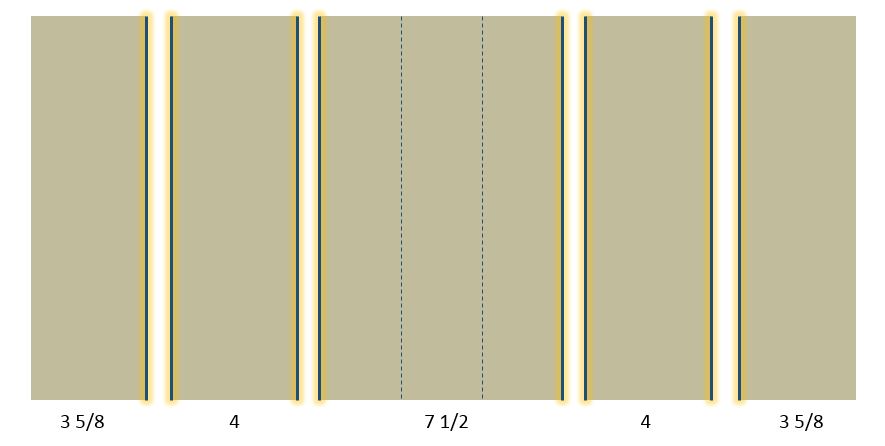
Once the rabbets are cut, you can now cut down the 7 1/2 center piece in order to have a removable sacrificial insert. Cut a piece at 2 5/8 starting from one side, then repeat the cut on the other side. You’ll be left with a 2″ insert (without any rabbets).
![]()
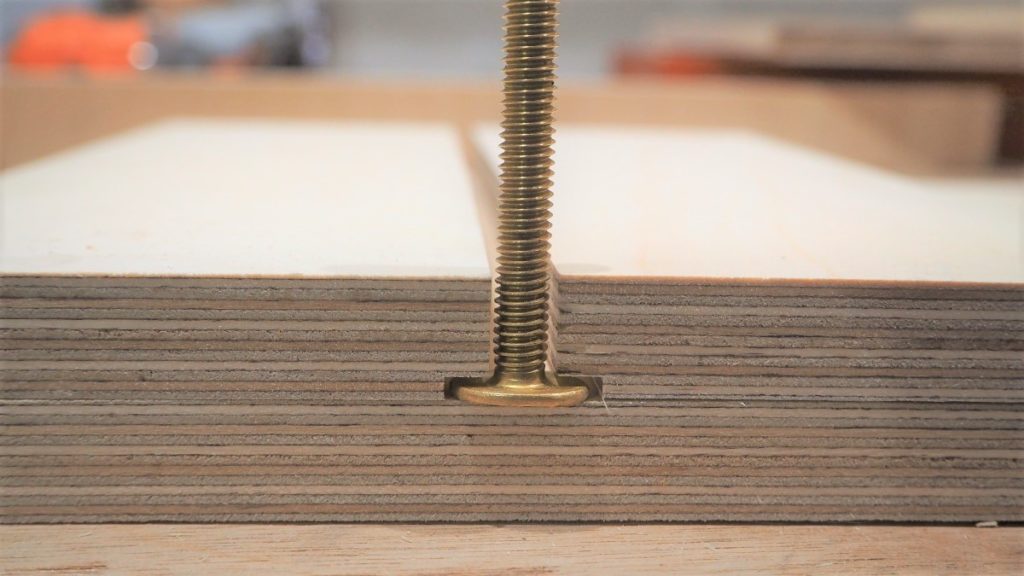
Before pulling out the glue, you’ll need some 3/8″ spacers. The spacers will create the T-tracks and allow for the toilet bolts to slide freely between the boards. I made my own spacers by cutting a 3/8 strip on the table saw, then cutting it down into little 2″ pieces with my crosscut sled.
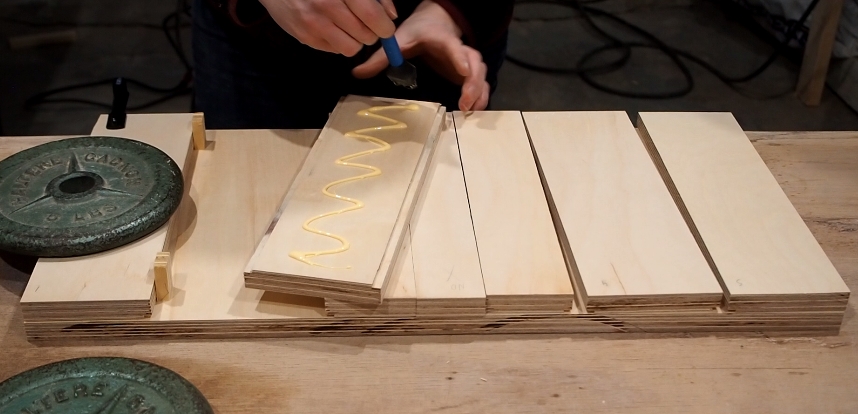
Apply glue to the back of the top pieces, careful not to get any squeeze out into the rabbets. Add spacers and continue moving left to right as per the layout in the diagram above. Remember not to add any glue to the 2″ piece in the middle! This is the removable insert. Add some weights across the entire surface and let the glue dry.
Making the Fence
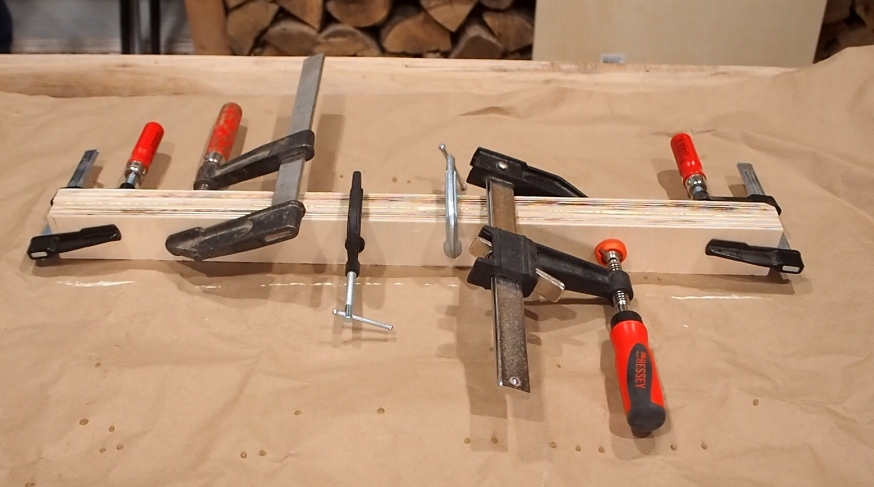
Glue and clamp together the two 2 x 24 pieces into a sandwich.
Once dry, make a dado down the middle about 3/4 wide and 1/8 deep.
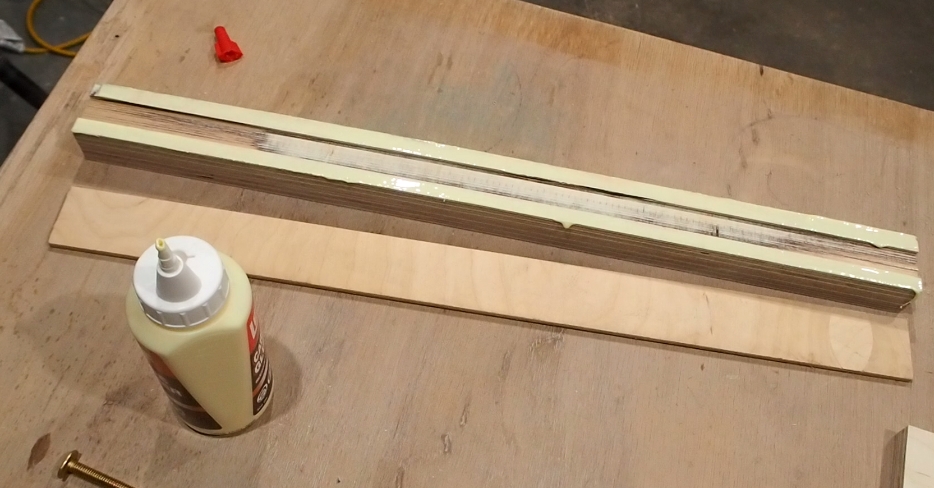
Glue the 1/4 plywood on top, careful not to get glue into the dado. Clamp and let dry.
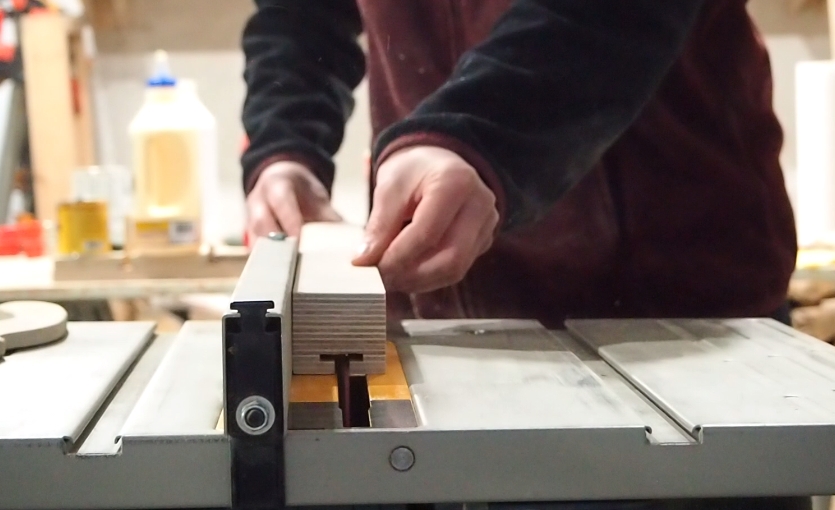
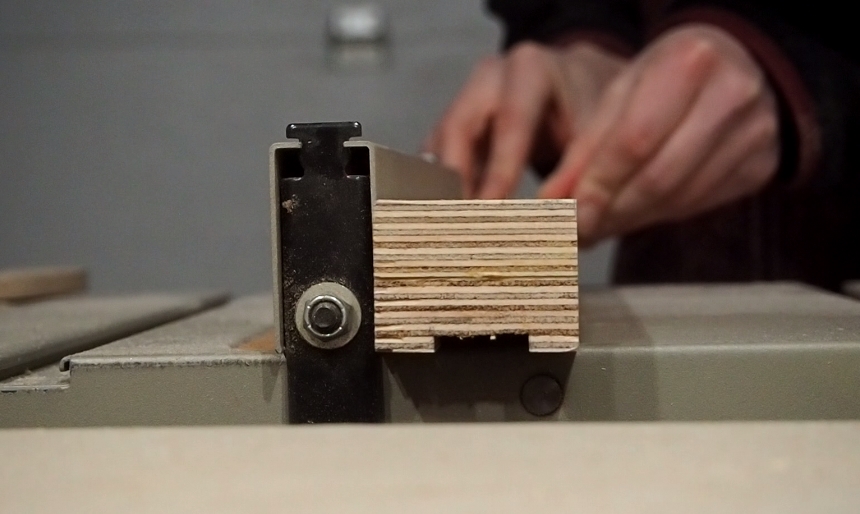
Use table saw to cut a shallow groove (blade just high enough to cut through the 1/4 plywood). The groove should be approximately 3/8″ wide, just wide enough to let a toilet bolt slide smoothly in the track.
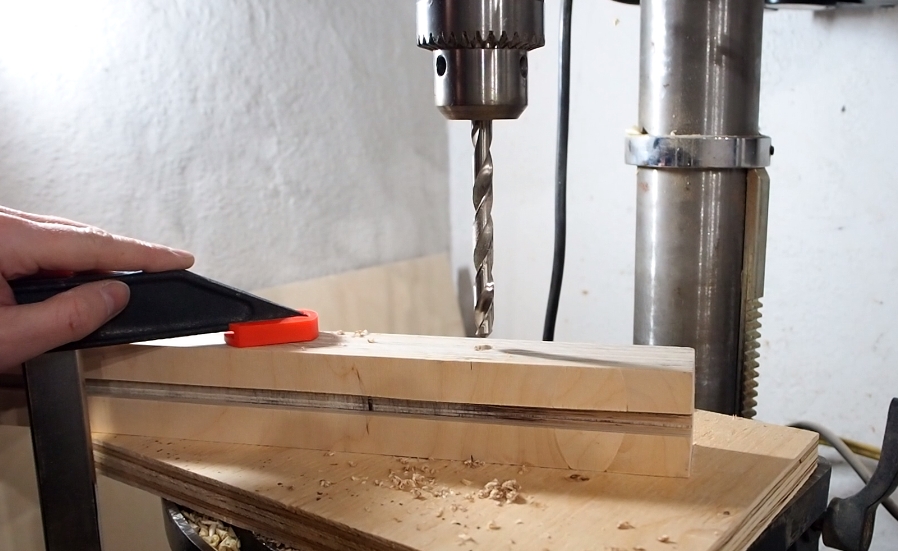
Place the assembled fence on the drill press table and mark where the table’s outer T-tracks meet the fence. Drill a hole through the center of the fence using a 3/8 drill bit.
You can buy extra-long toilet bolts, or simply use a Forstner bit to countersink the handles just a bit so they can reach the threads.
Mounting the drill press table
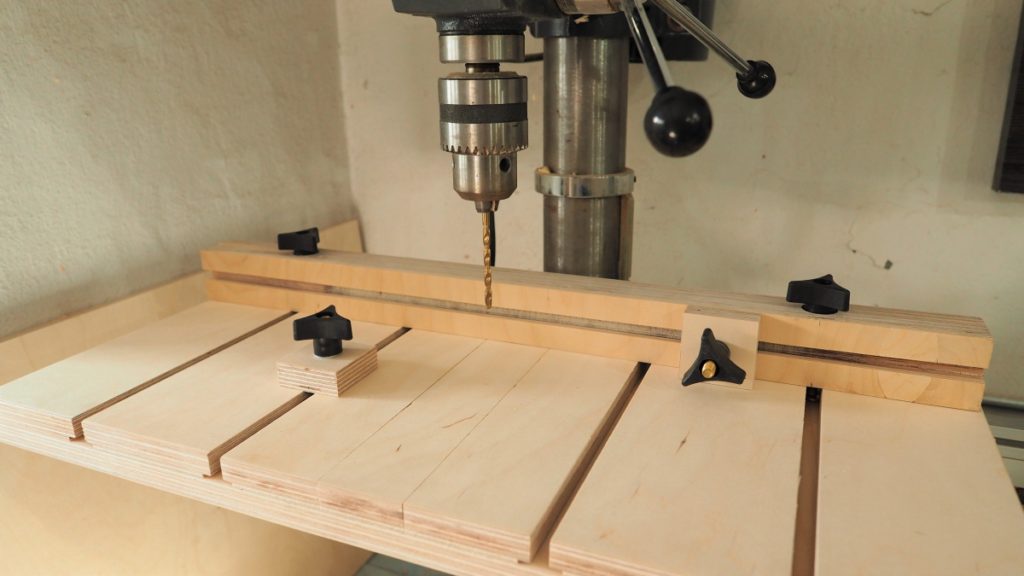
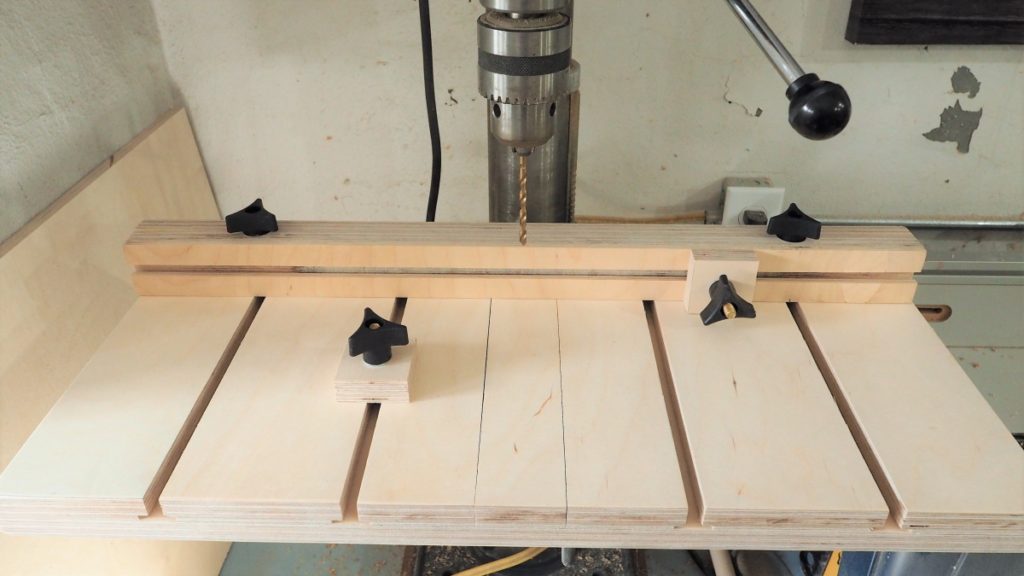
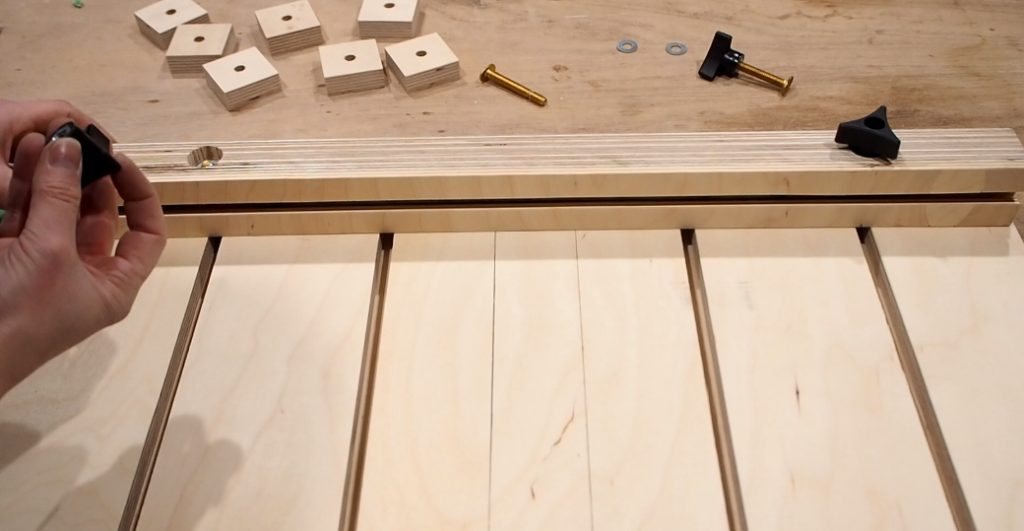
Insert a toilet bolt up through the holes you made in the fence. Add a washer on the top side, then the star knob (don’t tighten). Slip the bolt heads into the T-tracks and slide the fence into place, then tighten down the star knobs.

I wanted a fast and easy way to quickly mount the drill press table or take it off when I don’t need it. Many makers use bolts to mount the table to the drill press, but that seemed way too impractical for speedy removal. Instead, I decided to use toggle clamps. You can buy a 4-pack for under $15, so it’s really affordable.
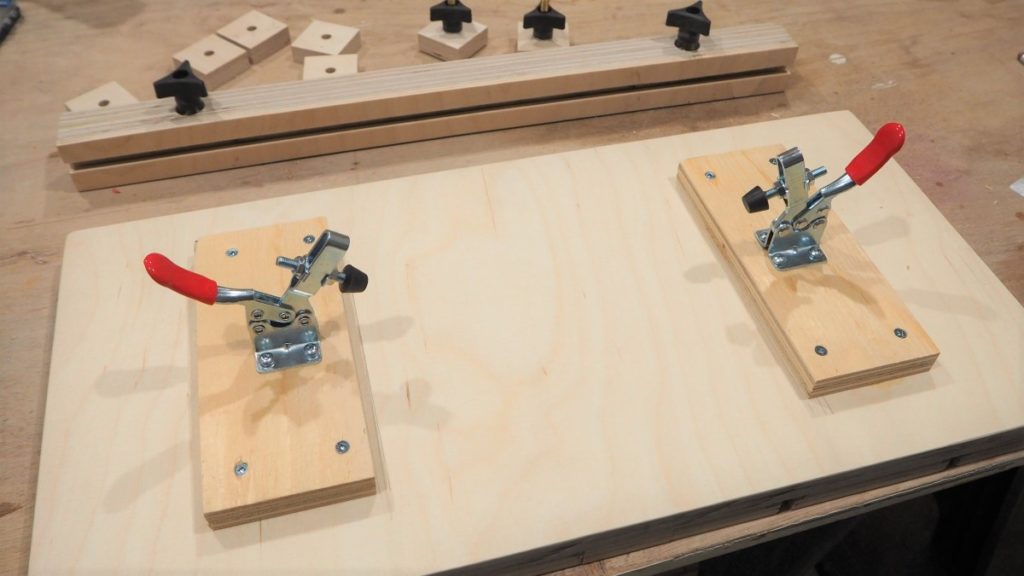
I centered the table on the drill press, then simply marked the underside on each side of the table. I screwed on a piece of plywood on each side, then mounted the toggle clamps to these boards. Now the table can be mounted and removed in seconds with a flick of the hand.
Stop blocks and hold down clamps
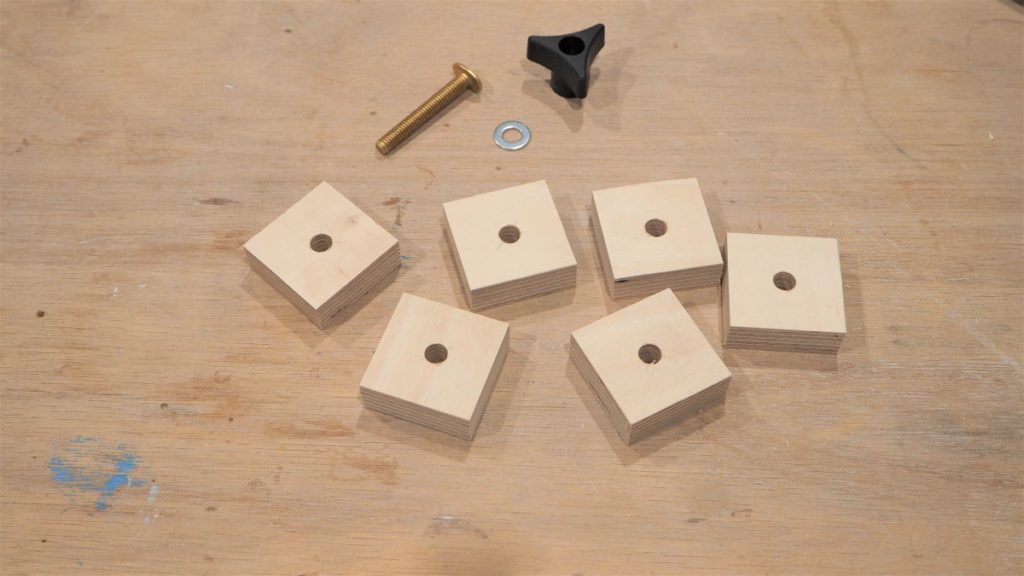
With the left over plywood, you can cut out some extra 2 x 12 inserts to have on hand for once yours wears out. You’ll also want to cut some 2 x 2 stop blocks and drill a hole in the center with a 3/8 drill bit. You can mount these to the fence as a stop block to make repeated cuts in the same exact spot, or mount them to the T-tracks in the table to help hold your work piece in place.
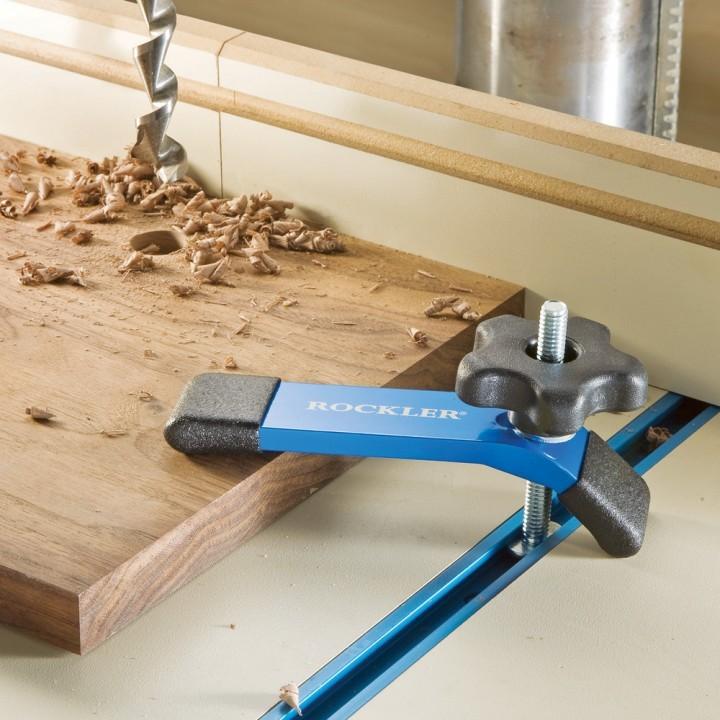
Something I forgot that would be really useful here are hold down clamps. They are basically T-slot clamps that do just that: hold down the work piece. These can be especially useful when drilling into small pieces that you can’t put a hand on to hold them down to the table and prevent them from coming up off the table as you raise the drill bit. You can get them for a few dollars, so I just ordered some online to complete this drill press table build.