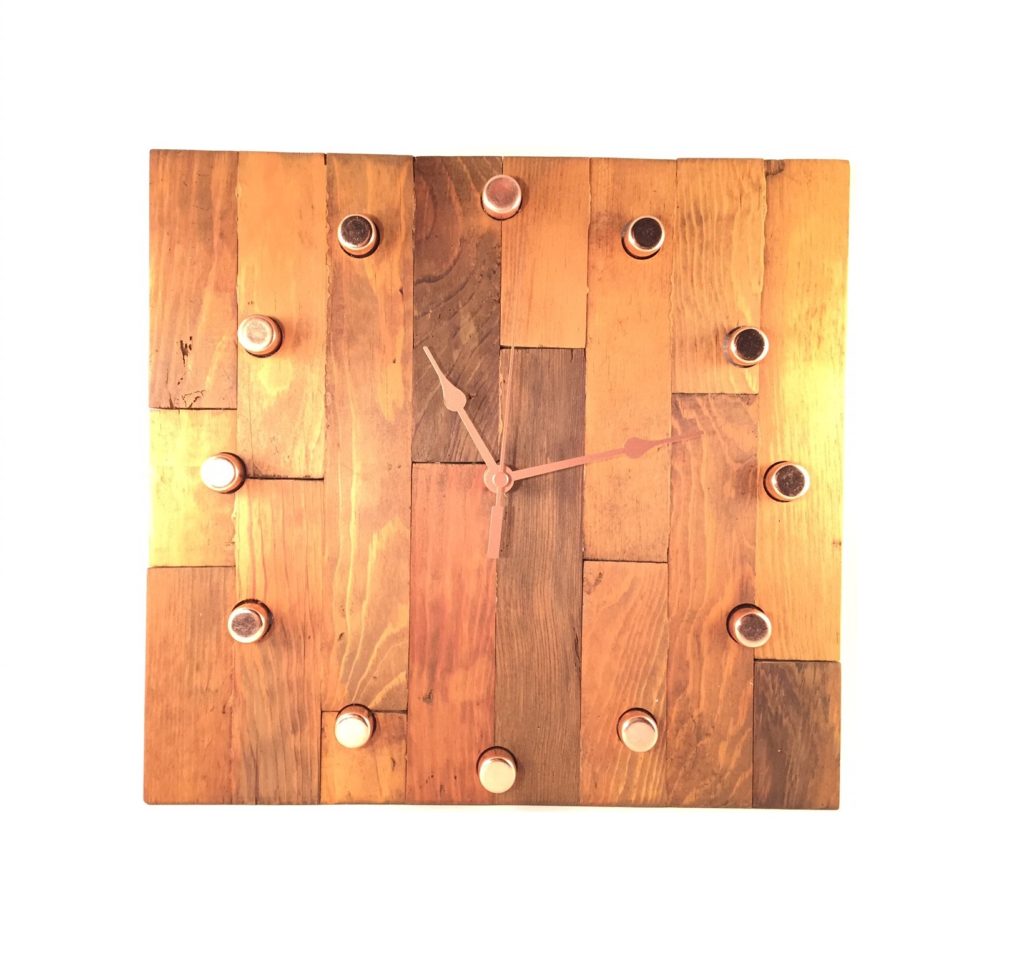
Butcher block copper clock
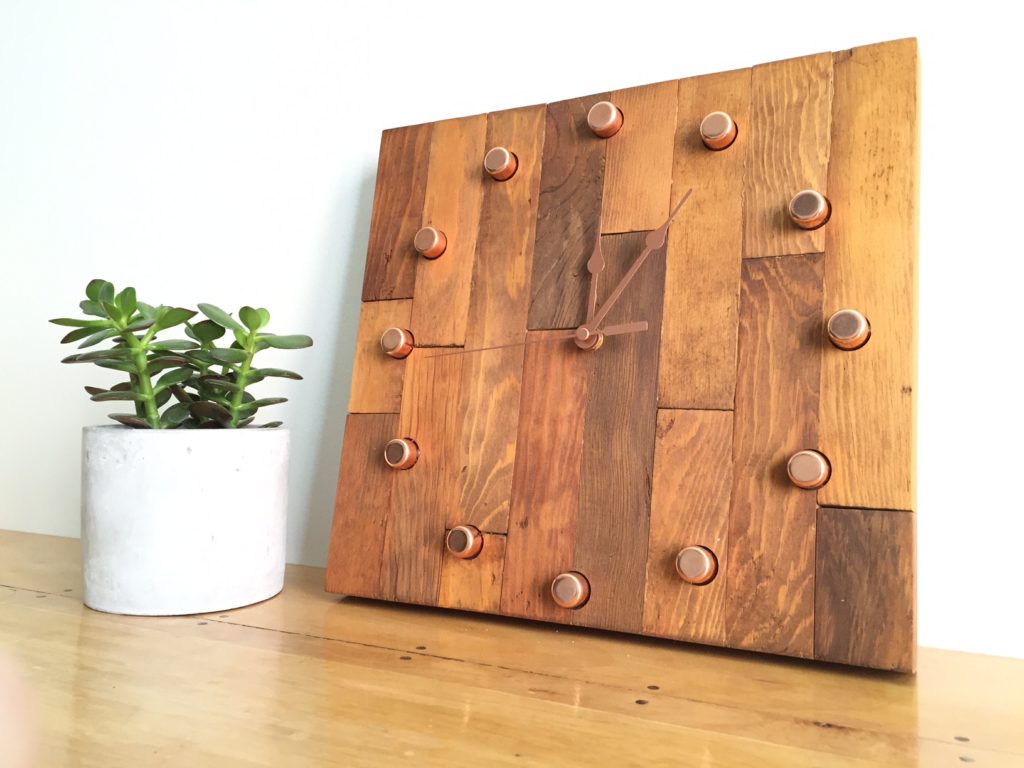 So yeah, I know. I seem to be developing a theme. Copper and Butcher Block. I do love to work with both materials and since I had left over wood blocks from my butcher block shelves project, I thought to myself why not build a clock for the shop? And so I did.

Here’s what you’ll need
-
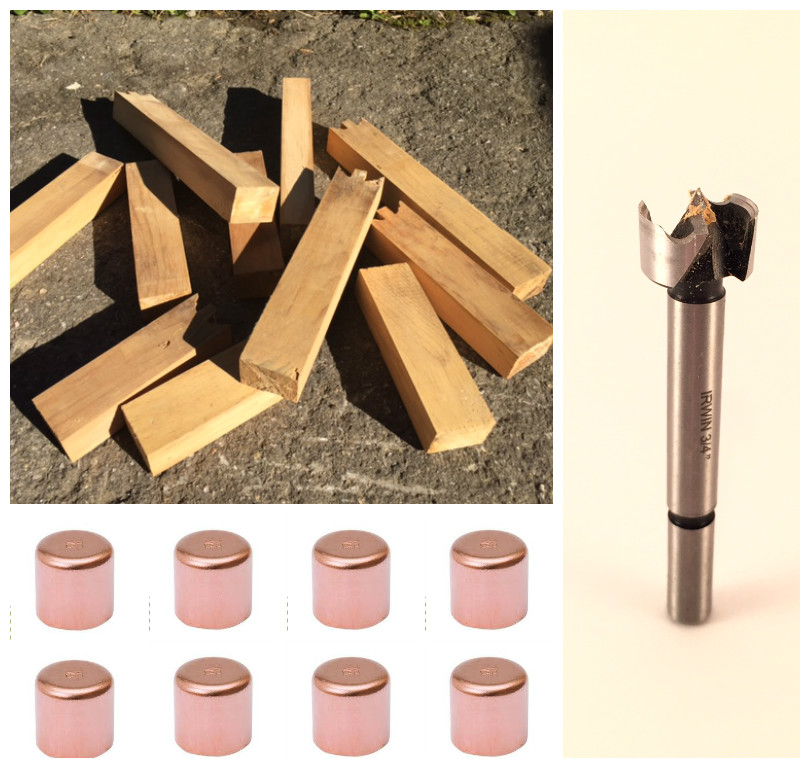
- 2×2 Wood blocks
- (12) ½” copper end caps
- Copper clock mechanism
- Wood stain
- Wood glue
- Silicone
- Bar clamps
- Drill
- ¾” Forstner bit
- Protractor and ruler
- Router with straight bit or chisel
- Orbital sander
Create your butcher block
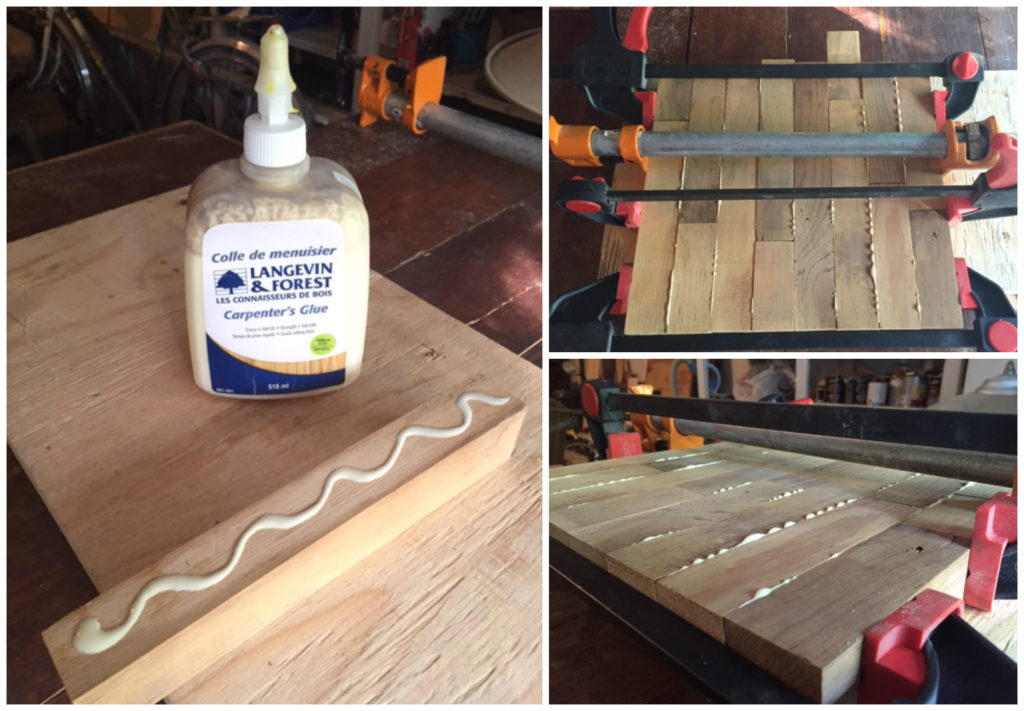
Start by sanding and wiping down your blocks. Lay them out into the desired pattern. Get your glue and bar clamps ready. Then apply glue to each of the inside edges and clamp them all together on a flat surface. In my design, I made a square clock measuring 12 x 12.
Oh, and if you’re wondering, yes, you want to see the glue seeping out like that when you clamp the blocks together. Don’t touch the glue while it’s wet, you’ll just smear it all over. Instead, wait until it dries. It will easily flake off by just scraping and sanding.
Once the glue has dried overnight, remove the clamps and lightly scrape off the glue. If necessary, cut the excess off the ends to make the butcher block square. I used my circular saw for this along with this simple cutting guide for a perfect straight cut.
Make the clock face
For the clock face you’ll need to think back to your math classes and pull out your protractor. Don’t worry, I’ve done the math for you.
Start by making a hole with your drill dead center with a bit large enough to fit the mechanism’s pin through.
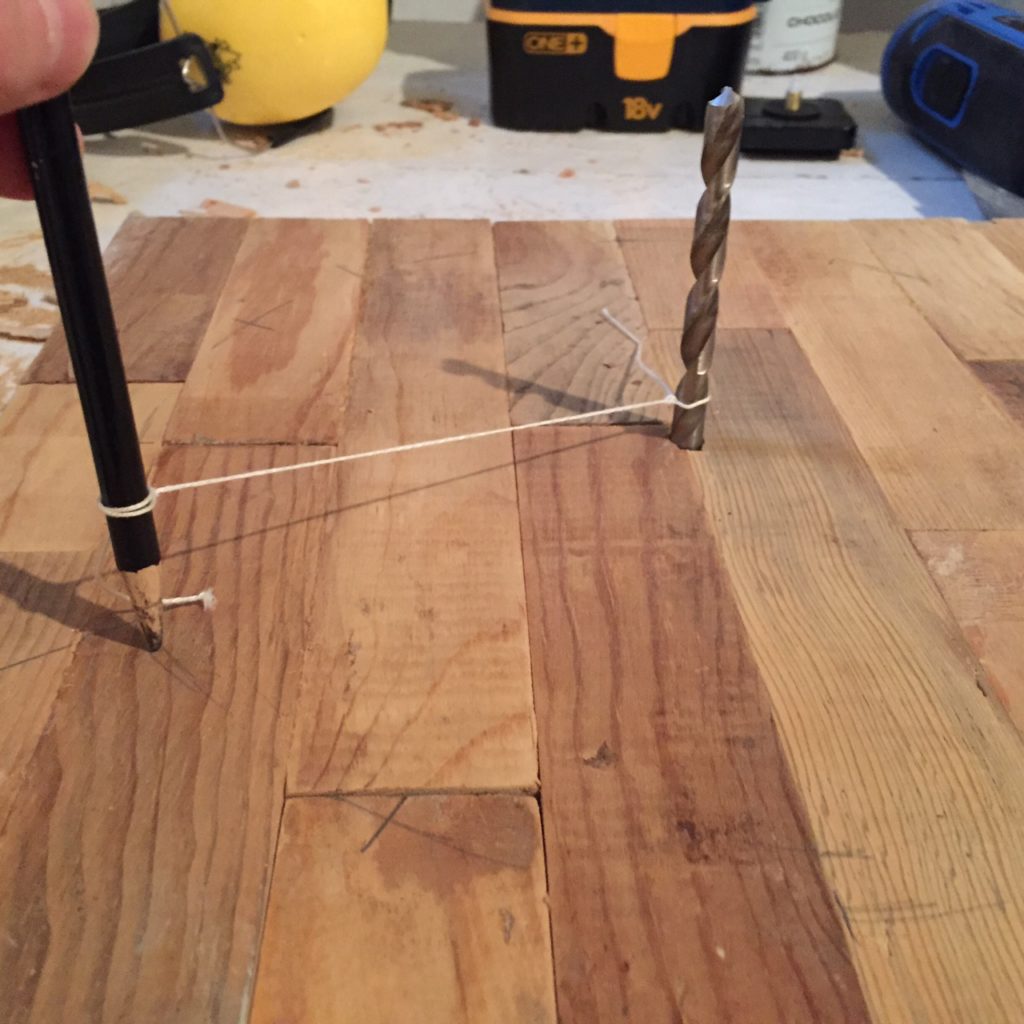
Leave the drill bit inserted and tie a string around it. Tie the other end to a pencil, leaving about 6 inches of string between. Lightly trace a circle keeping the string taught.
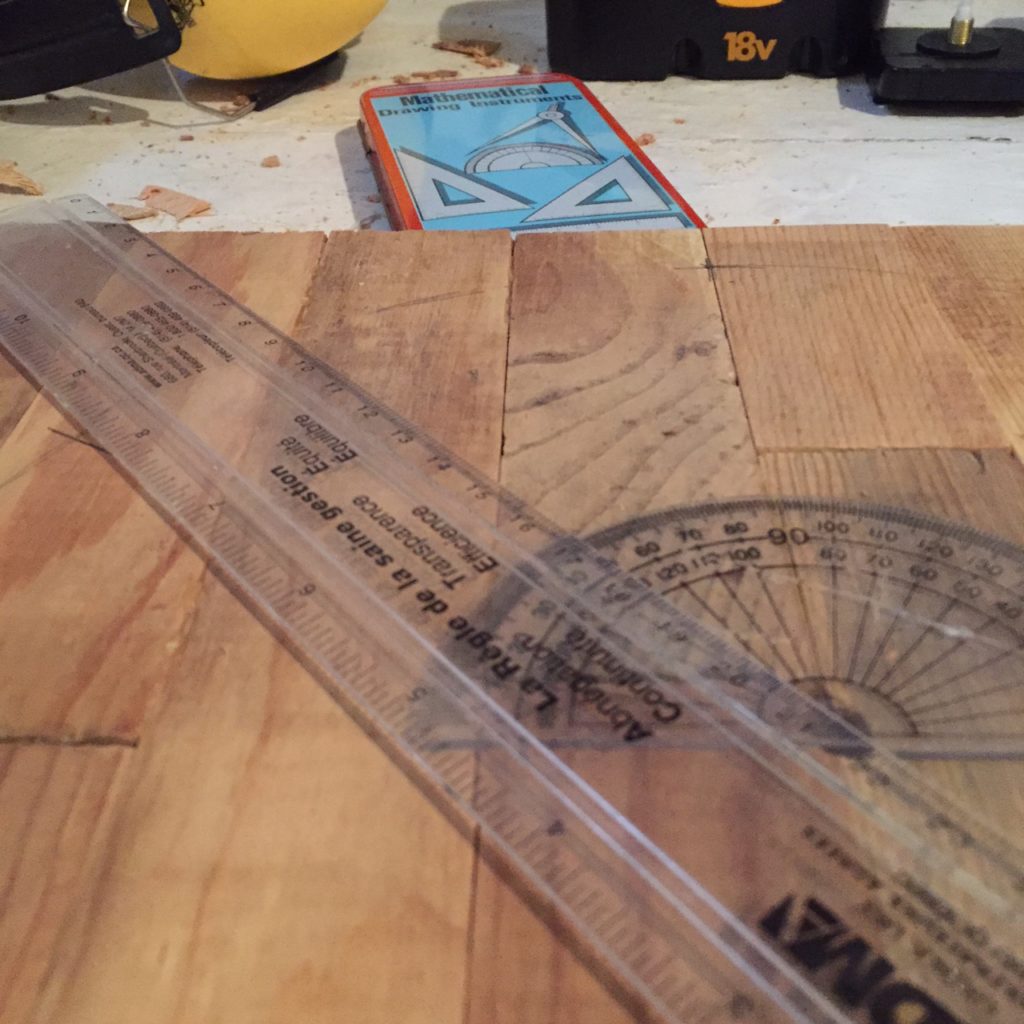
Now use your protractor and a ruler to make a mark on the circle every 30°, starting at noon. You should have 12 marks when you’re done.
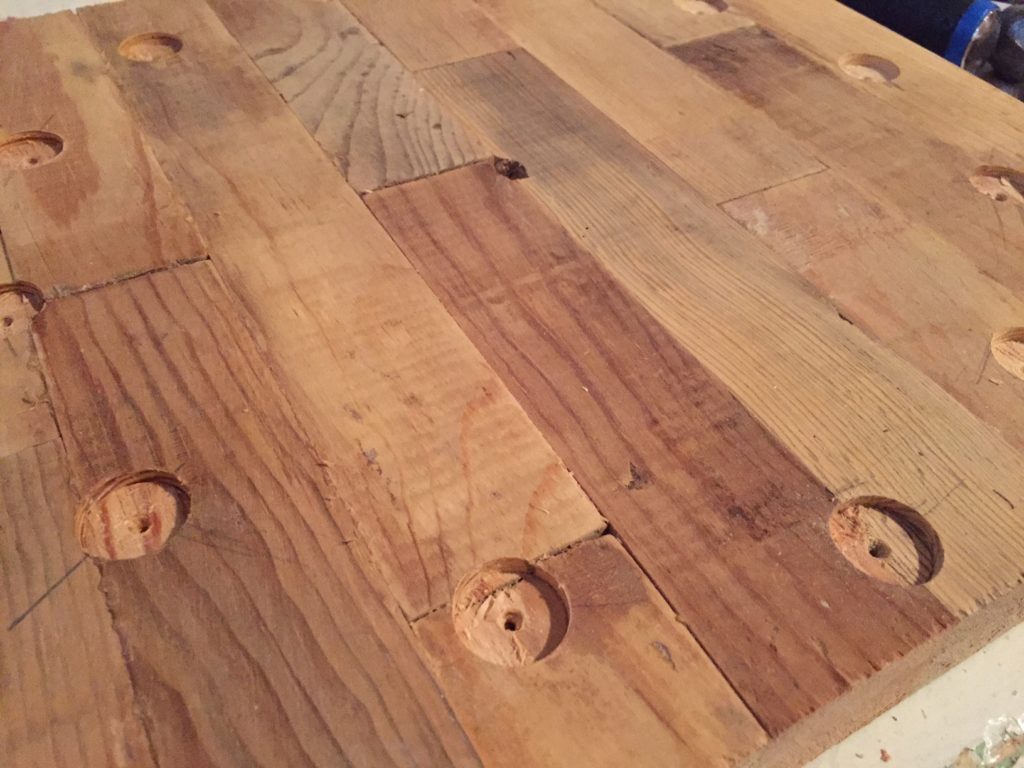
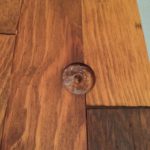
Drill a shallow hole at each of the 12 marks using a ¾” Forstner bit. I drilled down to about half the height of the bit head.
Cut out a compartment for the clock mechanism
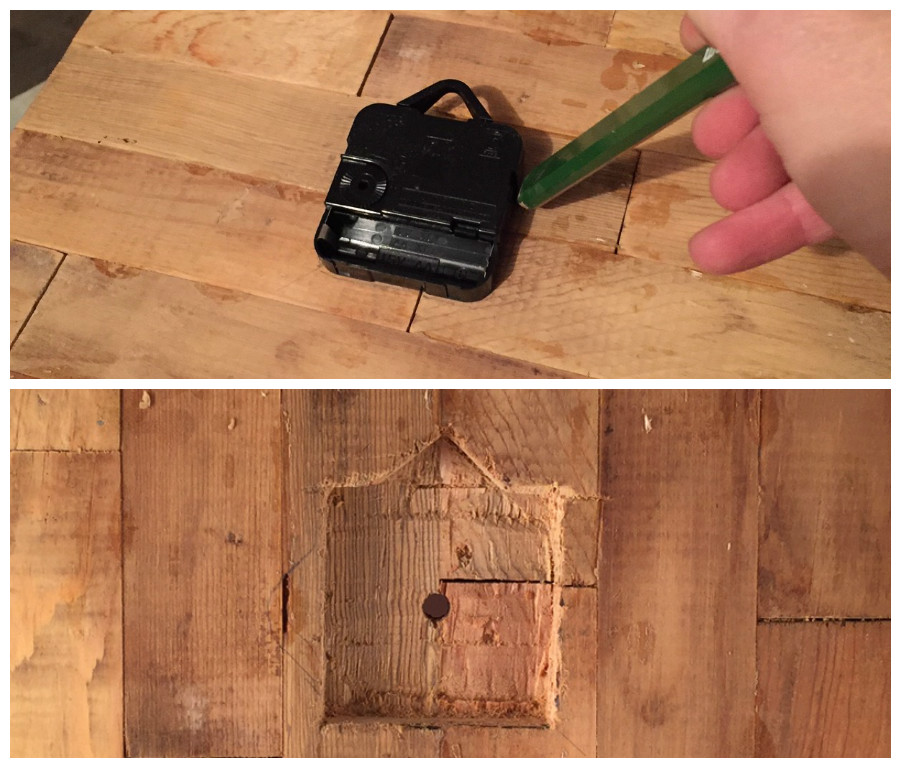 If you have a plunge router (which I do not) you can use it to carve an opening for the clock mechanism. For the rest of you, you’ll have to put a little more effort into it. Use either a chisel or an oscillating multi-tool (or both) to cut an opening in the back.
Start off by placing the mechanism dead center and tracing an outline so you know how wide to make the hole. Then cut away and test the hole by inserting the mechanism until the depth is right.
Sand and stain
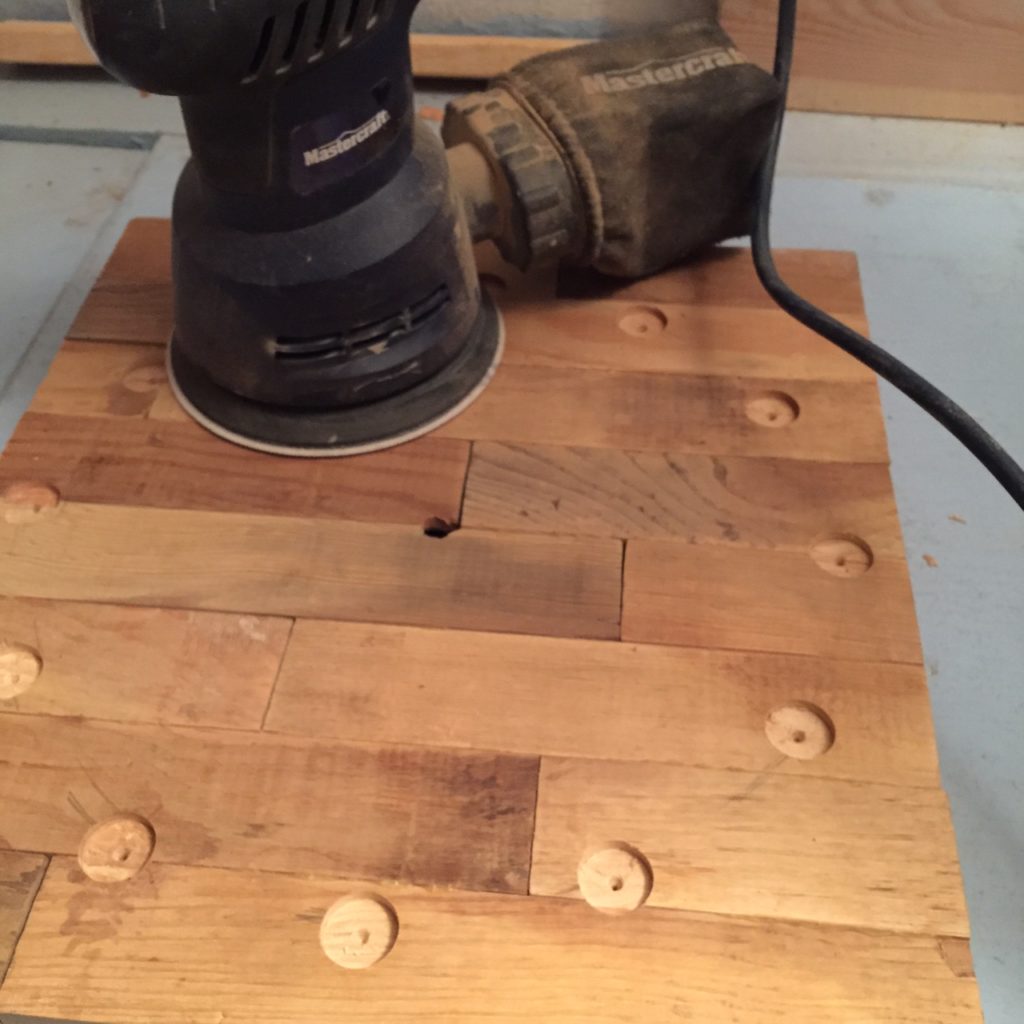
Take your orbital sander and sand down the clock face until the surface is nice and even. Use some coarse (80-grit) to medium (120-grit) sandpaper for this. You’ll want to finish off with some fine 220-grit paper and sand by hand with the grain to eliminate any marks left by the sander.
Wipe down the butcher block to eliminate all traces of sawdust and apply a stain of your choice. I used my favorite Varathane Early American (although in hindsight I think I should have used a lighter shade).
Assemble the clock face
 Once the stain has dried (a couple hours), use a bead of silicone to fix a copper end cap in each of the holes. After the silicone has dried (30 mins), flip the clock over to insert the mechanism. Finally, add the hands as per the manufacturer’s instructions. Don’t forget to add a battery!