If you’re like me, you use a circular saw on occasion, but you’re no expert. The idea of making a 4 foot long cut in a perfectly straight line is laughable. Don’t fret, after you assemble this super easy to make DIY track saw, you’ll never doubt yourself again.
Here’s all you’ll need to make this simple circular saw guide:
- 1/2″ birch plywood*
- 3/4″ flat head wood screws (5)
- Circular saw
*I used higher quality Russian birch plywood because I wanted to make sure the wood wouldn’t splinter or warp over time, but regular plywood is ok too.
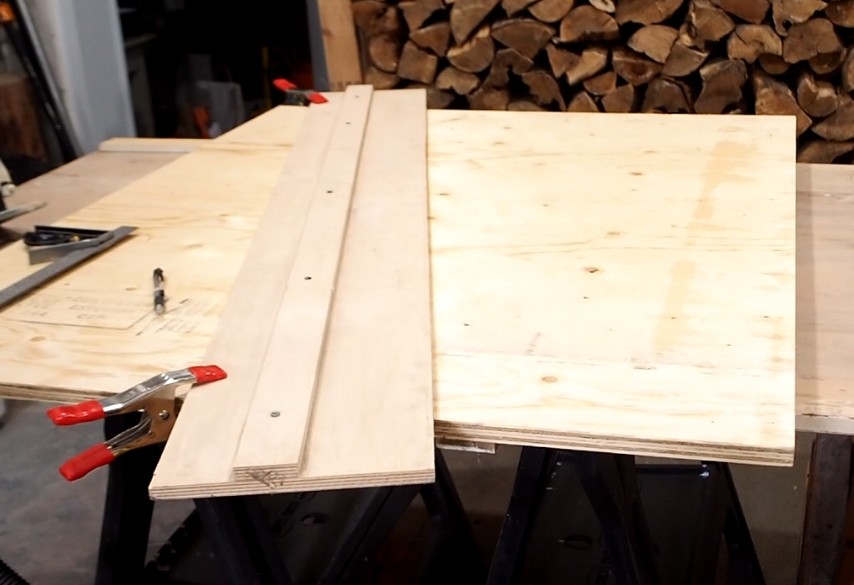
I made my guide 4 feet long, but you can make it longer. Just keep in mind that handling a long track for shorter cuts may get in the way, so consider making one for long cuts and one for shorter cuts. You’ll need a 4-foot length of plywood cut to 12 inches wide and the other to about 3 inches wide.
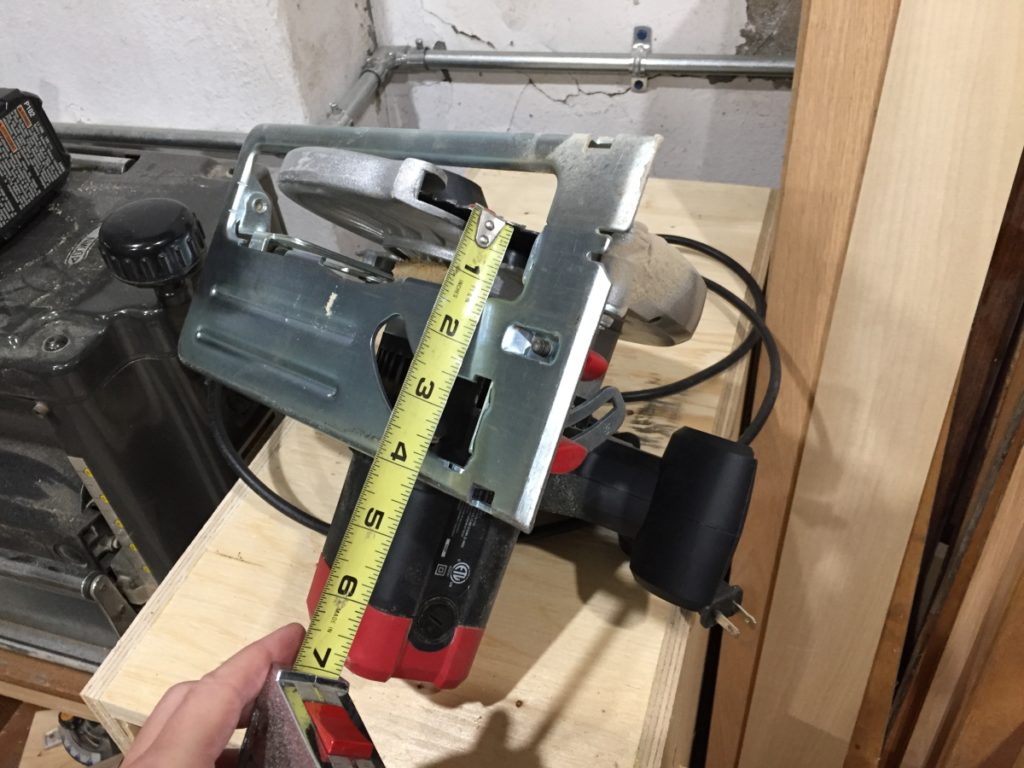
Roughly measure the distance between your circular saw’s blade and the left edge of the footplate’s edge. Mine was just over 4 inches.
Lay the saw guide 3″ piece of plywood (fence) flat on top of the larger 12″ piece. Make sure to leave at least 4 inches (i.e. the size of the measurement you just made) on the right side, plus an extra 1″. Apply some glue and screw down the fence to the 12″ board. Make sure there is also at least 3 inches on the left side of the fence to be able to clamp down the guide when making your cuts.
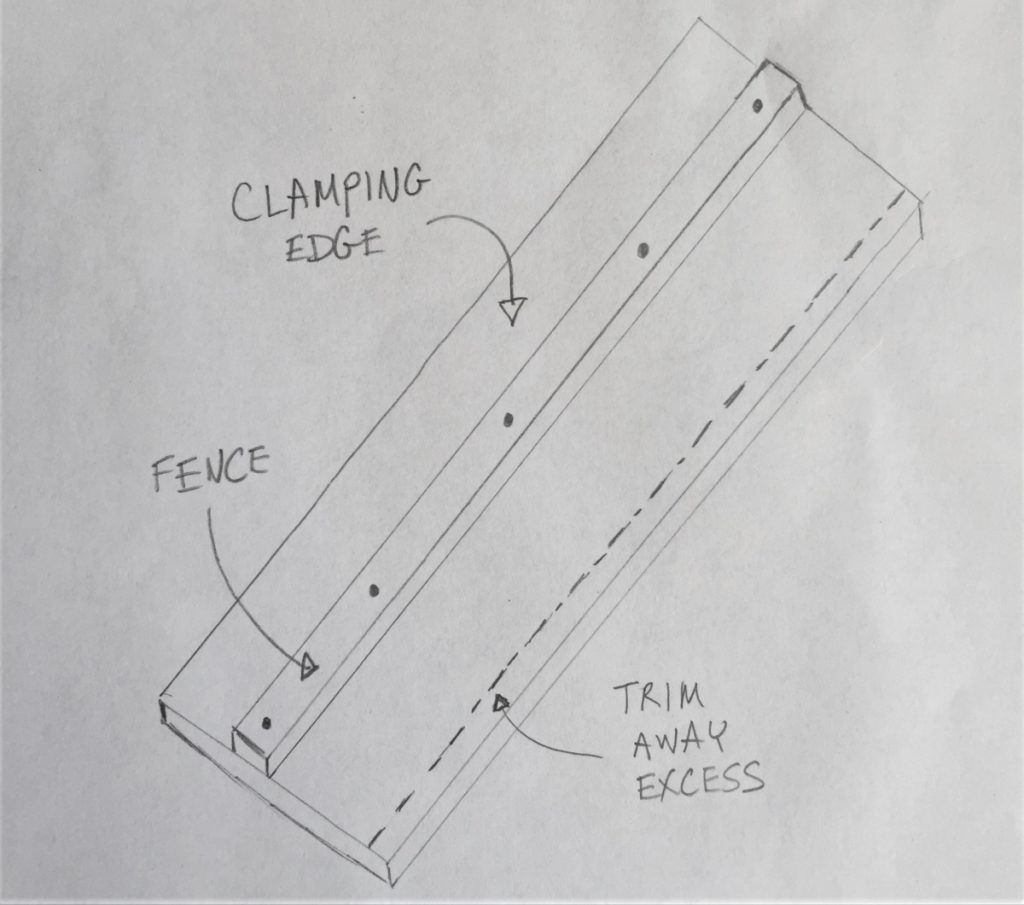
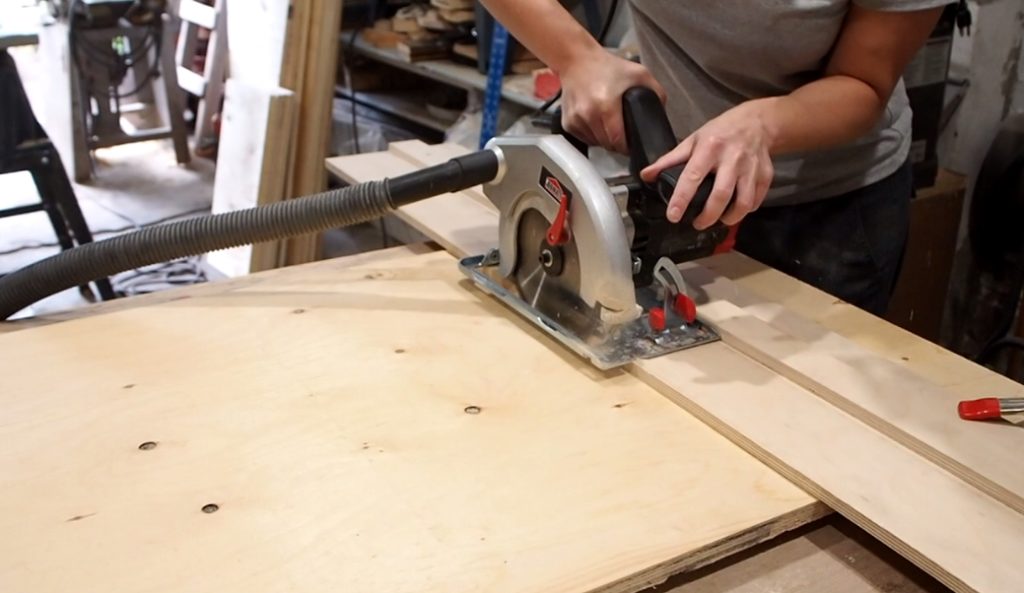
Now you’re ready to trim the guide for a custom fit to your saw. Lay the guide flat onto a supported piece of scrap plywood and clamp it down. Trim the guide by running the footplate flat against the fence.
Now you have a cutting guide customized to your circular saw that will let you make a perfect cut every time, even diagonal cuts!