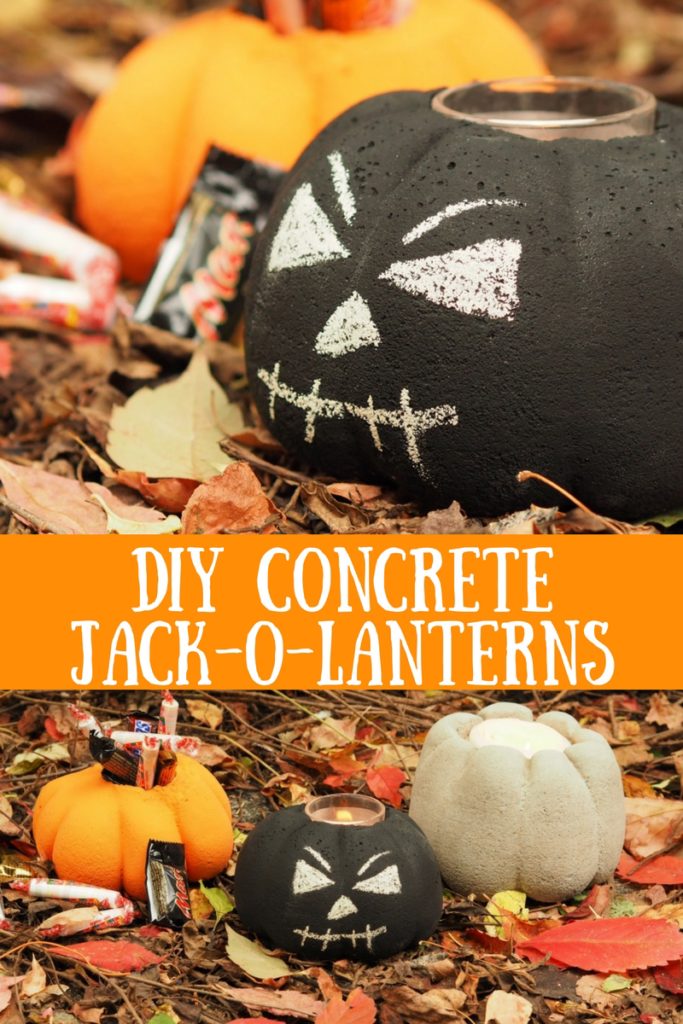
With Halloween just around the corner, I’ve decided to try yet another concrete experiment. In my very first ever concrete project, I made a large round concrete planter. So this time around, I’ve decided to make a Jack-O-Lantern pumpkin using concrete.
Click here to SUBSCRIBE to my YouTube channel for more DIY videos!
Here are the tools an materials I used for this project
- Quikrete concrete mix http://amzn.to/2vqA6fZ
- 2 gallon bucket http://amzn.to/2hSjR6w
- Concrete trowel http://amzn.to/2vqoTf2
- Water
- Knee highs http://amzn.to/2yvFMql
- Chalkboard paint http://amzn.to/2yvBVK6
- Chalk http://amzn.to/2ytDUwO
- Pumpkin paint http://amzn.to/2zxcWV1
- Rubber bands or string
- Glass candle holder (or any small cylinder object)
- Small Ziploc bag
- Nitrile gloves http://amzn.to/2vuvmnD
Step 1 – Mix the Concrete
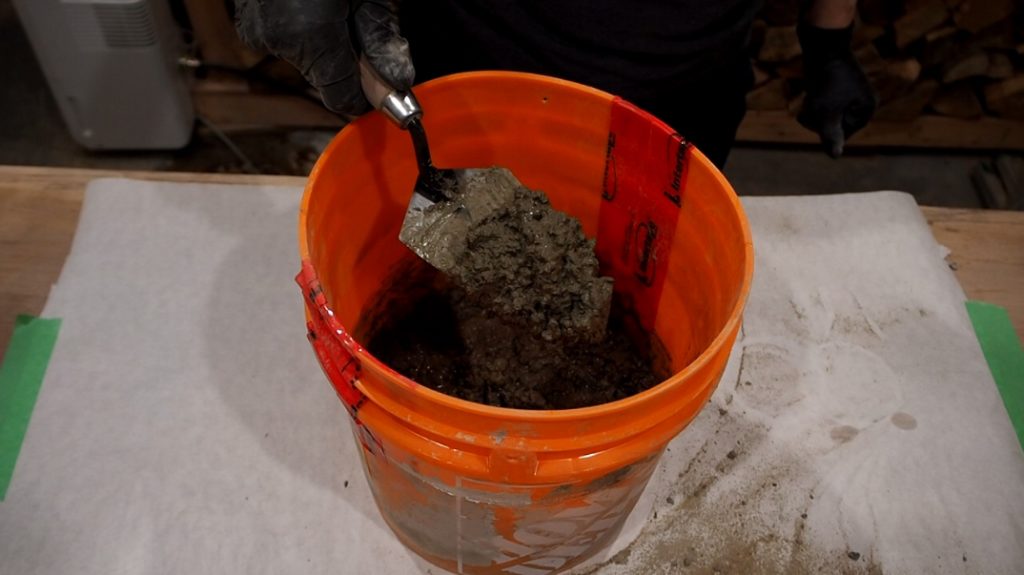
For this project I used regular Quikrete concrete.
I started by mixing a small amount of concrete in a bucket. I simply added water and mixed with a trowel until it reached an oatmeal-like consistency. Wet, but chunky 😉
Step 2 – Grab Your Stockings
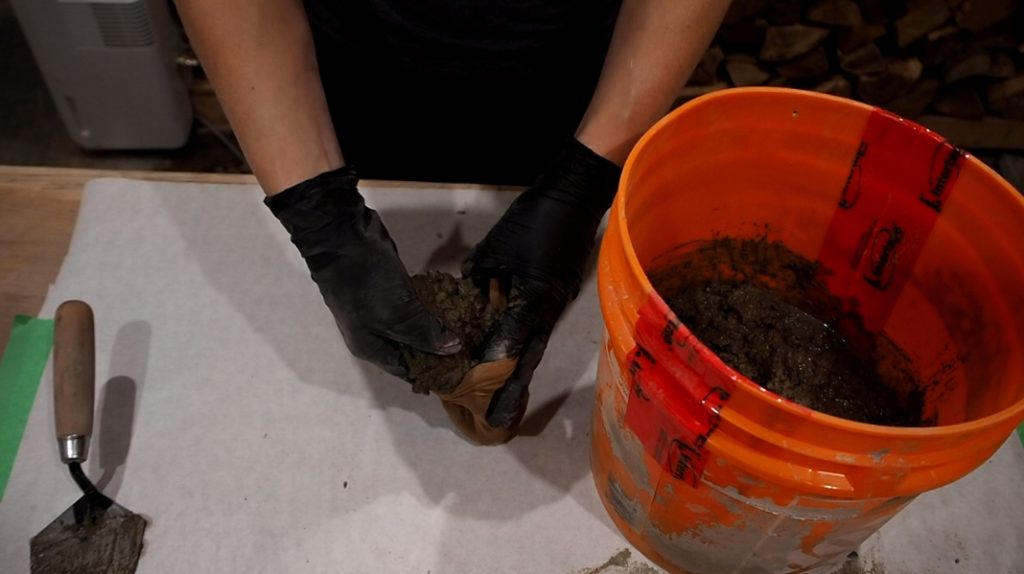
To make the pumpkin form, I used a nylon stocking. These are actually knee highs I got from the Dollar Store.
Slowly fill the stocking with concrete by hand. You’ll be surprised how much these nylons can actually hold! So go ahead and make it as big or as little as you want. And hey, you can make a few of them in different sizes.
Once you’ve filled it to the desired size, go ahead and tap, shake, and drop the pouch a few times to get the air bubbles out and compact the concrete.
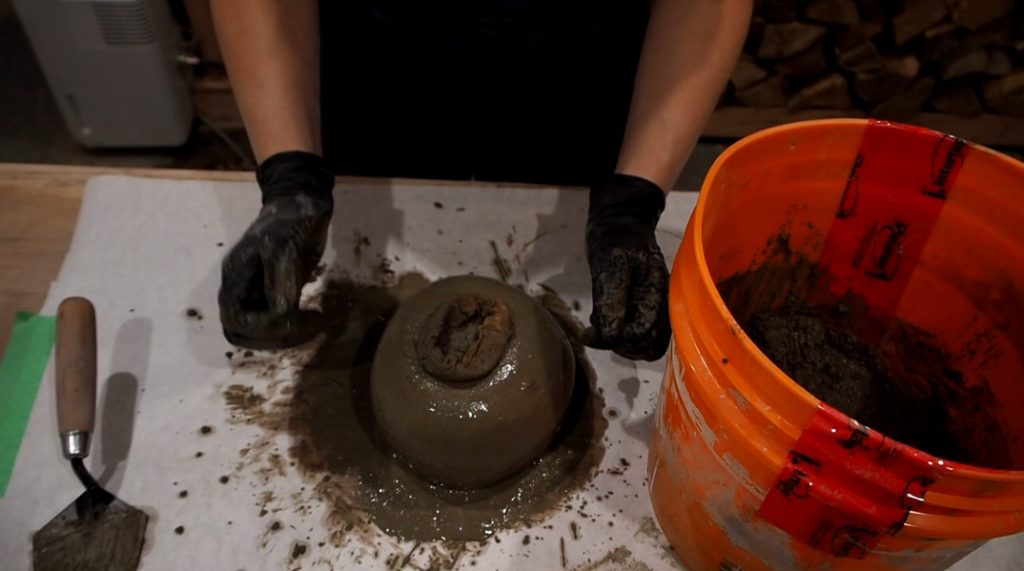
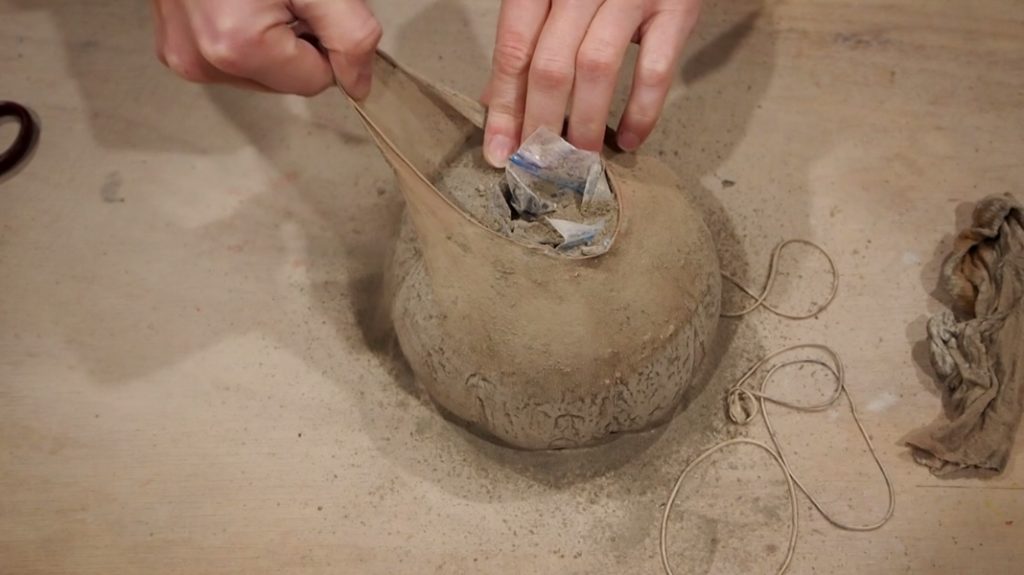
Step 3 – Create a Void
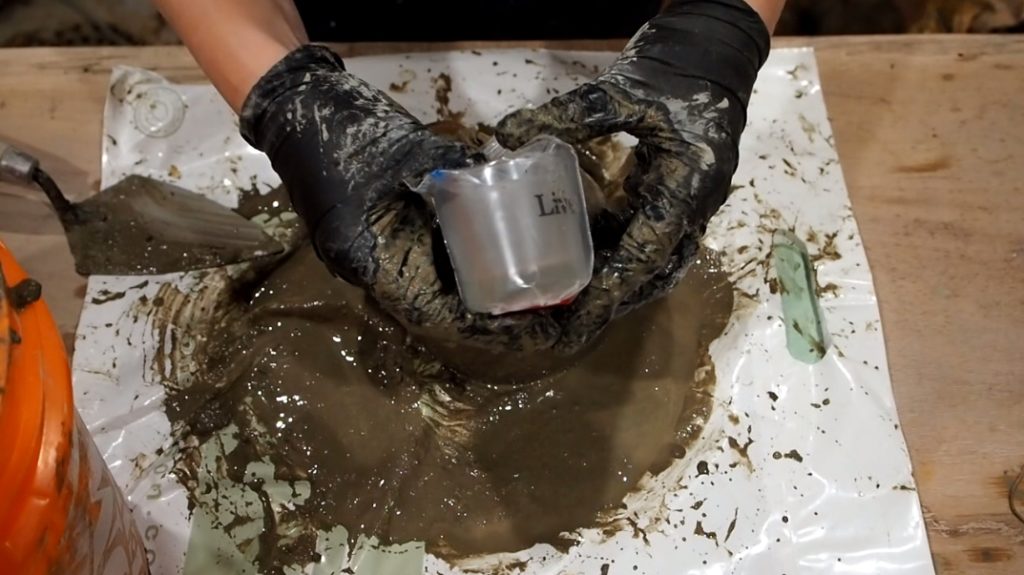
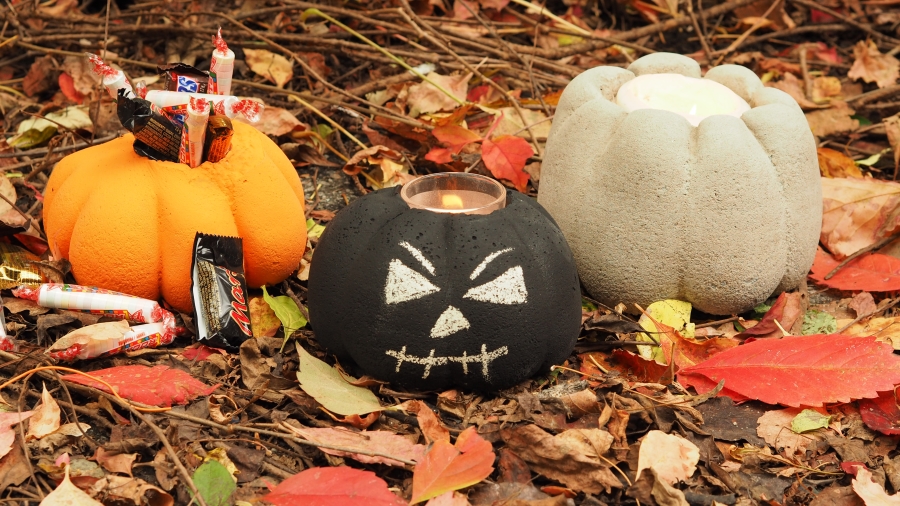
I want to create a void in my pumpkin so I can put in a candle, a plant, candy, or whatever.
I inserted a small glass candle holder that I first wrapped in a Ziploc bag so it will come out of the concrete easily once dry.
Step 4 – Form Your Pumpkin
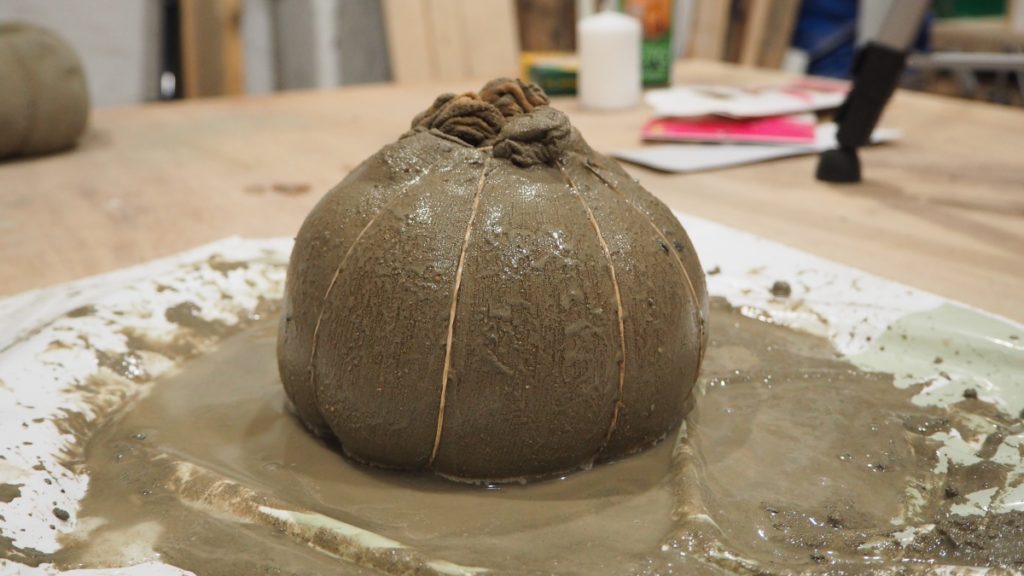
I used rubber bands to wrap the concrete ball in a pumpkin-like formation. You can use either 4 rubber bands or some string. Working with rubber bands is faster, but I like the greater control you get using string. You can play around with how tight the string will be, and make the pumpkin crevasses as deep or shallow as you’d like.
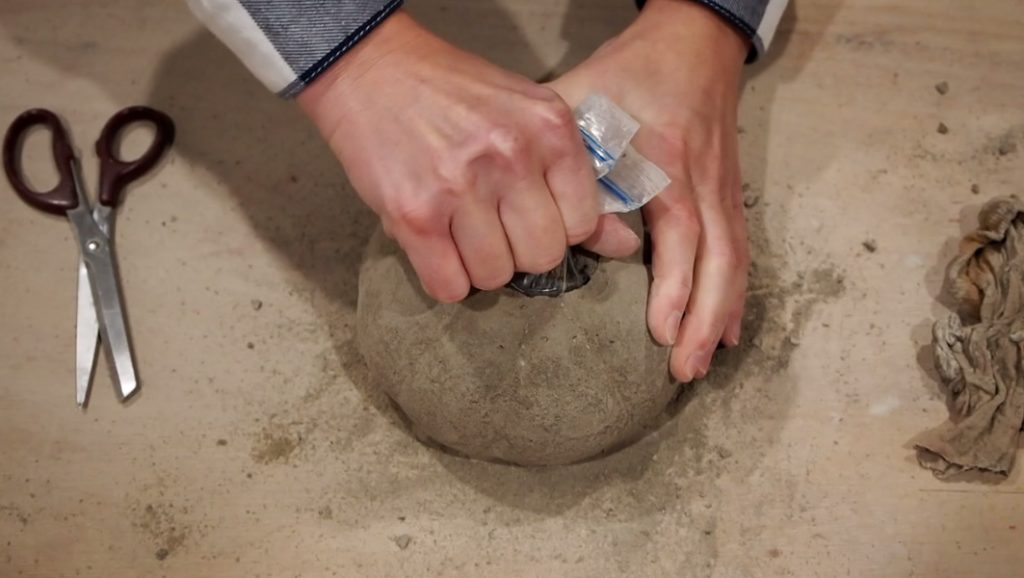
Step 5 – Let it Dry and Unwrap
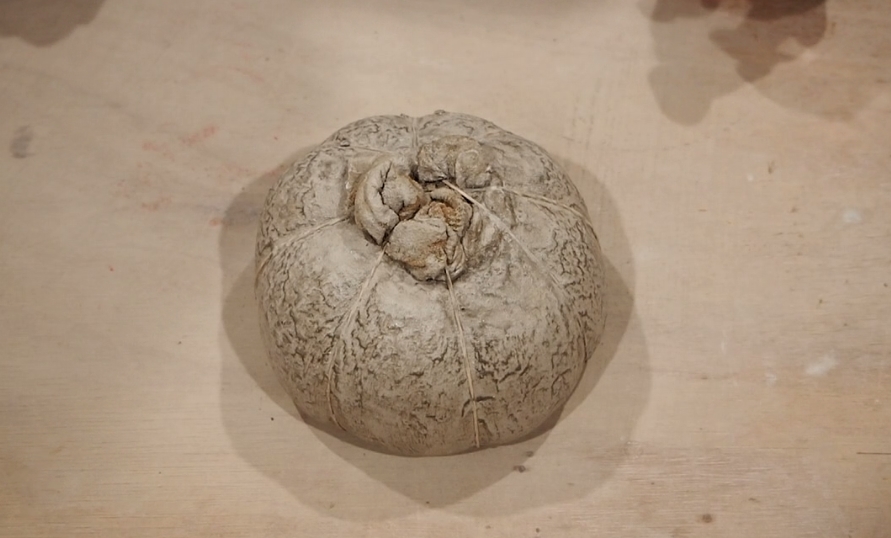
I let the forms dry for about 36 hours, then unwrapped it. The nylon should come off really easily.
The tricky part is getting out that glass candle holder. If you’re gentle with it, and wiggle and shake it softly, eventually, it should slide out.
Step 6 – Finishing Touches
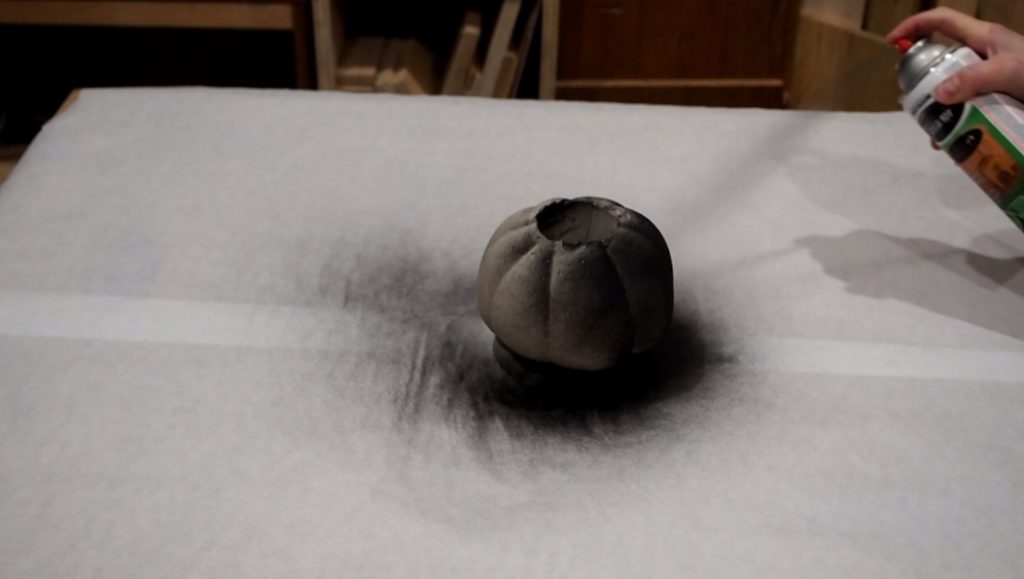
To finish it off, I used chalkboard spray paint so I’ll be able to draw on a chalkface for my Jack-O’-Lantern. I painted another one I made using craft pumpkin paint.
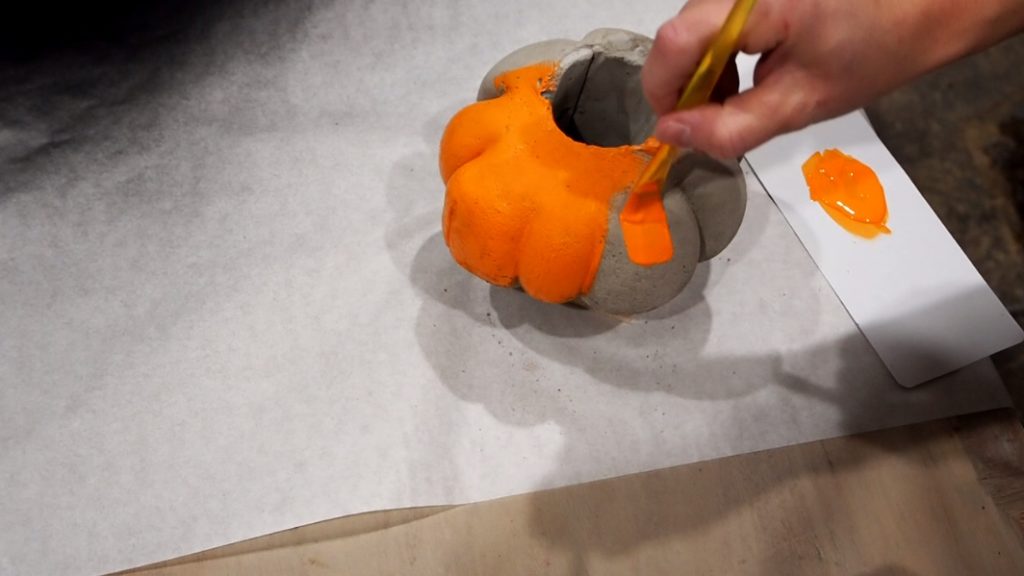
Have some fun with it! Drop in a candle, or use it as a candy bowl. Paint it, or leave it raw. Be creative!
If you haven’t already done so, you can watch the step-by-step video
HAPPY HALLOWEEN!