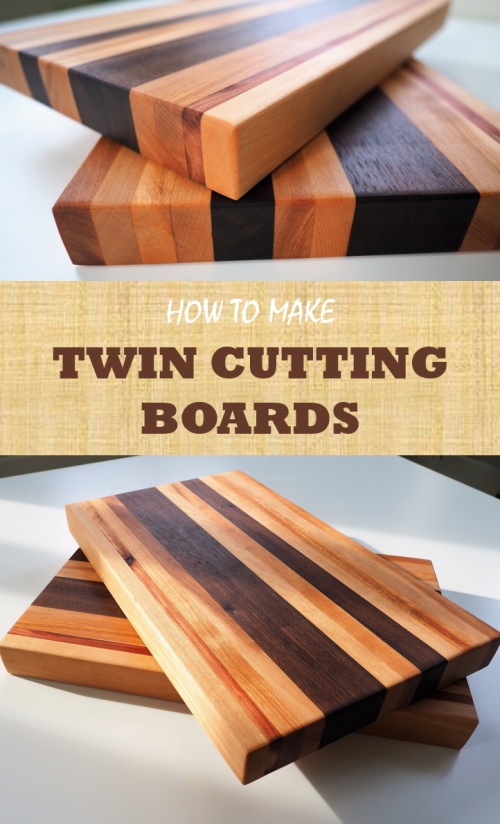
With the holidays just around the corner, a homemade cutting board can be a great gift to make for family and friends.
You can make them as simple or over-the-top as you want, using exotic colorful woods with grain worth drooling over. You can make end grain boards, add a juice grove or even make a brick pattern board. You can really step it up when it comes to making chopping boards. That being said, for this tutorial, I’ll be keeping it simple, and showing you how to make basic twin cutting boards.
You can download the free “How to make a cutting board” checklist here.
You can use any type of wood you want, but you must use hardwoods (walnut, maple, oak, cherry, etc.) when making a cutting board. Using softwoods (pine, cedar, etc.) will not only easily be scared by the use of a knife, but more importantly, will allow bacteria to penetrate the wood.
Click here to SUBSCRIBE to my YouTube channel for more DIY videos!
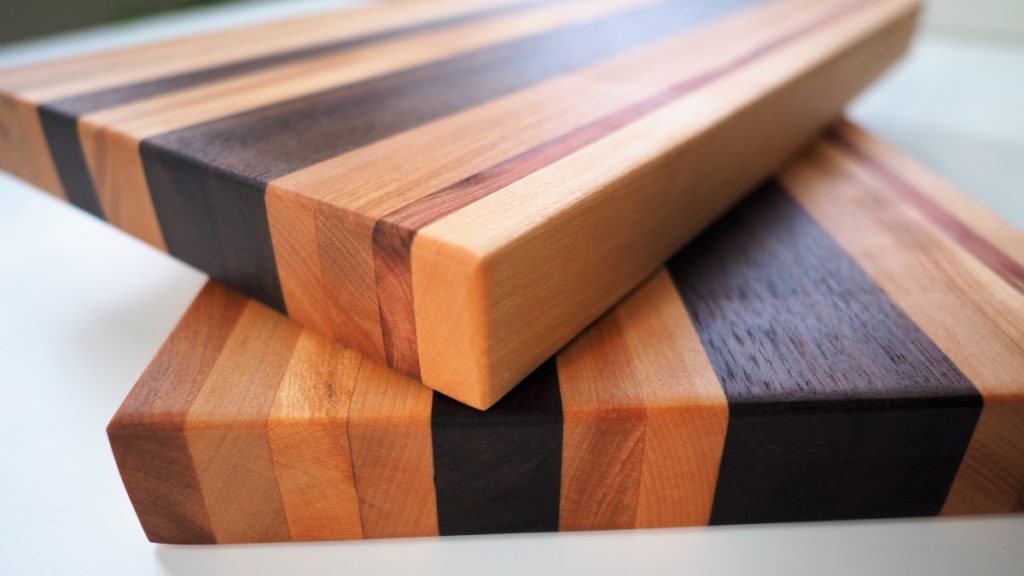
For my cutting boards, I used walnut and reclaimed maple floorboards. Here are all the tools and materials I used to make twin cutting boards each measuring 13-1/2″ x 8-1/2″ x 1-1/4″.
MATERIALS
- Hardwood like walnut, maple, oak, cherry, etc. http://amzn.to/2A54Vd6
- Titebond II water resistant glue http://amzn.to/2iNEwqa
- Howard cutting board oil http://amzn.to/2iMjisL
- 2 strips of scrap wood
TOOLS
- Table saw http://amzn.to/2A4XqCw
- Crosscut sled
- Planer http://amzn.to/2iNBHFA
- Jointer http://amzn.to/2zm2sHN
- Miter saw http://amzn.to/2iNC0QK
- Orbital sander http://amzn.to/2iNdH5M
- Clamps http://amzn.to/2i1G96F
- Glue brush http://amzn.to/2A5QhlW
- Scraper http://amzn.to/2iNdVKa
- Sanding disks (120, 150, 220, 320) http://amzn.to/2A49FiE
- Palm Router http://amzn.to/2i1cNFu
- Round over bit http://amzn.to/2A2WzSK
- Spray bottle containing water http://amzn.to/2zjS03k
Wood Prep
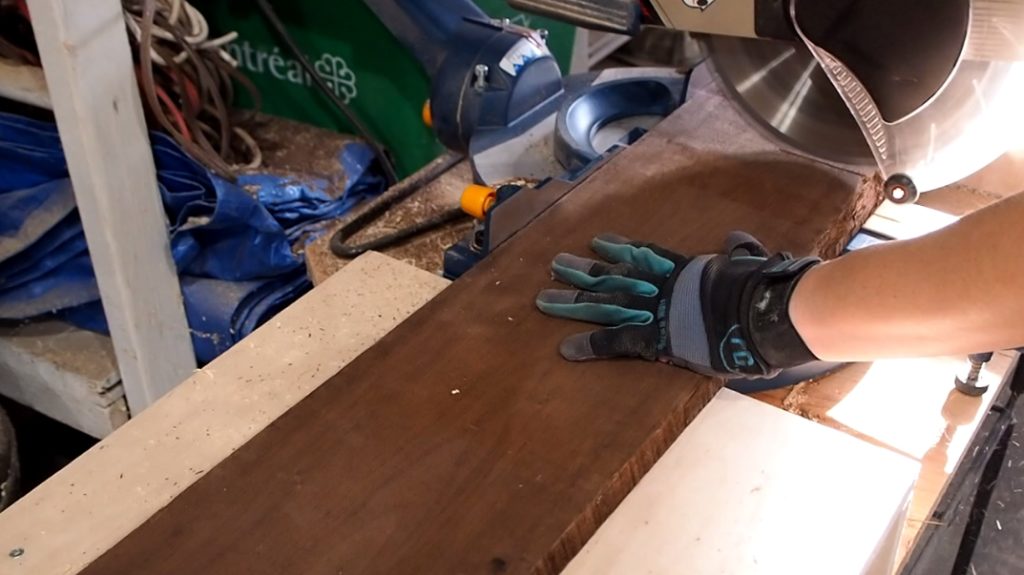
Using your miter saw, cut down your rough lumber approx. 1-2 inches longer than you want the final length of your cutting board to be. (ex: for a 12 inch board, cut to 13-14 inches long)
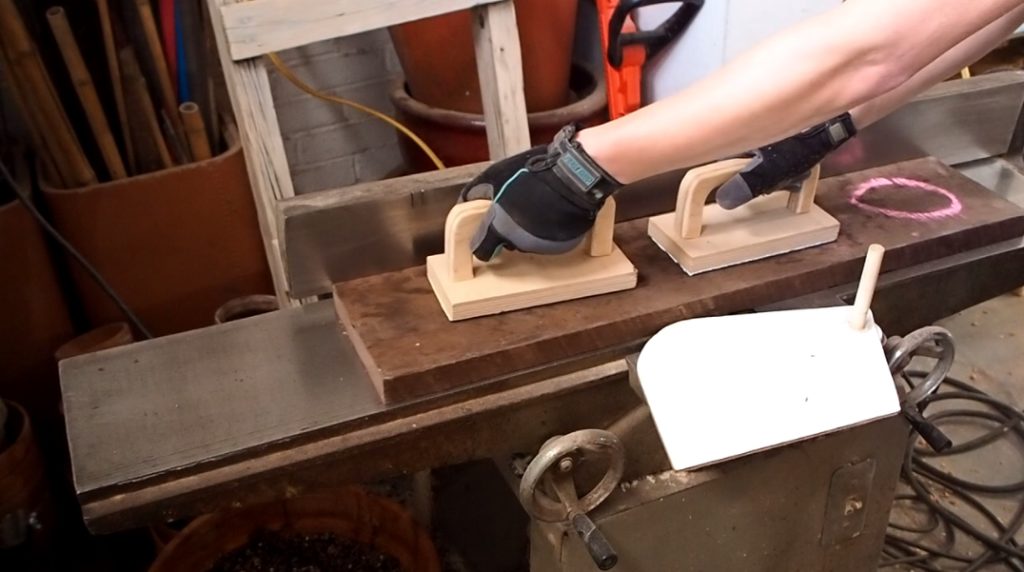
If you’re using rough lumber, flatten one of the faces using your jointer.

Next place the flat face against the jointer’s fence and flatten the adjacent edge of the board. I like to mark the jointed edges so you know which side is what.
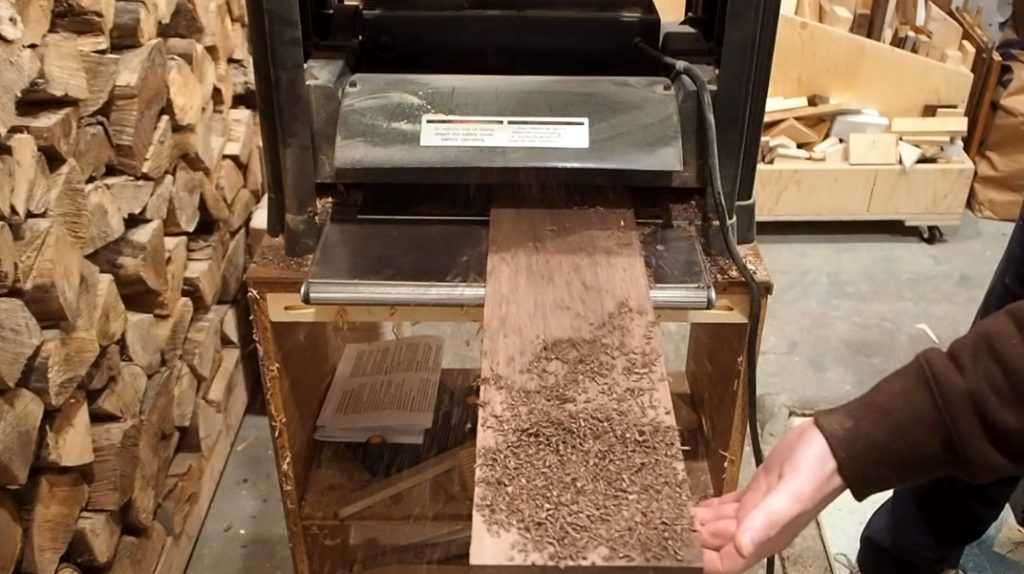
Lastly, run the board through your planer with the jointed face down (rough face facing up) until the top face is flat. Repeat the steps above for all the types of wood you will be using.
Rip Your Blanks
Set your table saw to 1-3/8 inches and rip as many pieces from your boards as possible (place the flat jointed edge against the fence).
![]()
Note that the strips will be flipped on their side in the final cutting board layout, i.e. 1-3/8″ is the thickness of the cutting board.
(Optional) Flip the strips on edge (so the thickness is 1-3/8″ and rip them into thinner strips on the table saw if you want to have thinner strips in your design.
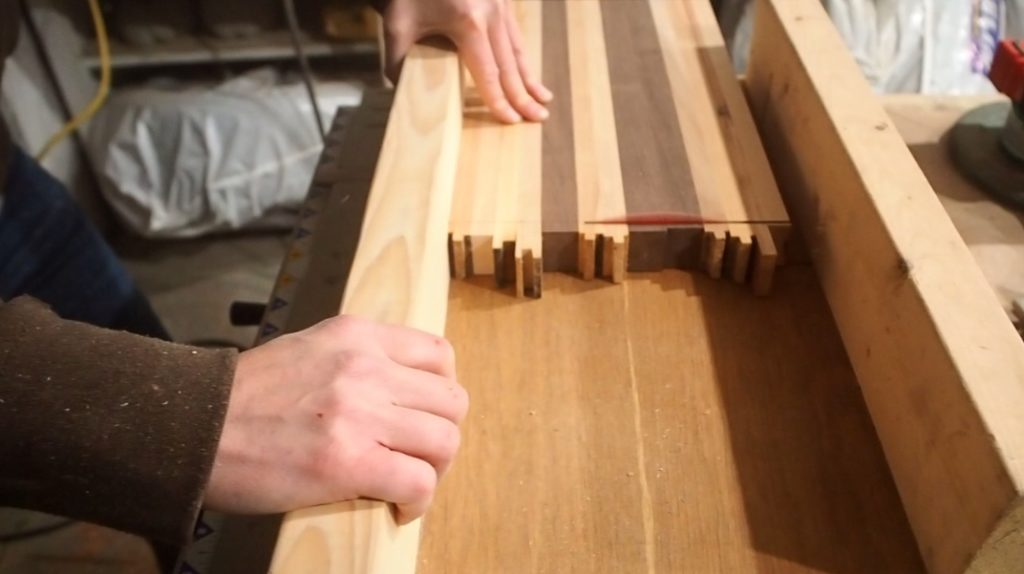
Layout Design
Layout your strips into your desired cutting board design, alternating strips to make a symmetrical or random pattern to your liking.
Tip: take notice of the boards’ ends. Try to alternate the orientation of the growth rings, one facing up, the next facing down, and so on. This will help prevent warping over time.
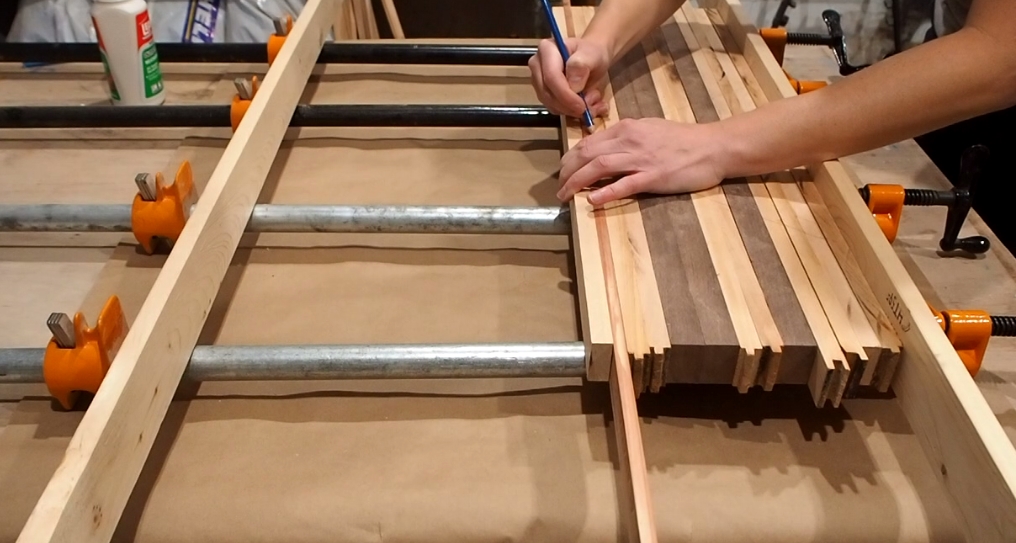
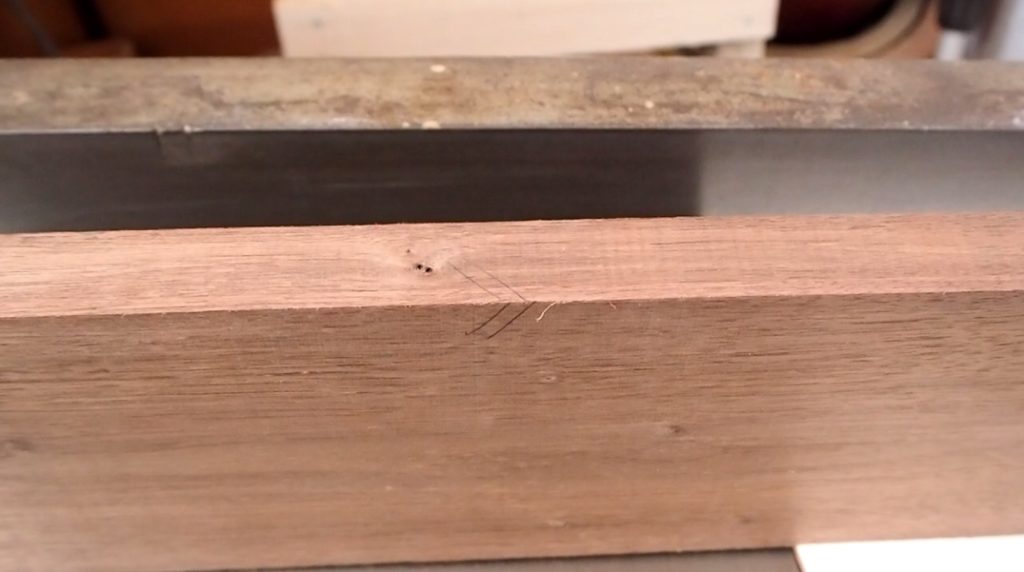
Once you have the desired layout, it can be helpful to lightly trace a large triangle that covers the entire piece. That way you will know which board goes where during the glue-up process.
Glue Up
Place 2-3 clamps open on their backs and lay your design onto the clamps. Add scrap pieces of wood on each end of the design, parallel to the other strips. This will help distribute even pressure when clamping and also prevent leaving a dent from an over-tightened clamp.
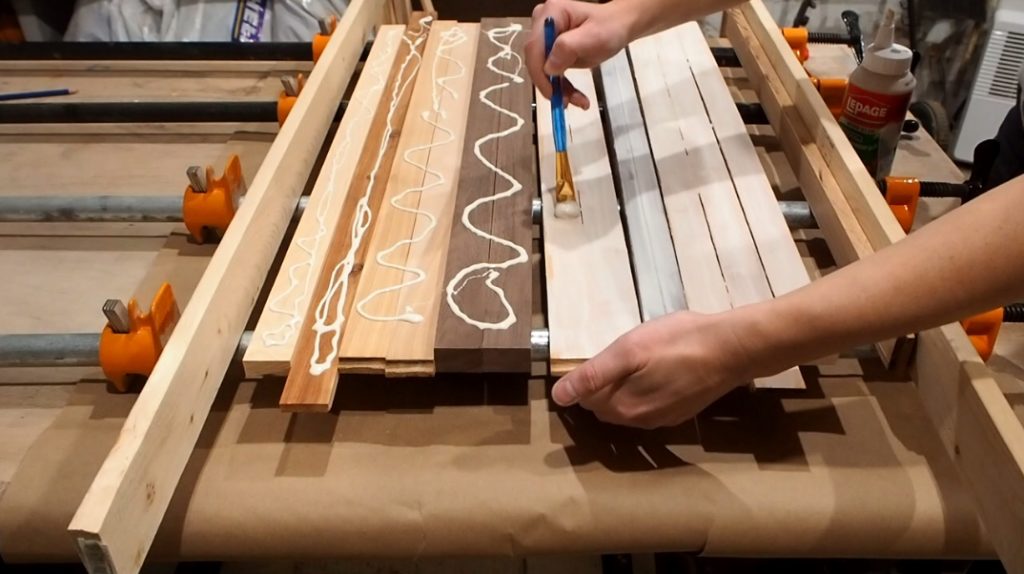
Flip all the strips on edge (except the scraps) and apply water resistant glue evenly across the entire surface. Use a glue brush to spread the glue onto the entire surface.
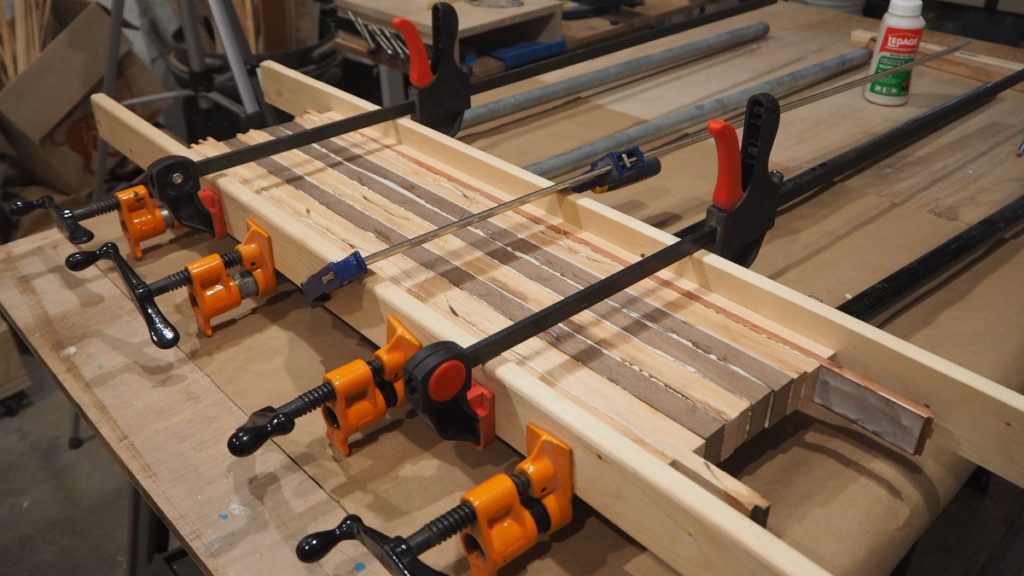
Flip all the strips back up one by one (back into the chosen design) and tighten the clamps. Apply enough pressure until glue begins to squeeze, but don’t over-tighten. Add 1-2 more clamps across the top.
Tip: After roughly 45 minutes, gently scrape off any squeeze out while still moist.
Allow to dry overnight.
Taking Shape
Remove the clamps and use a scraper to remove any remaining hardened glue from the surfaces.
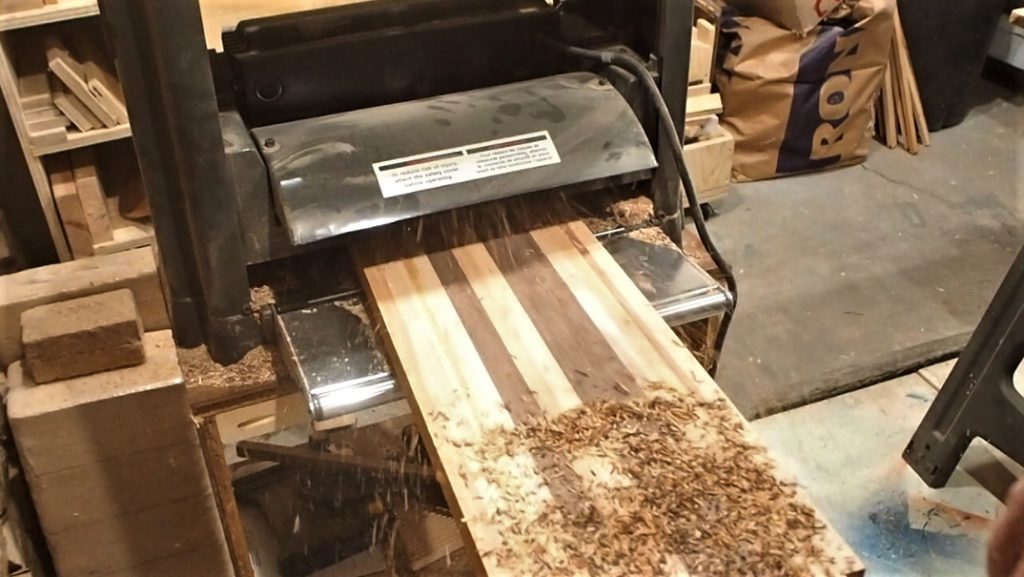
Run the board flat through your planer (do both sides) until you have a flat smooth finish on both faces.
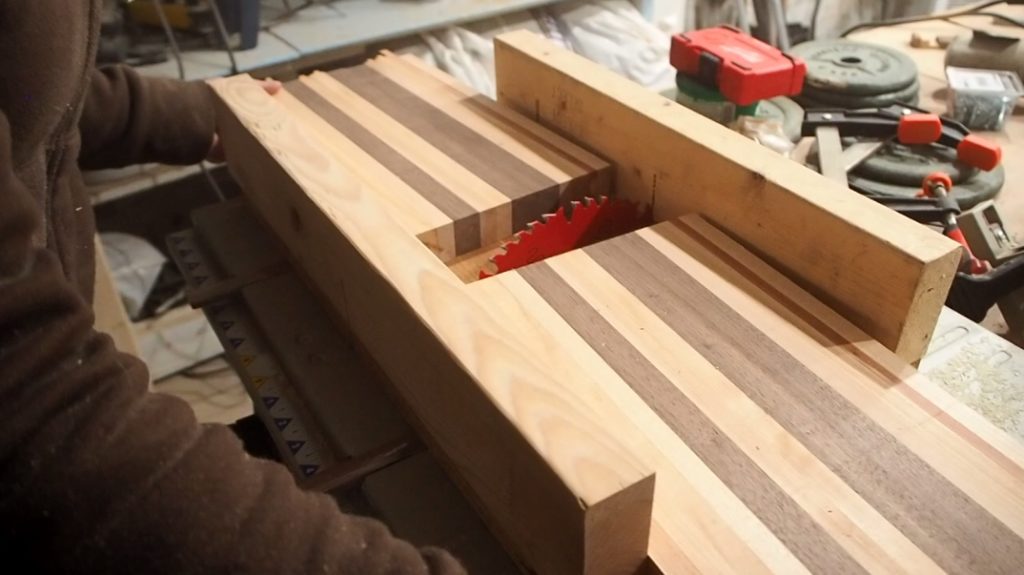
I used my crosscut sled to cut the board in half, then squared off both ends of the boards.
Pre-Finishing

Use your router with a round over bit or a chamfer bit (according to preference) to round over or bevel all the board’s edges.

Sand all the faces using your orbital sander starting with 120-grit, then progressively moving up to 150-grit, then 220-grit.
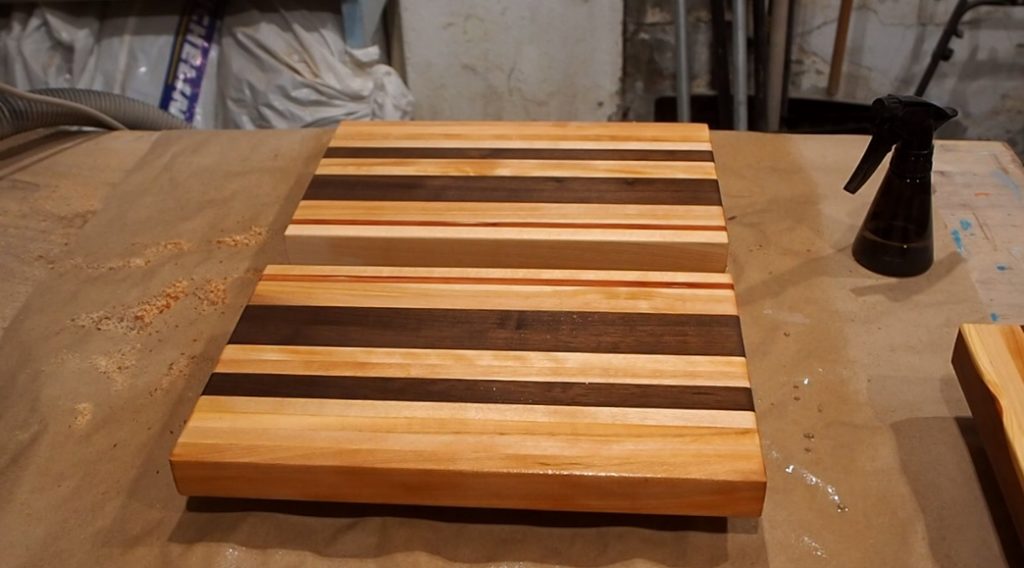
After sanding smooth with the 220-grit, “pop” the grain by lightly spraying the entire board with water from a spray bottle. Let it dry. This is to raise the grain. If you skip this step, your beautiful new cutting board will become rough after the first time you wash it.
Resume sanding with your orbital sander using 220-grit sandpaper, then 320-grit or higher as desired for an ultra-smooth finish.
Finishing
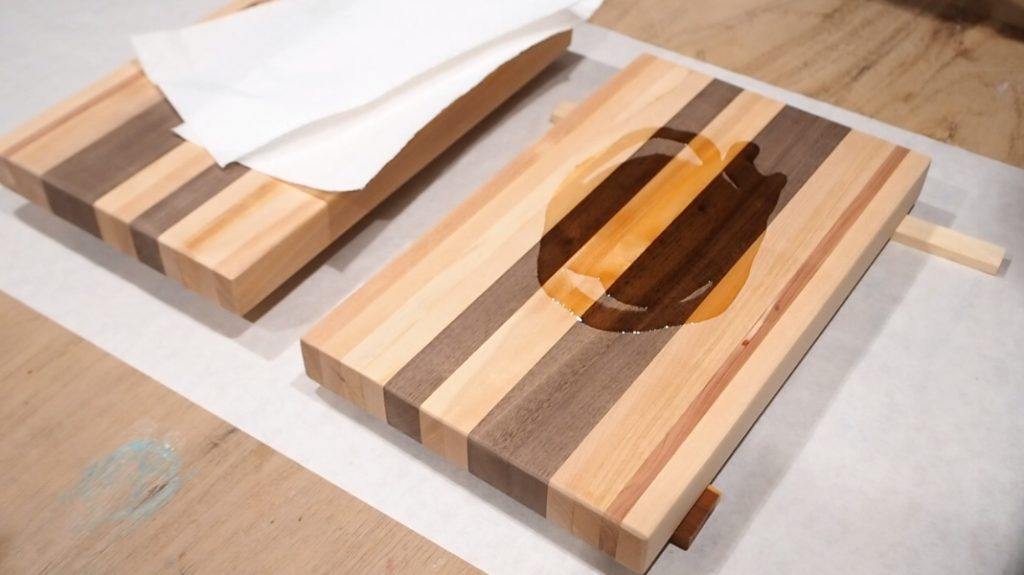
Apply 3-4 coats of food grade mineral oil to the entire cutting board according to the instructions (usually at 20-minute intervals).
Let dry 24 hours and the board is ready to use!