The tapering jig is one of the easier to build but often overlooked. What is a tapering jig exactly? To put is simply, it’s a sled that works with your table saw to make rip cuts on an angle.
It can be used to add a taper to furniture legs, cut plywood on an angle, straighten a live edge, or even cut an awkwardly shaped board and reestablish a straight edge.
- Toilet bolts http://amzn.to/2ESVgGJ
- Star knobs http://amzn.to/2Ed6l8o ∙
- Toggle clamps http://amzn.to/2C4MORC
- 3/4 Birch Plywood http://amzn.to/2E9ZVqC
- Screws #6 3/4″ flat head and #12 3/4″ pan head
- Hardwood strip
Tools
- Table saw http://bit.ly/2thGg2T
- Palm router http://amzn.to/2jmjkus
- Straight router bit http://amzn.to/2xwBuzB
- Spiral router bit http://amzn.to/2tUV2wK
- Drill/driver set http://amzn.to/2FMH1CE
- Gorilla glue http://amzn.to/2FtKA4R
How to Make a Tapering Jig
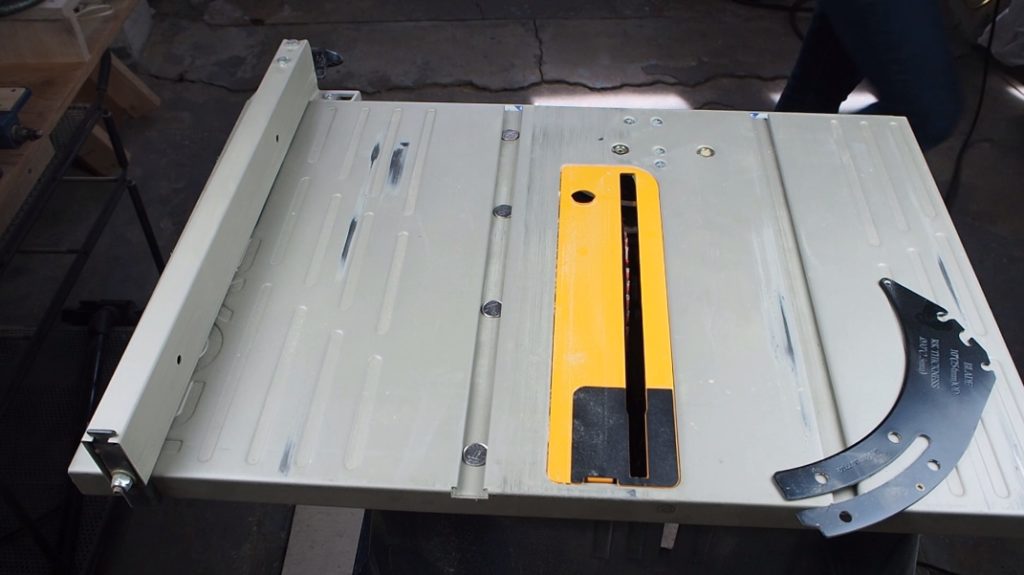
I started by grabbing a scrap piece of ¾ Baltic birch plywood from my lumber cart. The measurements of the jig will really depend on the size of your table saw and what you plan to do with it, whether it’s taper furniture legs, cut plywood on and angle or straighten a live edge.
I personally cut an 8 inch strip for the base and a 2 inch strip for the fence. You’ll also need a small strip of any hardwood that you’ll need to cut down to an exact fit in your miter slot. I used a leftover strip of maple I had from some reclaimed floorboards, but almost any hardwood will do.
Router the Grooves
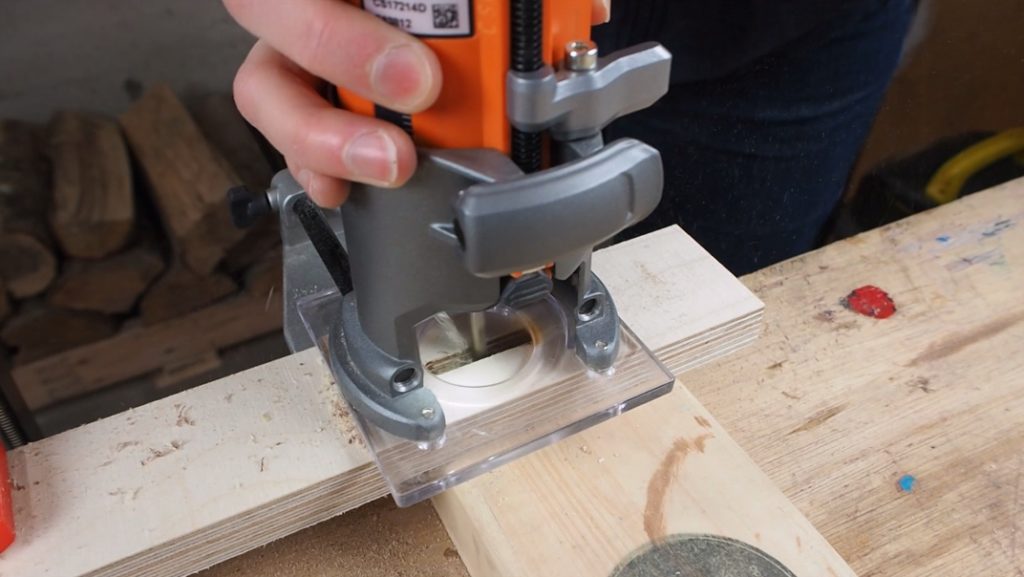
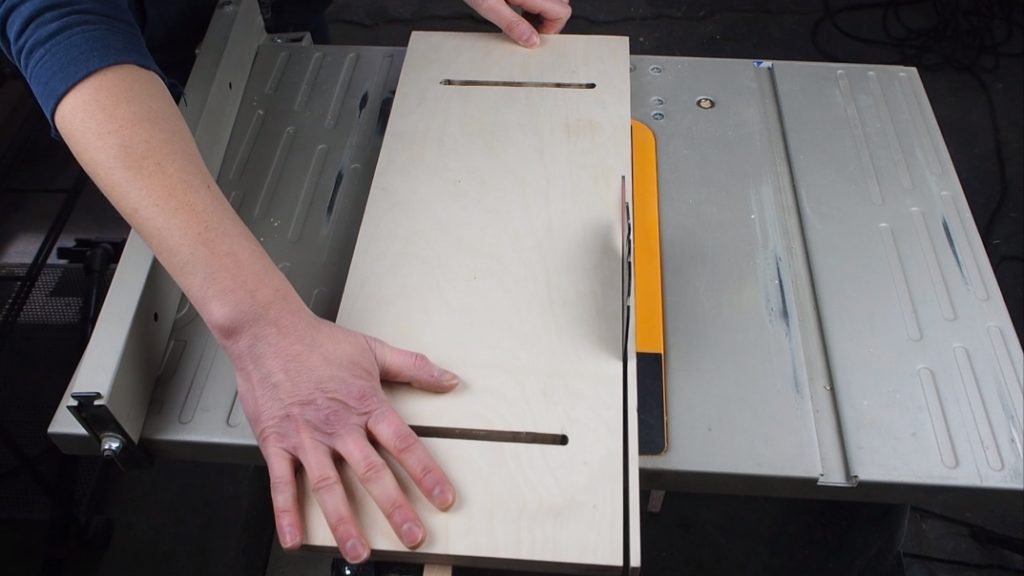
I used my router to first make a wide shallow groove just deep enough so that the head of my bolt would lay below the surface. I made one on each end of the board careful to leave a gap on each side and not go all the way to the edge.
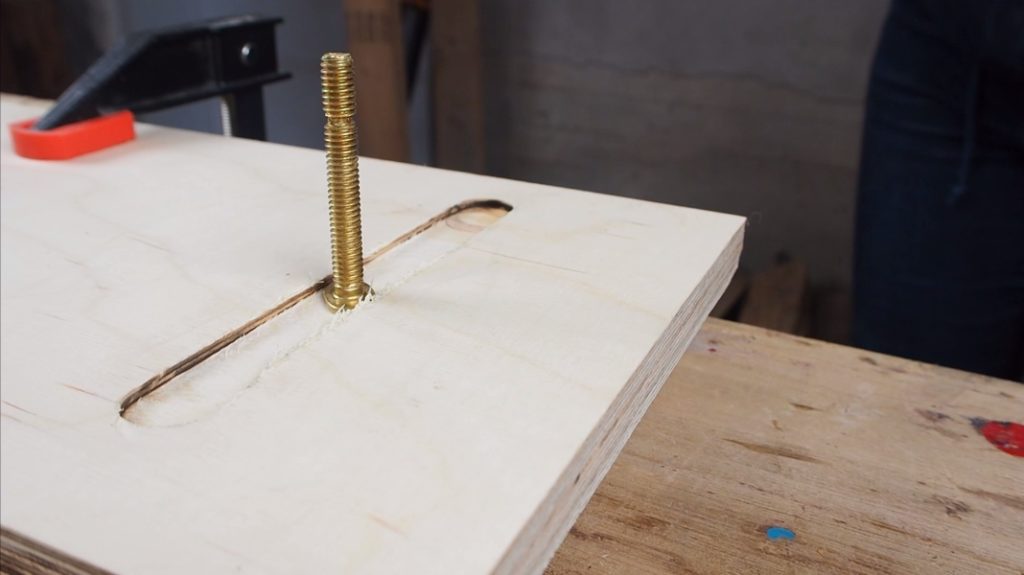
You’ll also need a smaller straight bit or spiral bit that’s at least the size of whatever bolt you’re using. Without adjusting my router’s fence, I made a groove inside the other shallow one, this time going all the way through, and I did this on both sides.
When you’re done, your bolt should fit perfectly and slide within the newly created tracks.
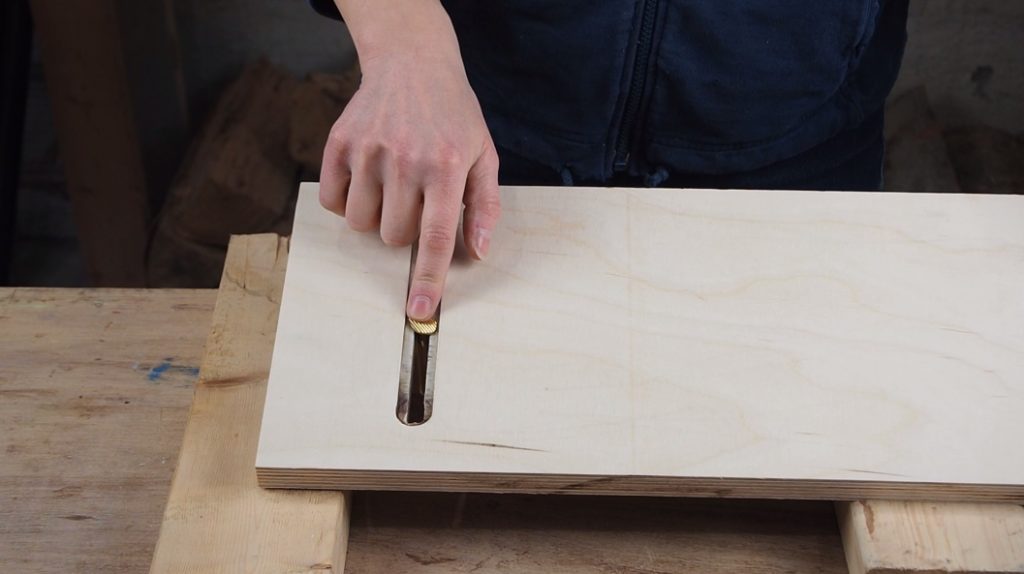
Next, I roughly marked where the fence would intersect with the tracks on the base, and marked a rough line. I then use the same spiral bit to make a slot all the way through.
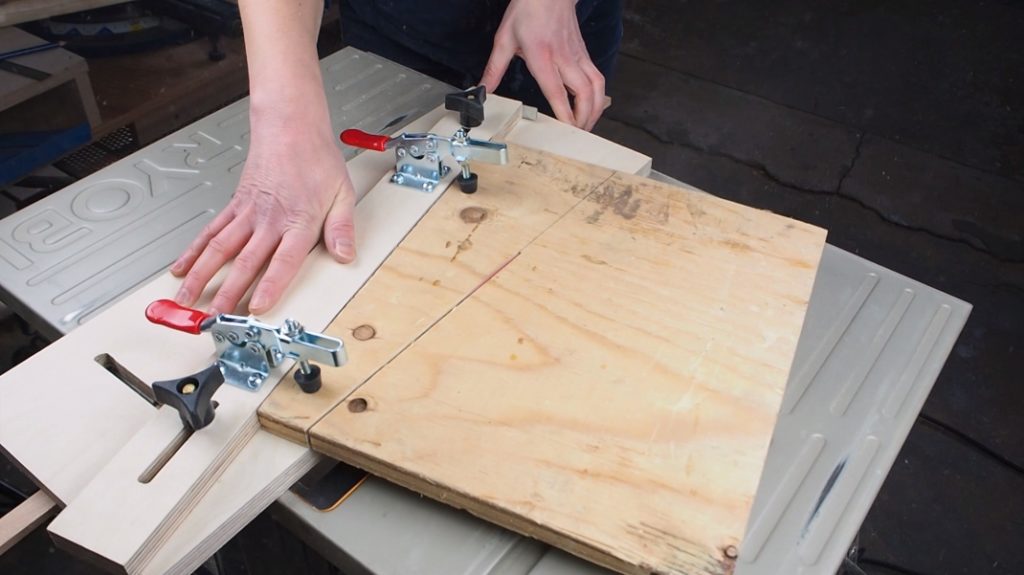
Mount the hardware
I had some left over hardware from my drill press table build, so I’m again using simple toggle clamps, toilet bolts and star knobs for this jig.
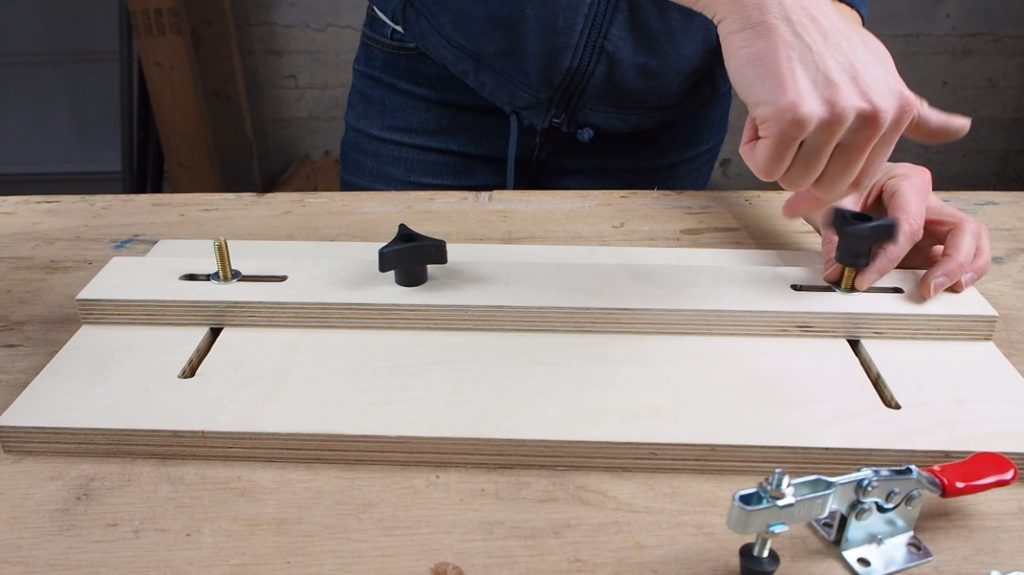
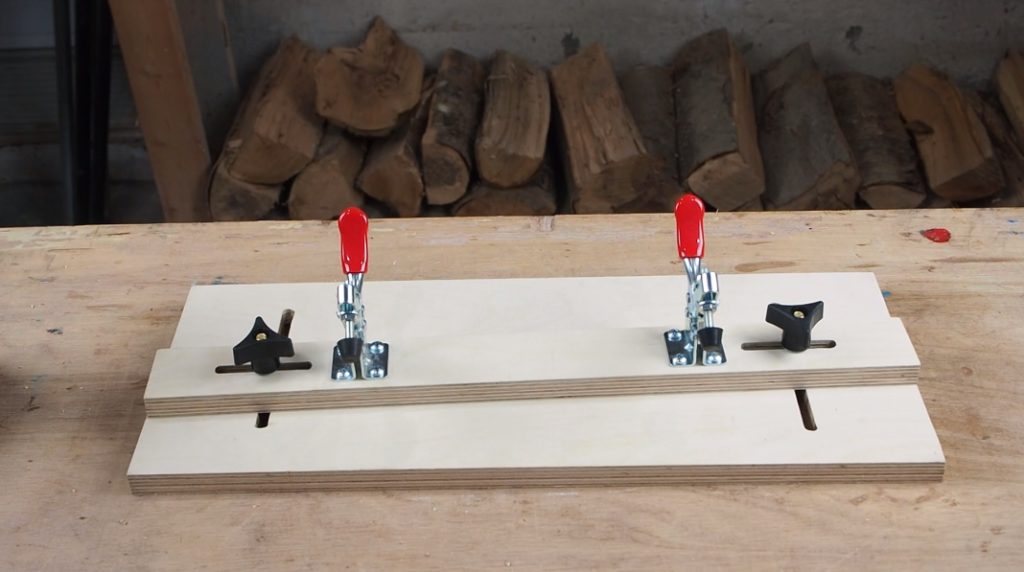
With the slots all cut out, the table can now be assembled. I slid the toilet bolts up through the tracks from underneath, through the base and up through the fence. I added a washer over the toilet bolts before screwing down the star knobs.
I then marked out where I would install my toggle clamps, then made some pilot holes before screwing them down. I know this will seem obvious, but make sure your screws are short enough so they don’t break though to the bottom piece. I used #12 3/4″ pan head screws.
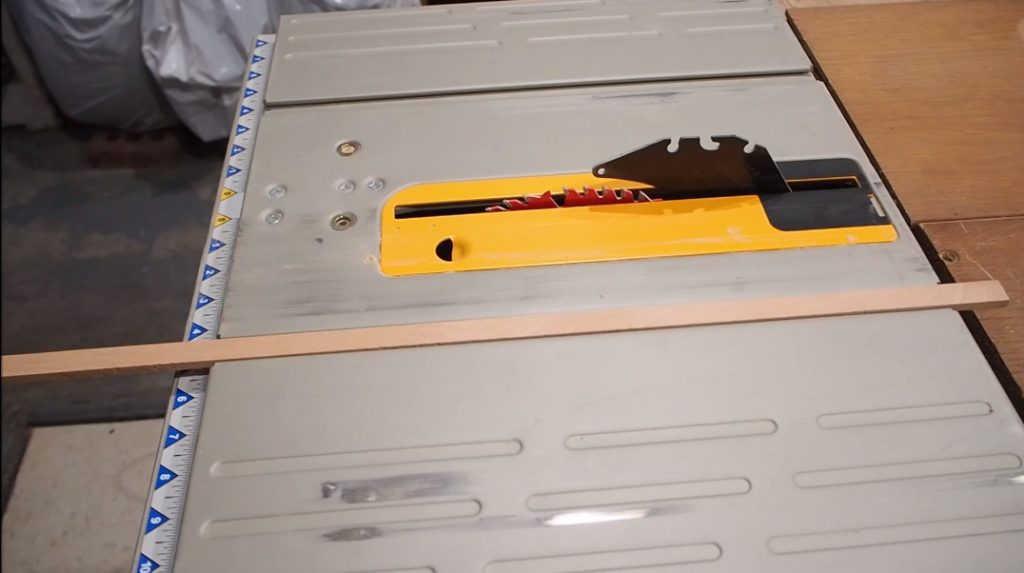
Attach the Runner
I put down a few dimes in the miter slot first just to raise up the hardwood slightly to make the glue up easier. I then applied just a few dabs of Gorilla glue to the hardwood strip.
Tip:You just need the wood to stick here so don’t overdo it and get glue all over your table saw and the bottom of the jig.
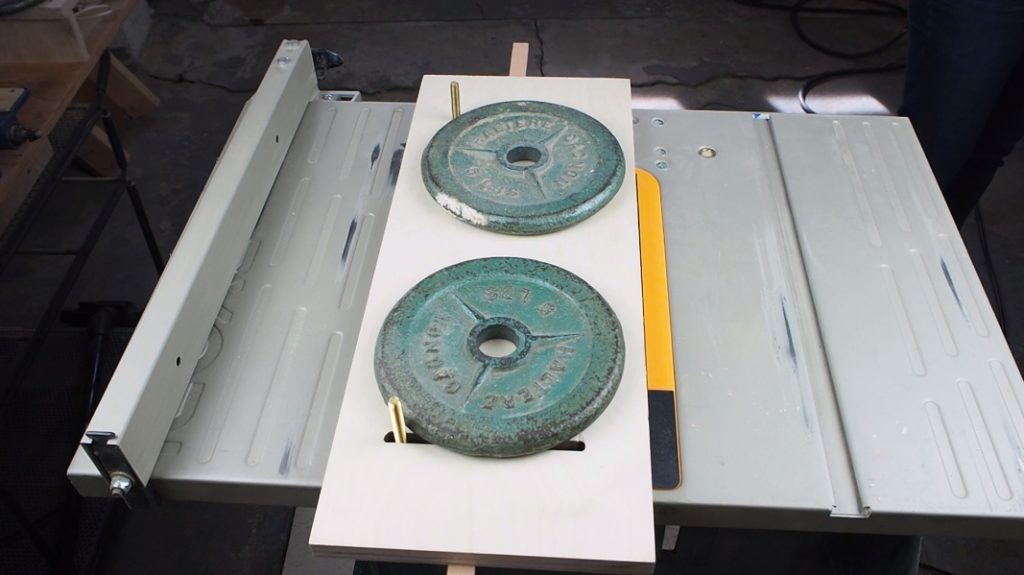
I added some weights on top on let it set for about 30 minutes.
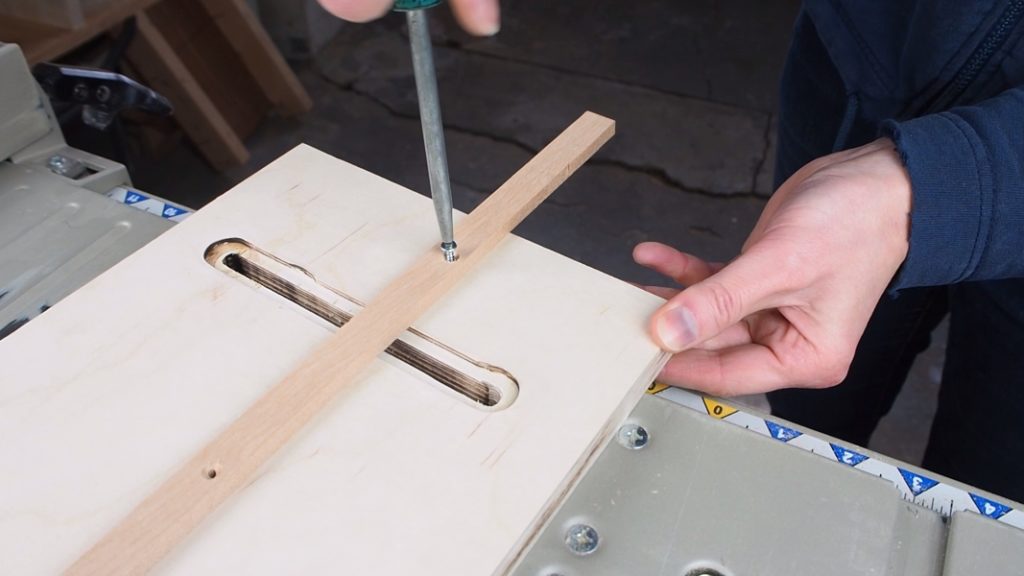
I then drilled some pilot holes and countersunk them to hide all the screw heads. I then mounted the screws with a screwdriver by hand to avoid splitting the wood.
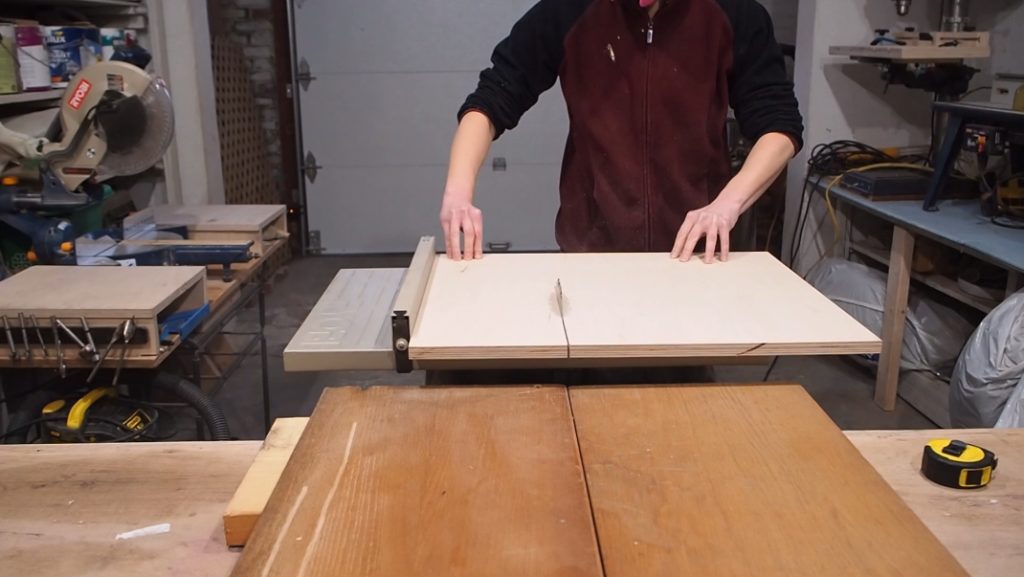
Trim the Edge
All that was left was to run the sled through the blade with the runner in the miter slot to trim off the edge and create the zero clearance.
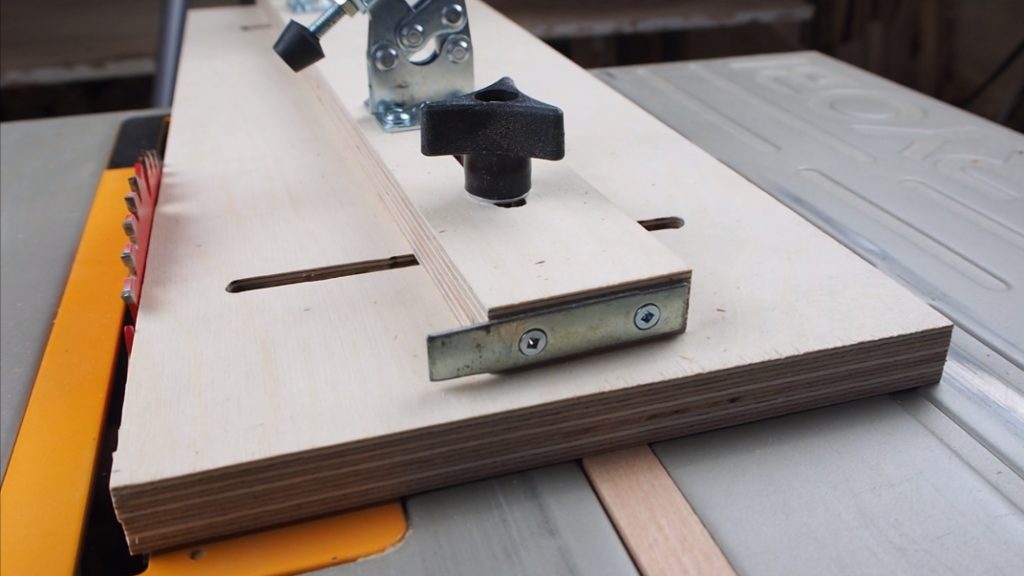
The last small detail I added was a metal stop at the end of the fence. Note that this is more to make consistent cuts when you’re tapering legs; the toggle clamps are actually what’s holding down the wood securely.
To use the jig, mark the line you want to cut and transfer those lines onto the board’s edges. Then just line those marks up with the edge of the jig, lock it down against the fence, and make your cut.