If you use power tools such as a table saw, router table or jointer, you already (hopefully) know the importance of using push sticks and push blocks is key to keeping your fingers safe. Making your own push blocks is easy using plywood scraps and an old mouse pad.
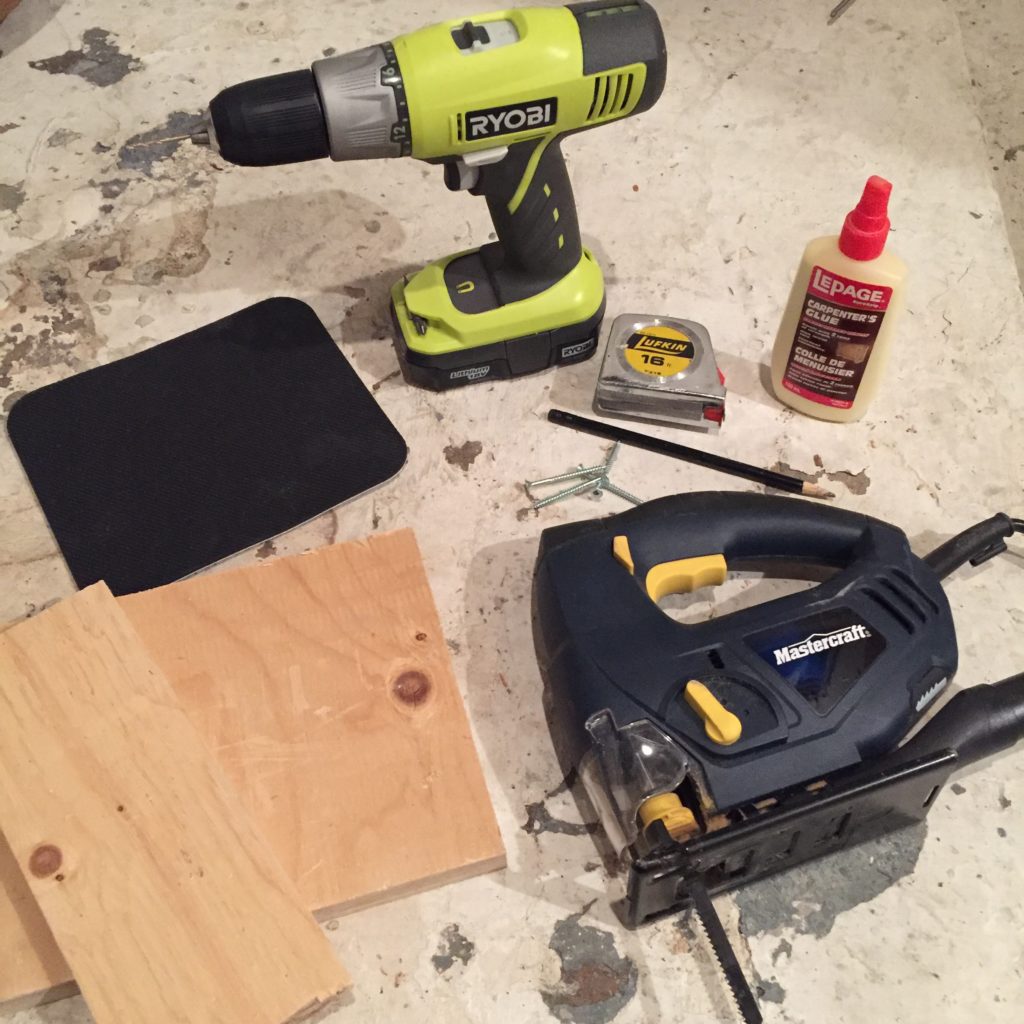
Materials you’ll need to make these push blocks:
Tools:
- Drill
- Countersink drill bit
- Tape measure
- Jigsaw or band saw
- Spring clamps
- Router table (optional)
Trace the handles
Start by tracing out the handle on your plywood. Consider the size of your palm. I made mine about 5 inches long.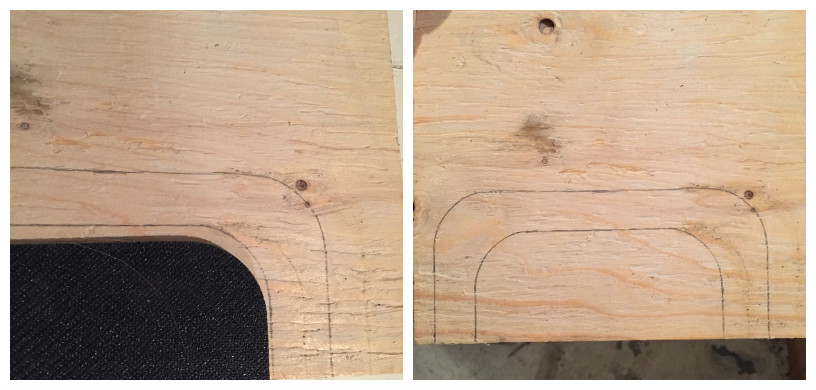
Tip: use the mouse pad to help trace the corners.
Cut the handles
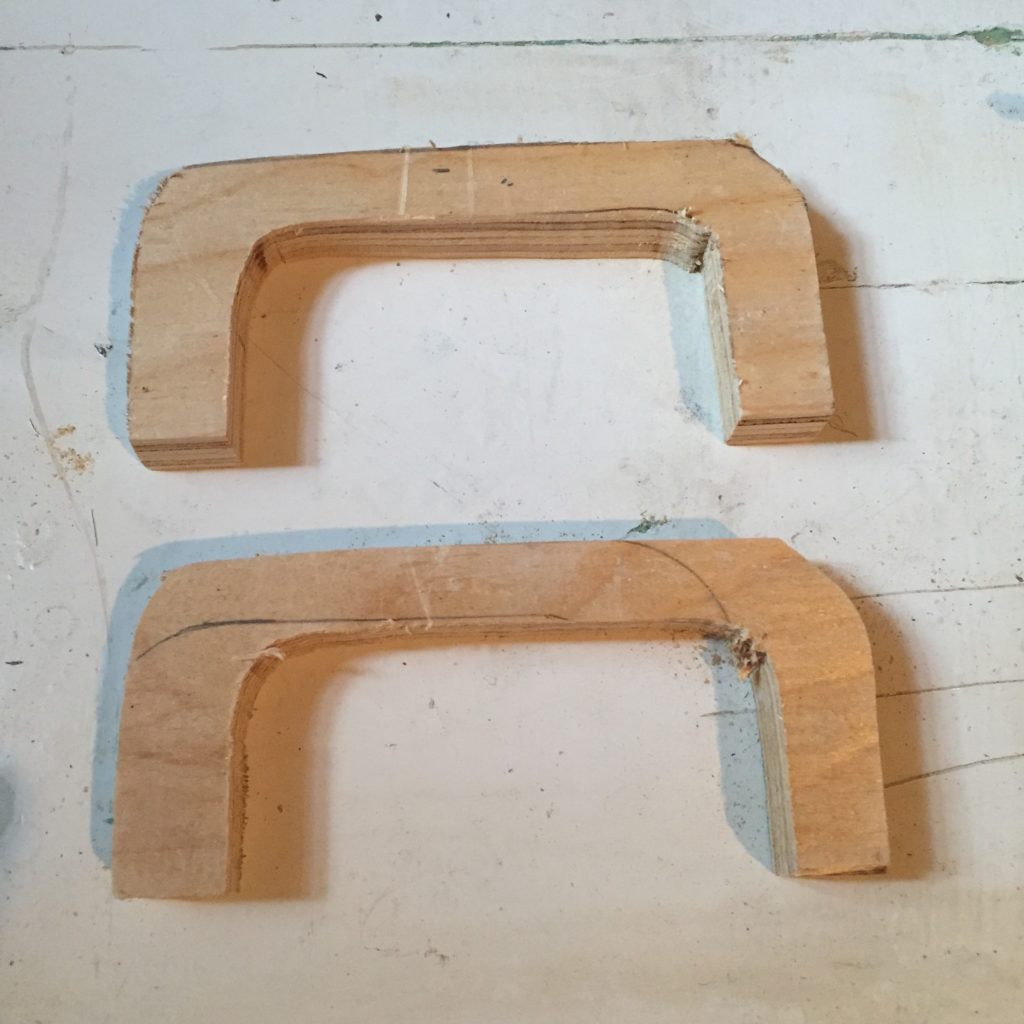
Use a jigsaw or band saw or even better a scroll saw if you have one. Follow the lines to cut out your handles. As you can see, I need a little practice with the jigsaw… but not to worry, I can fix this.
Round the edges at the router table
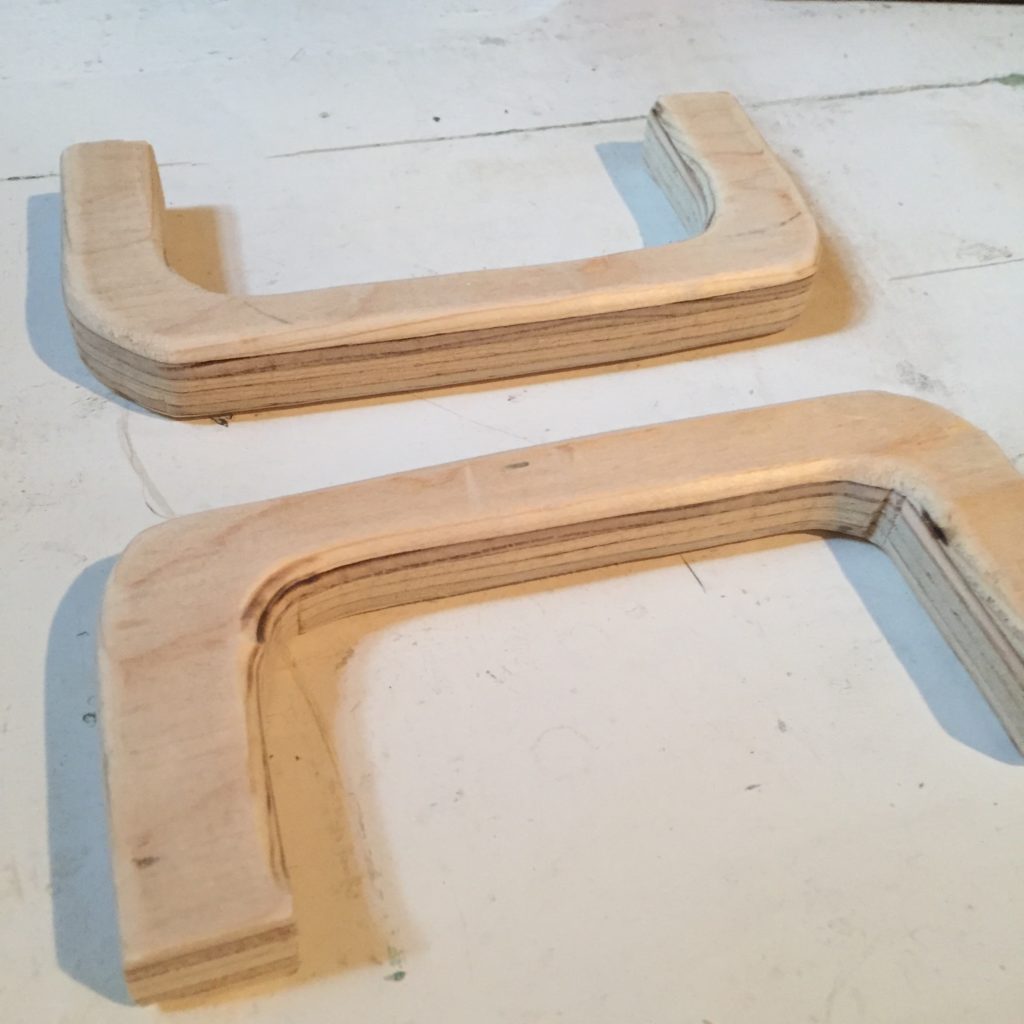
I installed a rounding bit in my router table and rounded the inside and outside edges of the handles the make them smooth and round. Finish up by sanding down the handles completely to make them smooth.
Cut the base
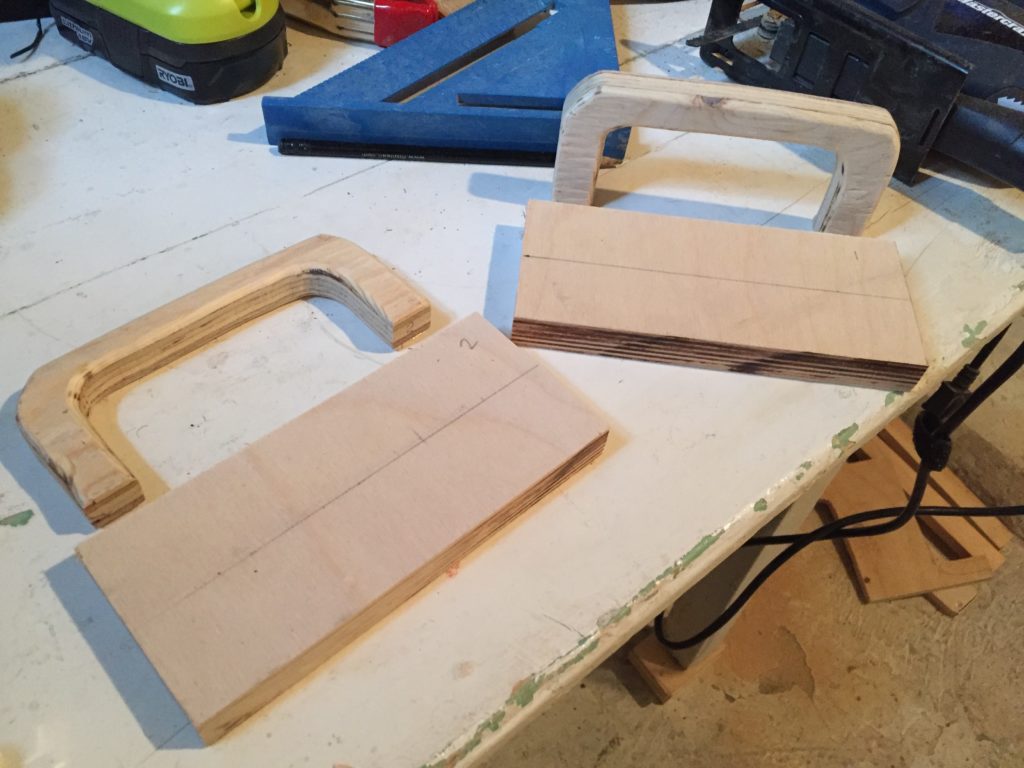
Cut a piece of plywood slightly longer than your handles, about 3 inches wide. In my case, the base was 6″ x 3″.
Attach the handle to the base
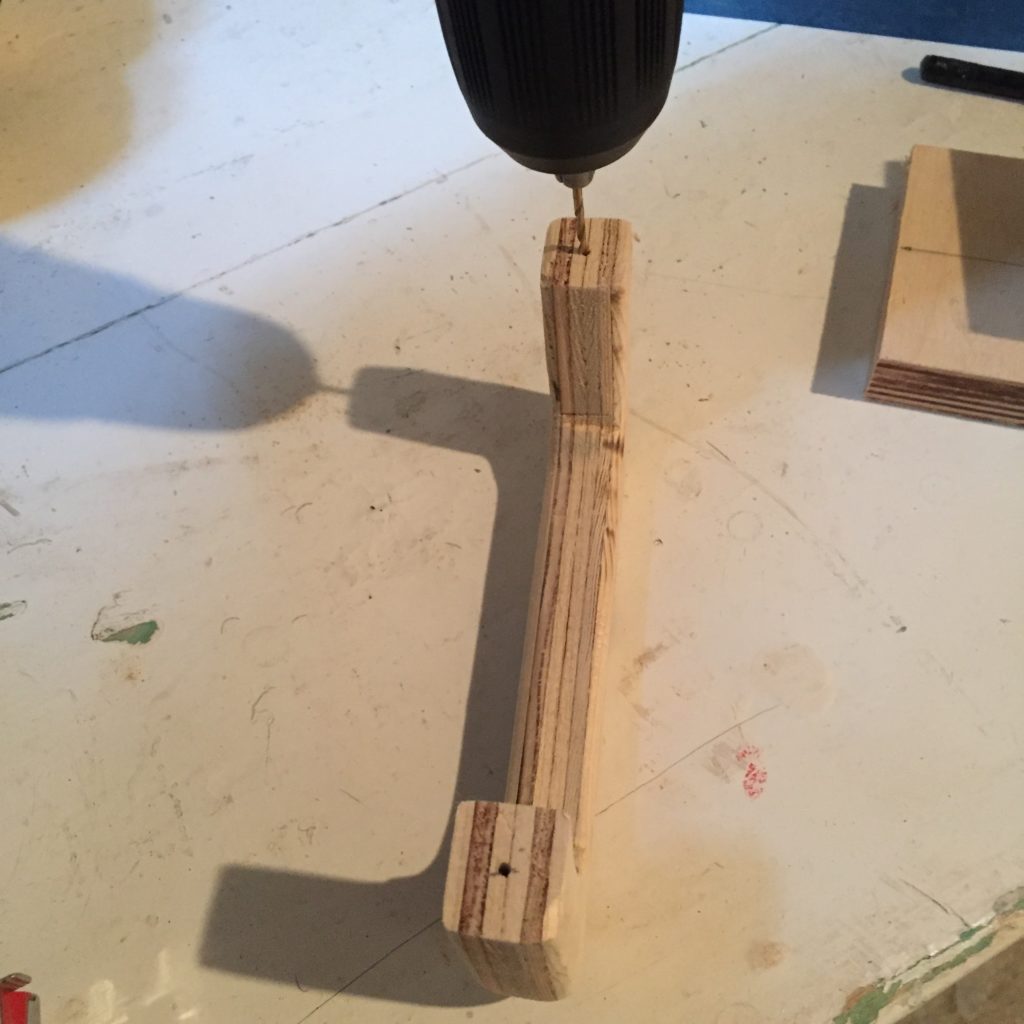
You’ll want to drill some pilot holes in the underside of your handles to prevent splitting. Then transfer these holes over to your base. I used the infamous green tape method.
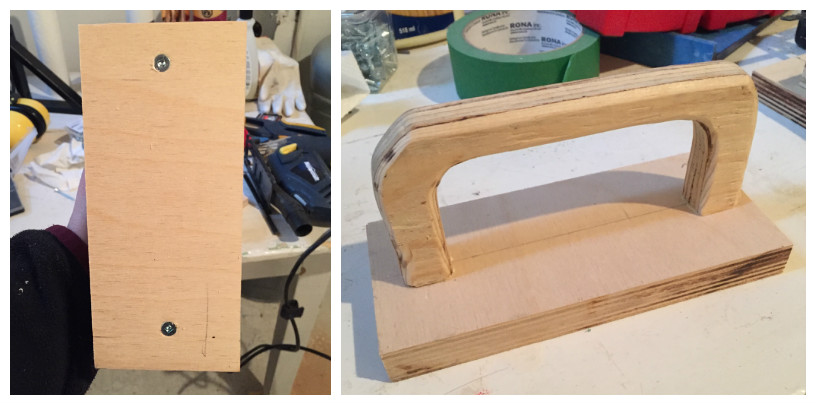
Drill the pilot holes in the base using a countersink drill bit if you have one. Then, attach the handles using wood glue and 1-1/2 wood screws.
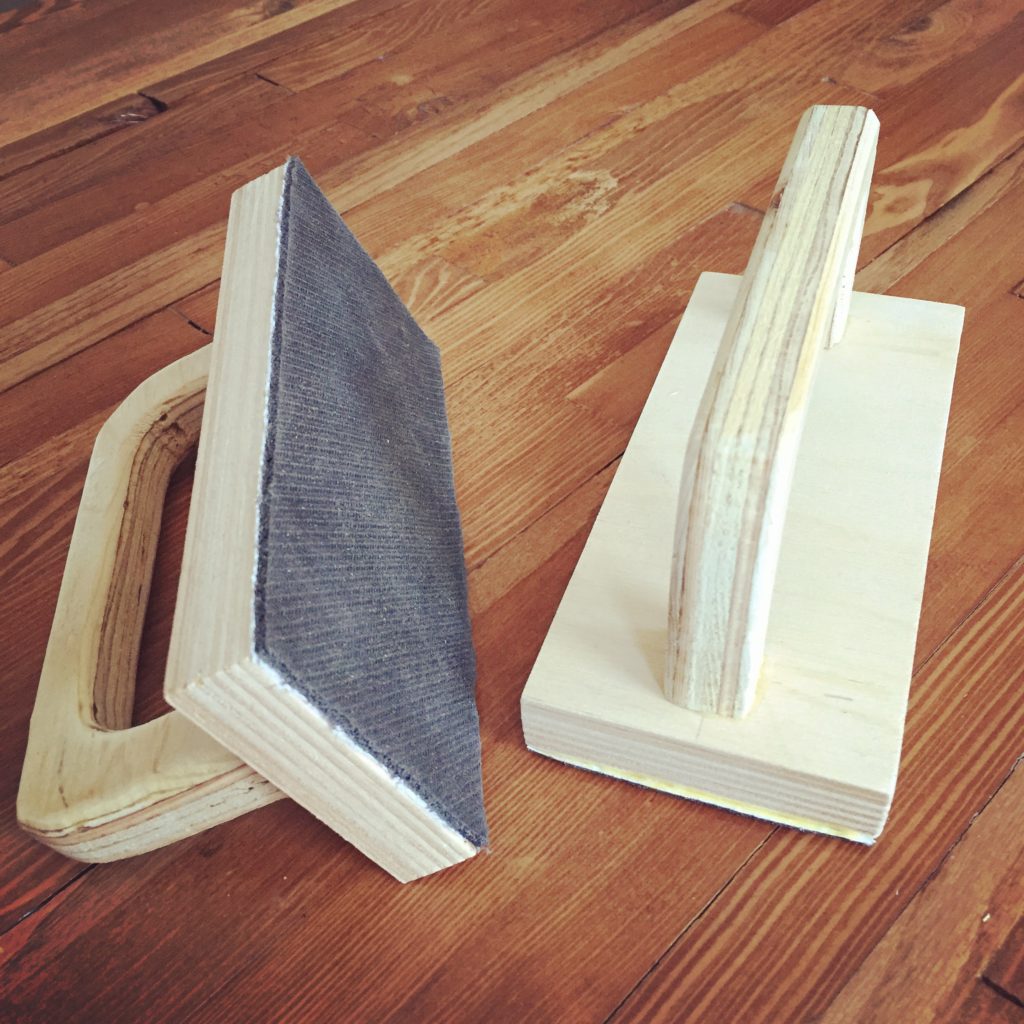
Attach the mouse pad to the base
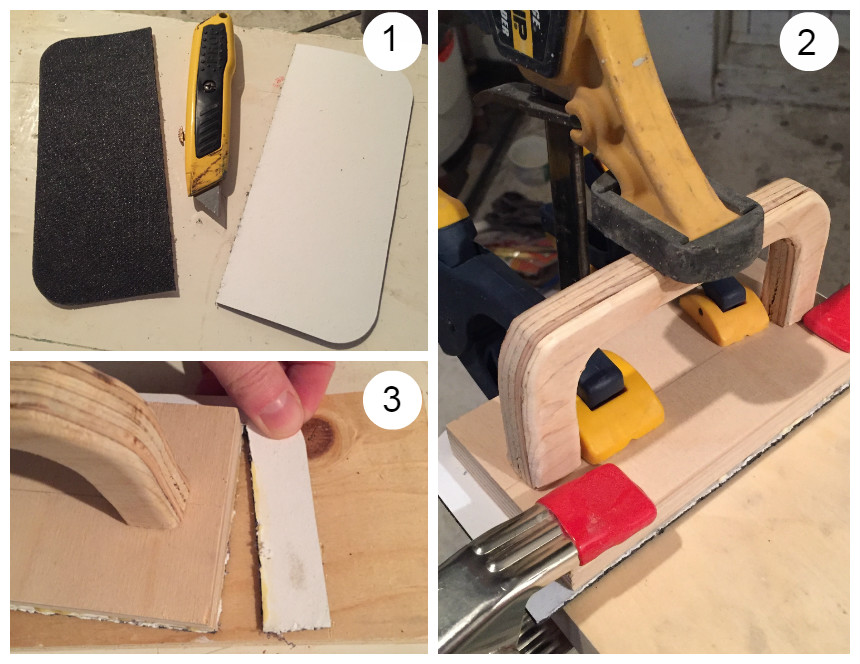
Pre-cut you mouse pad in two parts. I started out using a utility knife, but in the end found that scissors made a cleaner cut. Apply some wood glue to the wood base a spread it evenly on the entire surface. Use several spring clamps to attach the mouse pad securely, applying even pressure, and let dry overnight. The next day, cut away the excess mouse pad.
Did you know DIY Montreal has a new YouTube channel? Click here to check it out!
Tip: My mouse pad had a slippery vinyl top, so I peeled away the top layer to make sure it would adhere to my wood base.
Related Youtube video: How to make a jointer guard