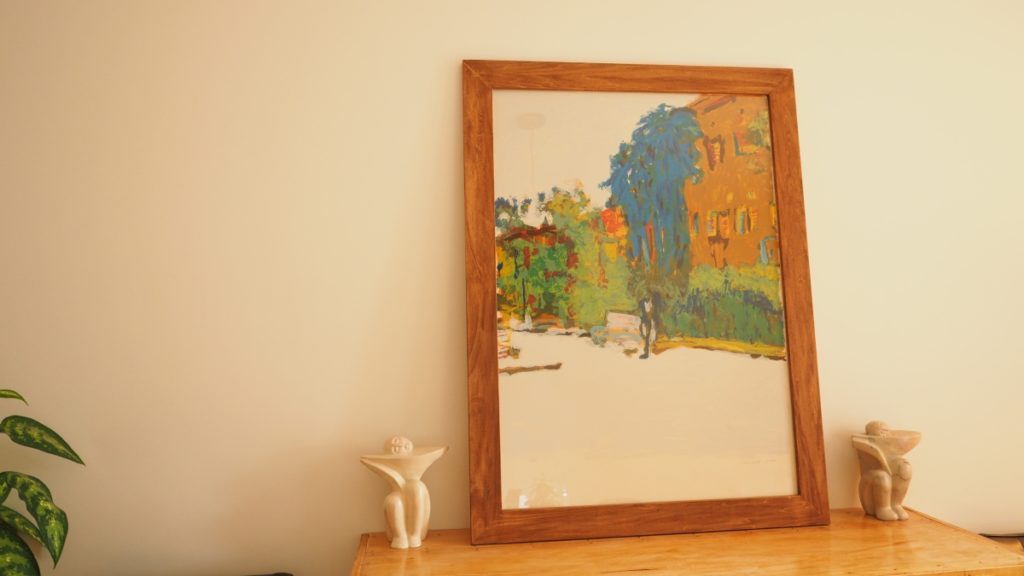
When I first bought my hundred year old house through an estate sale, I inherited of a painting that had been created by the previous owner who had lived there for over 40 years. I decided it was about time that I made a decent frame to hang this piece of history on the wall.
A simple picture frame, what could be easier, right? Well… let me tell you, it turns out that a lot more goes into making a picture frame than meets the eye! From cutting perfect 45 degree miters, to clamping the corners, making splines and cutting thin strips on the table saw, this project turned out to be quite the challenge.
Click here to SUBSCRIBE to my YouTube channel for more DIY videos!
Tools and Materials
- 1 x 4 Poplar boards
- Straight router bit
- Round over bit
- Router table
- Table saw
- Miter saw
- Orbital sander
- Speed square
- Carpenter square
- Flush trim saw
- Wood stain
- Glazier points
- Quick clamps
- Glue
Step 1: Mill your Lumber
For this project I used 1×4 poplar. I started by cutting 4 boards to rough length (slightly longer than the final frame dimensions) so they would be more manageable. I also ripped the boards down to 3 inches using my table saw.
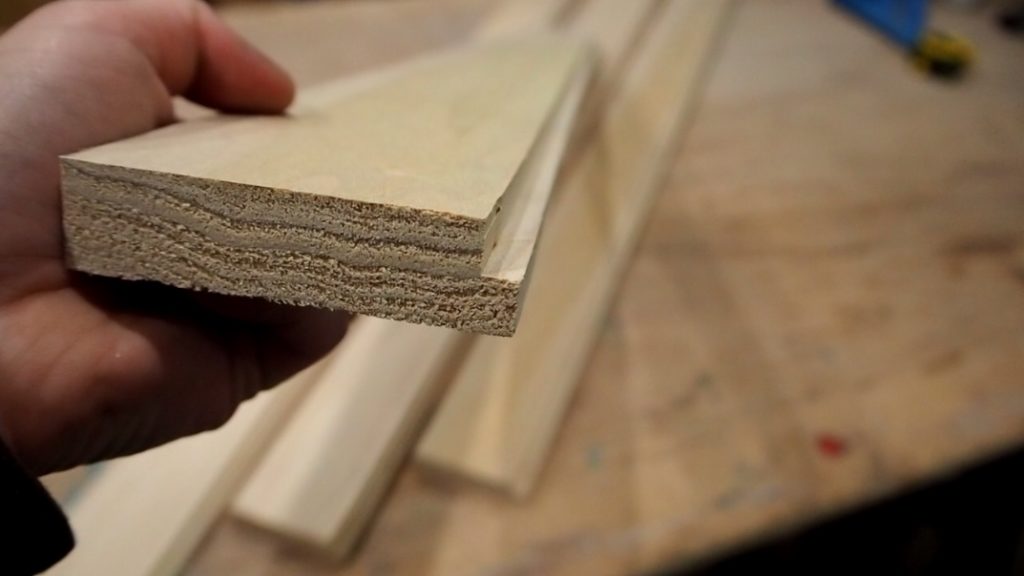
I wanted to create a rabbet on the inside of the frame to accommodate a 3 mm glass, my painting, and a 1/8 backer board. I used a straight router bit on my router table to cut the rabbet. I started with a scrap piece and once I had the settings just right, I ran the 4 boards through. The rabbet was 3/8 deep and 1/4 wide.
Step 2: Cut your Miters
Before make any cuts on my miter saw, I started by making sure the angle was set to exactly 45 degrees. I made a test cut on a scrap piece of wood, then laid it flat against a carpenter square to make sure it was perfectly square.
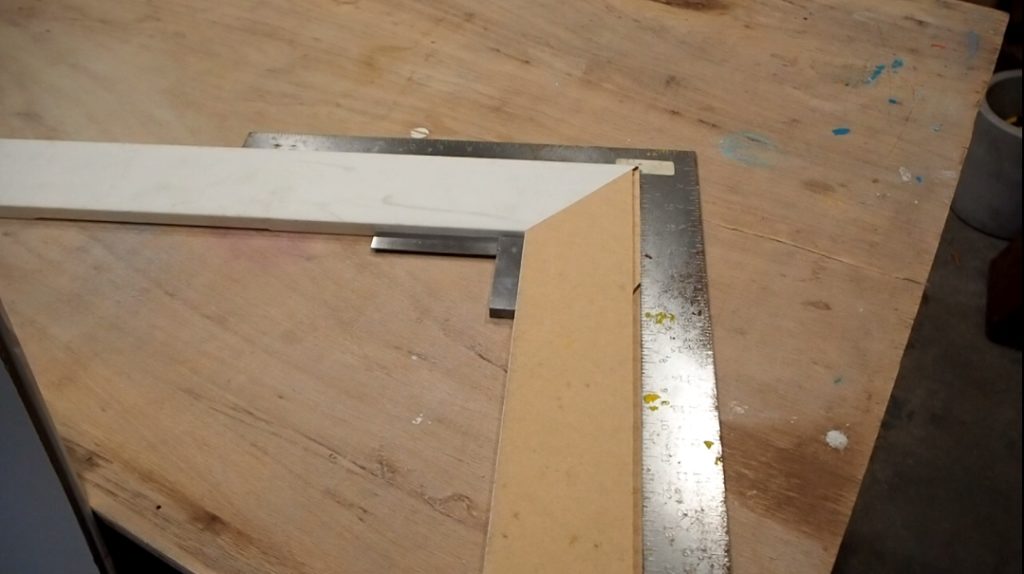
With my miter saw now set to a perfect 45 degree angle, I made a first cut at the end of one of the boards. I then lined it up with the top of my glass and marked where to make the second cut on the opposite side.
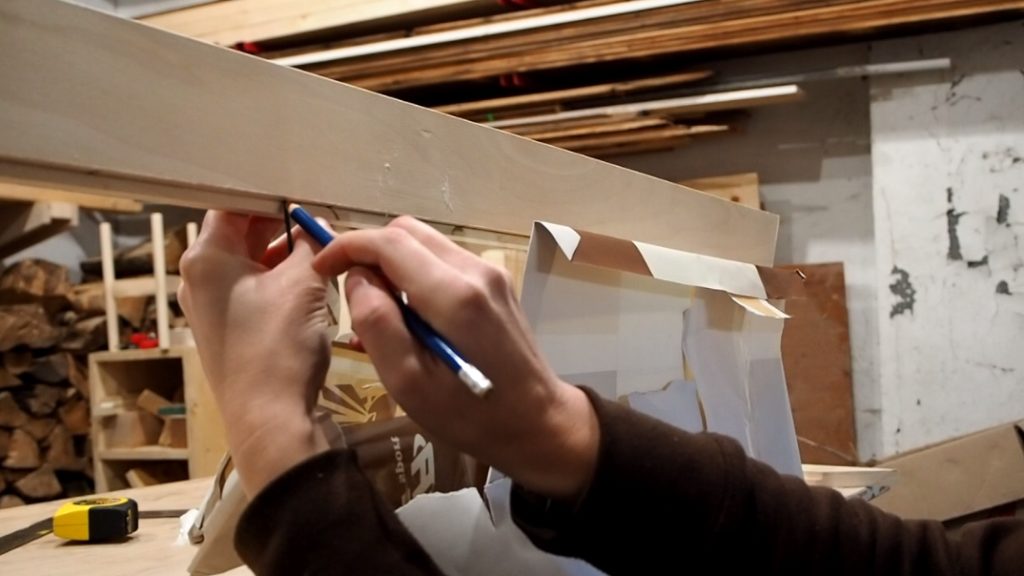
After making the cut, I checked for accuracy, then carried over the measurements onto a second board. I then repeated the whole process for the frame sides.
Step 3: Glue & Clamp
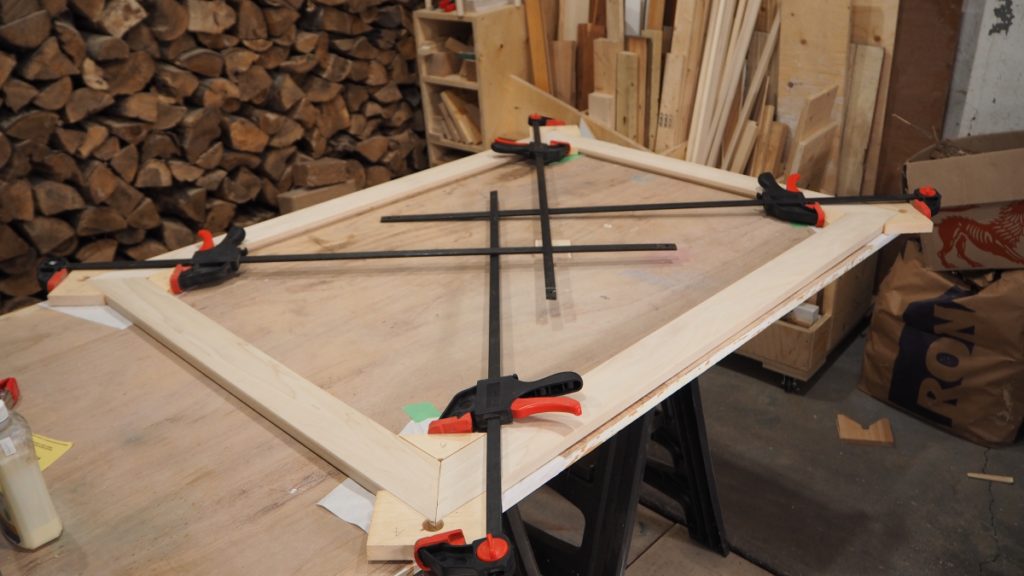
I laid all the pieces out on a flat surface and did a dry fit to check that all the joints lined up. I then applied glue to each side of the miter joint and clamped each corner one by one, checking them each with my carpenter square to make sure they were square and true.
Step 4: Add Corner Splines
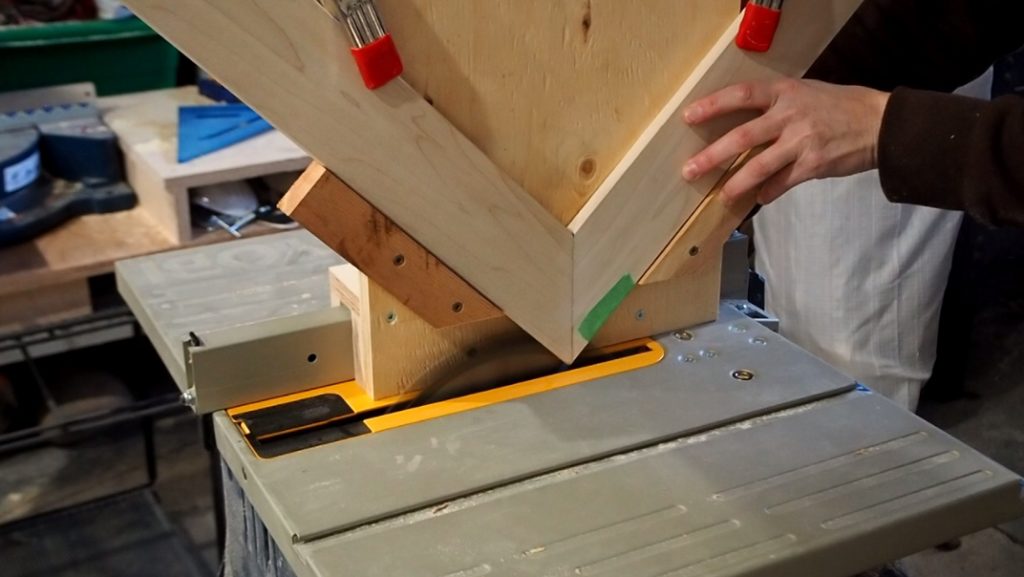
I decided to add corner splines in order to increase the strength of the miter joints. I used my DIY spline jig to cut the splines on the table saw.
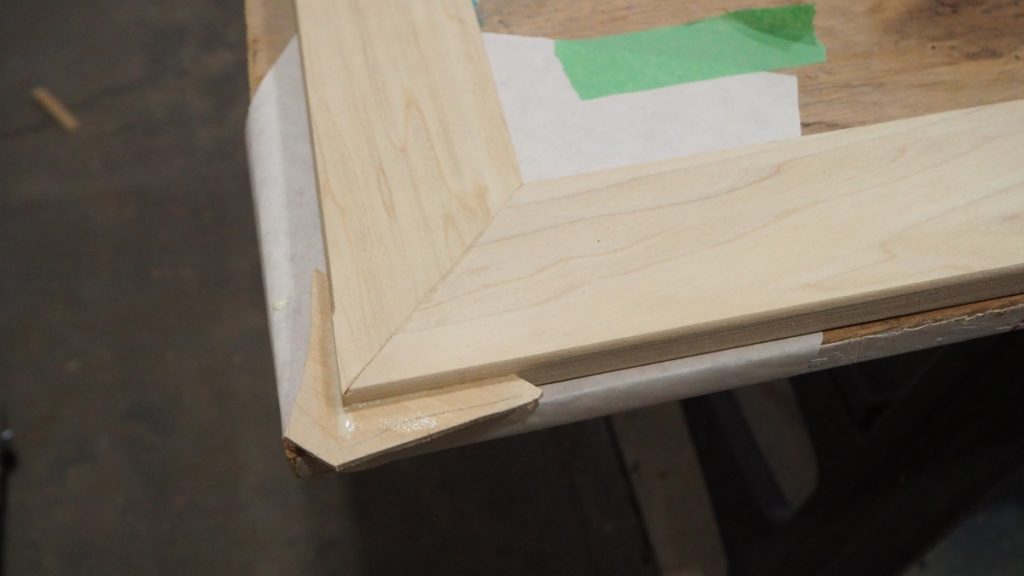
I cut thin strips of poplar (you can use a contrasting wood too) on the table saw, and after doing a dry fit (aiming for snug but not tight) I applied glue on both sides and pushed the splines into the joints.
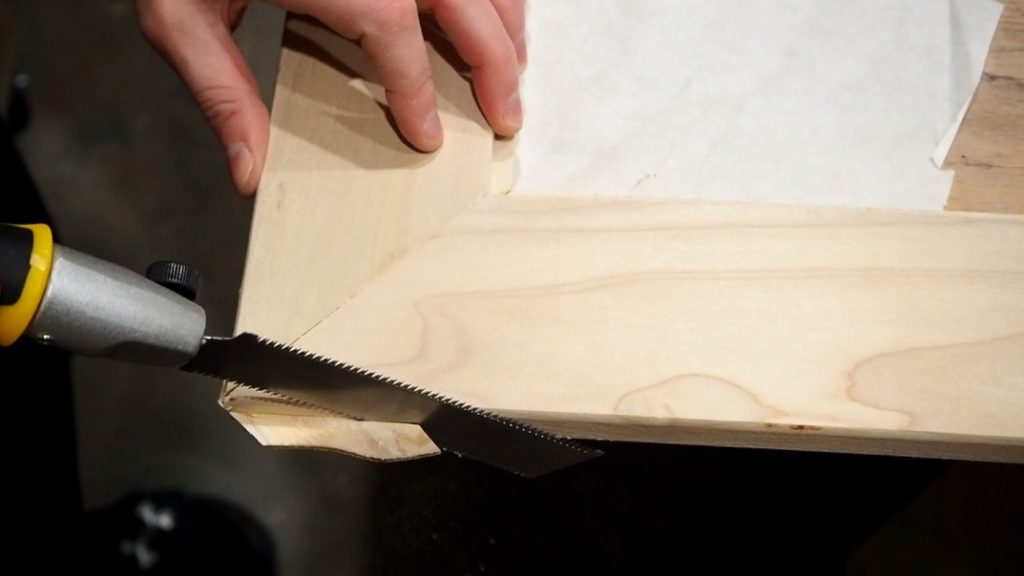
I let those dry for a few hours, then cut off the excess wood with a flush trim saw, then sanded them down with my orbital sander, and finally by hand.
Step 5: Assemble the Frame
As a finish, I applied my favorite wood stain: Early American.
After the stain had dried, I flipped the frame over, face down, and dropped in the glass. I then laid down the painting, and added the 1/8 backer board I had cut to the same size as the glass.
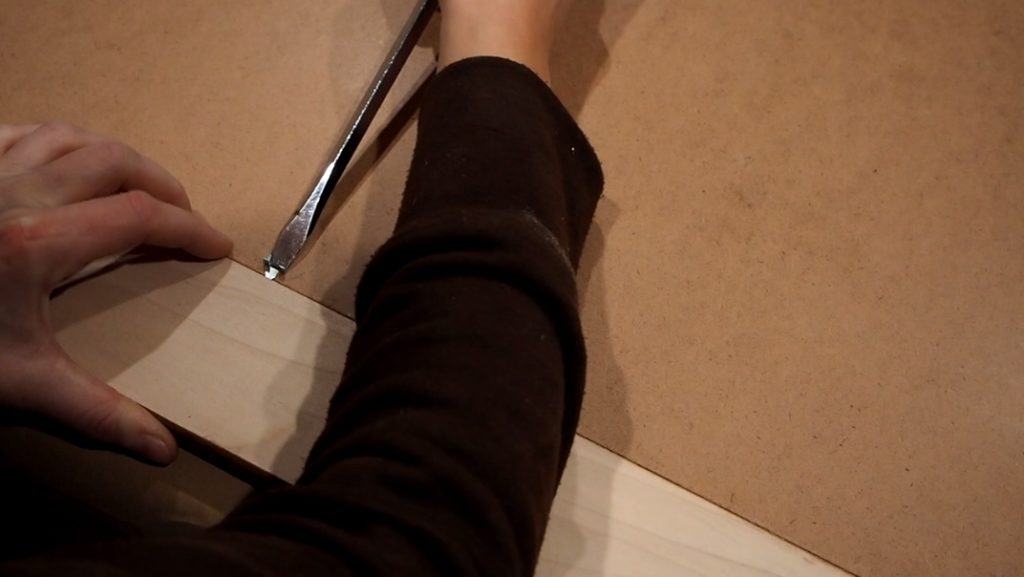
I used glazier points to hold everything in place, pushing them into the frame firmly but gently with a Flathead screwdriver every 6 inches or so.