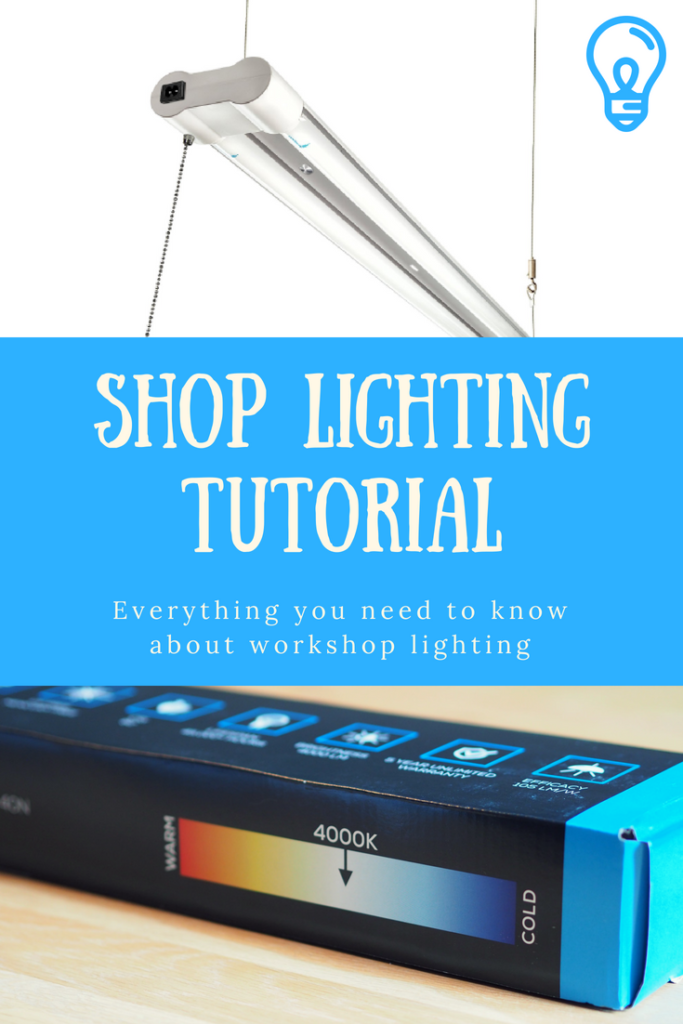
I found myself tired of the shadows and dimly-lit spaces around my shop, so I decided to upgrade my workshop lighting.
This process could have been as easy as a trip to the big box store to grab the cheapest shop lights available, but that’s just not me. Since this is an investment and I’m going to spend the time doing it and then have to live with it, I decided I wanted to do it right. This meant learning everything there is to know about shop lights. And boy is there are a lot to know! Not to worry, I’ve broken it down and simplified it for you.
Click here to SUBSCRIBE to my YouTube channel for more DIY videos!
There are 5 main factors to consider when deciding which light fixtures to choose for your workshop.
- Bulb type
- Color temperature
- Color rendering index
- Installation type (wiring)
- Lumens
Then there’s how many light fixtures you’ll need, and how to figure out the optimal layout. I’ll go through each of these, step by step below, and then let you know what I decided to go with in the end.
Bulb type
The first decision you’ll need to make is between fluorescent vs. LED lights. LED are becoming more and more affordable and have many advantages over fluorescent lights, like no flickering, lower energy consumption (cost savings), and they’ll turn on even if it’s really cold in your workspace. Not to mention they’re instantly bright, not like fluorescents that get progressively brighter.
Color Temperature
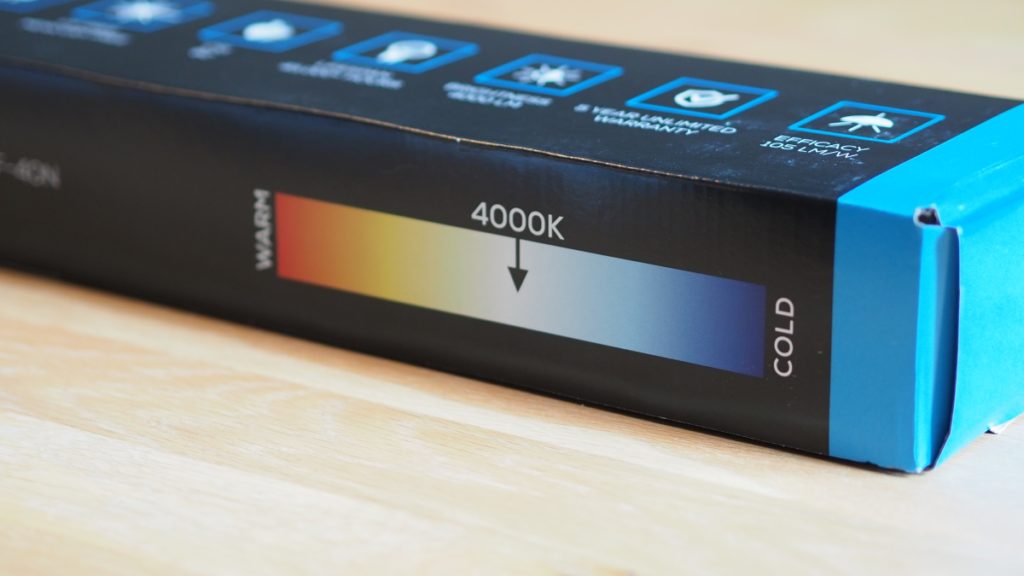
The first decision you’ll want to make is color temperature. This is how cool or warm the light will appear and it’s measured in Kelvin. An incandescent light is very cozy, also called a warm light, at around 2,700K, while lighting you’ll typically find in an office or garage is on the cooler side,also called daylight bulbs, usually around 5,000K and sometimes up to 6,500K – which most people say is almost blue and makes for a very sterile environment.
The general consensus I found for woodworking and garage workshop settings seems to be at 5,000K, while some prefer a tad warmer around 4,000K.
CRI
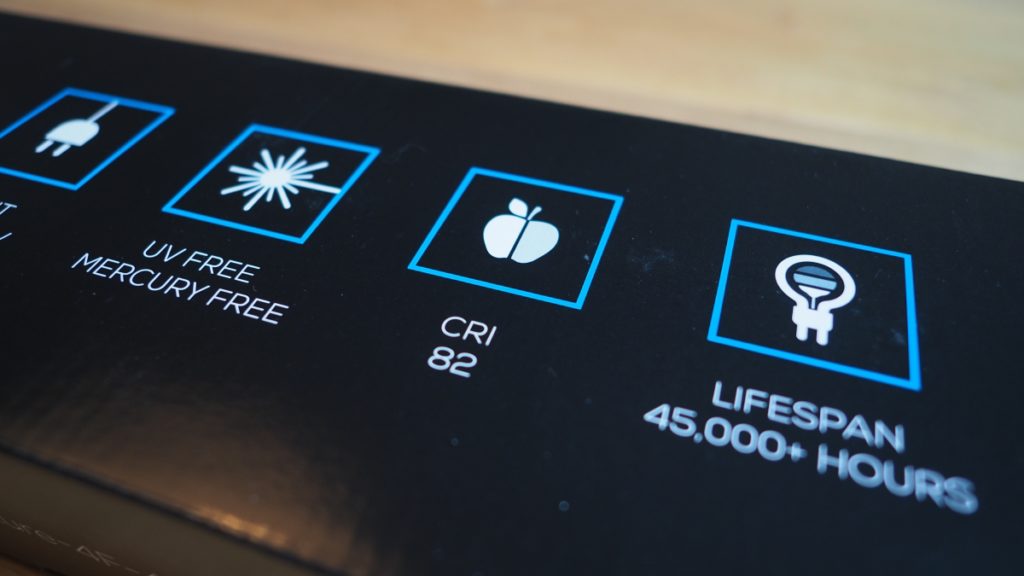
Next you want to look at the CRI which is the color rendering index, and this is how accurately the lighting will allow you to see colors. When you’re working with finishes, you want to be able to see the colors as accurately as possible. The higher the CRI the better (scale 0-100). Ideally you’ll want to hit the 92-95 range, which seems to be the highest CRI you can get for LED tube lights.
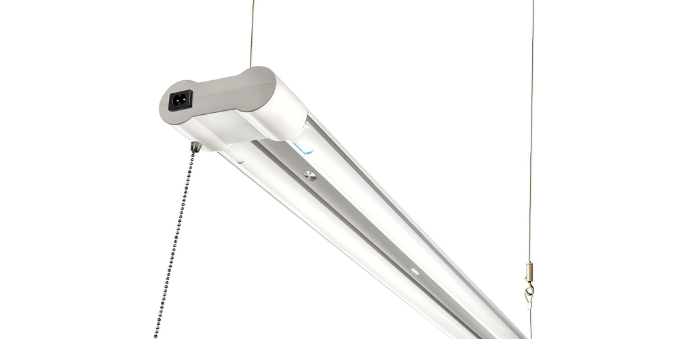
Installation type (wiring)
Some lights need to be hardwired individually, others are plug-in. For fixtures requiring hard wiring, you may need to hire a licensed electrician, or fish wires through your ceiling.
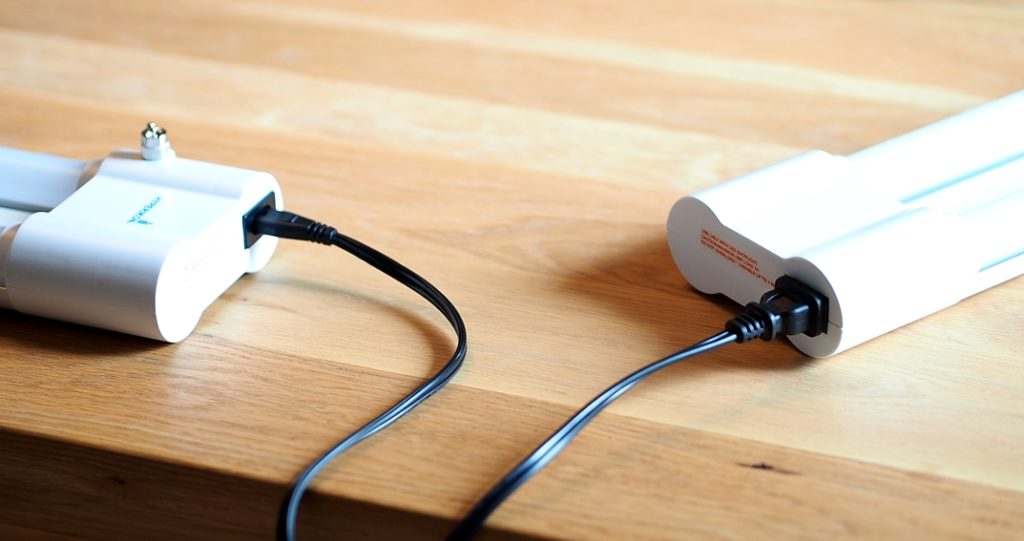
If you opt for plug-in type fixtures and you plan to install more than one, you’ll also want to make sure you’re the fixtures are linkable, which means they can also be daisy chained. Daisy chaining means that the lights can be linked together with power cords, that way you only need to plug the first one into an outlet and the others simply get connected together.
Lumens
How many light fixtures do I need for my space? In order to figure this out, you’ll need to know how many lumens your light fixture has.
The lumen output is almost like the intensity of the light. The more the lumens, the brighter the room will seem. Once you know how many lumens your fixture has, you can calculate the number of fixtures you’ll need for your space.
The recommendations I found start at 70 LM per square foot for a mechanic’s or woodshop and range anywhere up to 100 LM per square foot (assuming an 8 foot ceiling or fixture height).
Start by measuring your space and multiply the length by the width to get your square footage. Then multiply your square footage by 70 to get the minimum lumen requirements for your workshop.
For example, my shop is 12′ x 16′ = 192 square feet. I would require a minimum of 192 x 70 = 13,440 lumens. If I went with light fixtures each having 3,500 lumens, I would need at least 4 (13,440/3,500=3.84).
Layout
I came across this article from Wood magazine that explains how to figure out the best layout for your lighting and avoid any dark spots.
- A – The distance from your main work surfaces to the ceiling (or to the desired height of suspended fixtures).
- Ex: my table saw and workbench at 34″ off the ground, my ceiling is at 99″ and I will flush mount my fixtures. Therefore A = 99″-34″=65″ or A=5’5″.
- B – The distance between fixtures, should be equal to or no more than 1.5 times (A).
- Ex: B=5’5″-8′
- C – The distance between a fixture and the wall (C) should be no more than one third to one half (B).
- Ex: If I go with B=6′, C=2′-3′.
The above assume the use of continuous rows of two-lamp fixtures.
Bringing it all together
In the end, it boils down to personal preference for the color temperature, your budget and product availability.

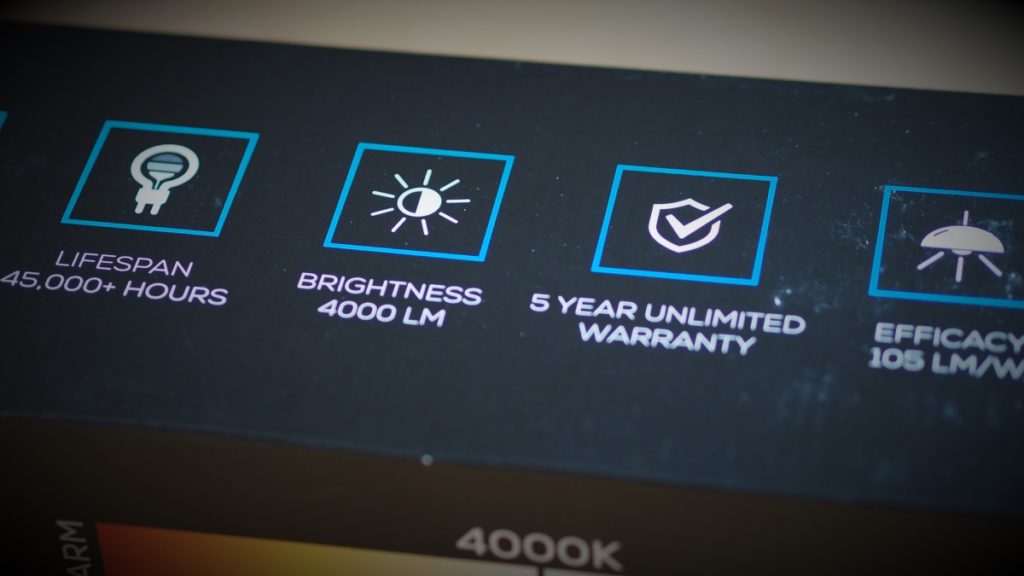
After researching and analyzing all the specs, I decided to go with the Hyperikon 4,000K 4-ft LED linkable fixtures. They have 4,000 lumens per fixture and a CRI of 84. I would have liked to get a higher CRI, but given my budget and what was available to me in Canada, this was the best I could find at this price point.
As I try to adjust to the 4,000K, I question whether I should have gone with the 5,000K after all. The shop seems nice and warm, but the lighting is a bit on the yellow side. Nevertheless, it’s bright, well-lit and I can now actually see what I’m doing!