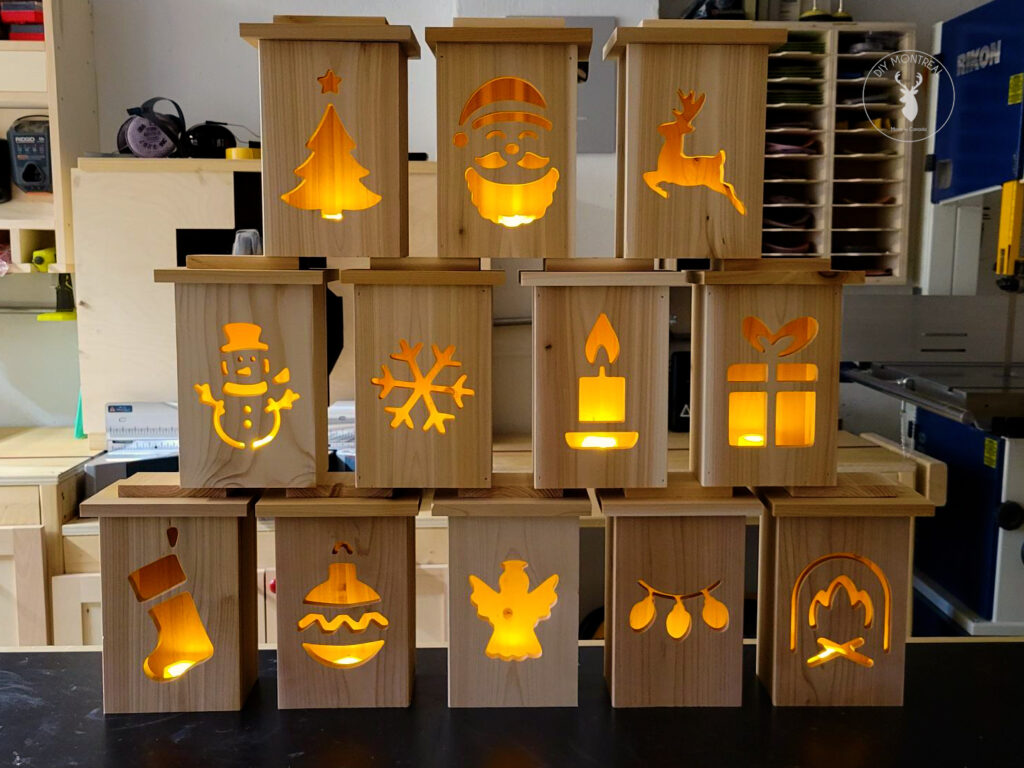
Looking to add a handmade touch to your holiday décor? These DIY wooden lanterns are the perfect way to bring warmth and charm to your home — no matter the season. Whether you’re decorating for Halloween, Christmas, Valentine’s Day, or even Easter, these lanterns can be customized to suit any celebration.
In my latest YouTube tutorial, I walk you through the step-by-step process of creating wooden holiday lanterns from scratch. It’s a beginner-friendly project for those who are comfortable using basic woodworking tools like a router — and the best part is how easily the lanterns can be personalized for any occasion.
Tools, Materials & Helpful Templates
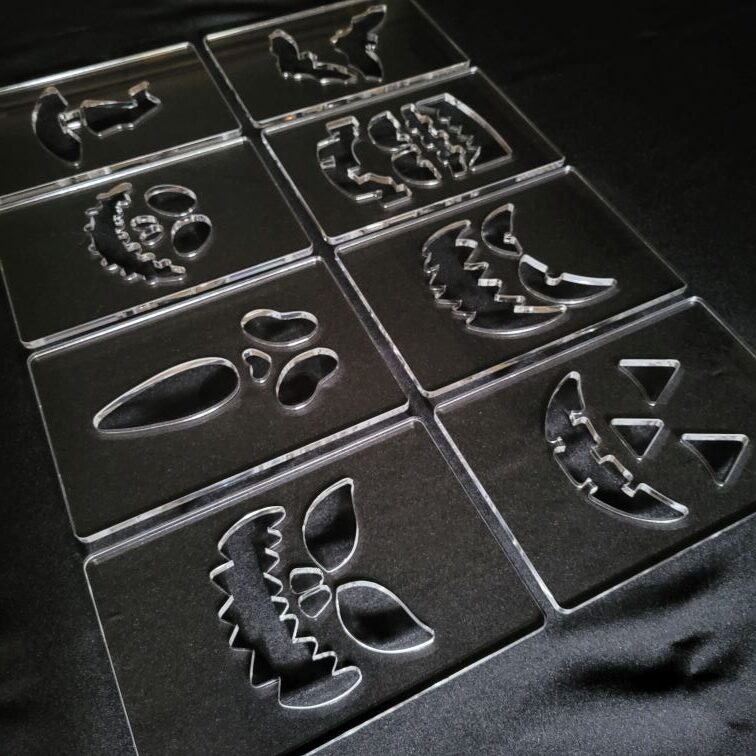
If you’d like to make these lanterns even easier to build — and add a festive flair — I’ve created a set of router templates and downloadable plans available for purchase! These templates make it simple to add seasonal cutouts to your lanterns, with designs for Halloween (Jack-O’-Lantern faces), Christmas (tree, Santa, snowflake), Valentine’s Day (hearts), and Easter (bunnies and eggs). They’re perfect for giving each lantern a unique holiday personality. You can check them out here:

Whether you’re crafting for personal enjoyment or looking to looking to streamline your builds, these tools will help you get clean, consistent results every time. Here’s a full list of the tools and materials you’ll need:
- Plunge router
- 5/16 OD guide bushing
- Long upcut spiral bit
- Double-sided tape
- Utility knife
- Mini pry bar
- Flameless flickering tea lights
- Isopropyl Alcohol (recommended to clean the acrylic templates)
- 6-foot fence boards (pine or cedar)
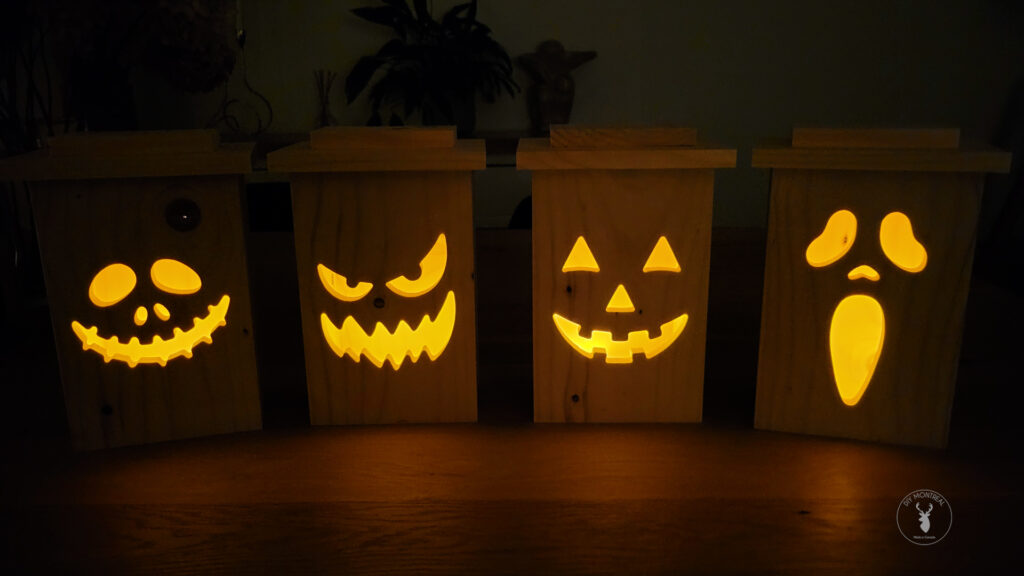
Build Your Own Wooden Jack-O-Lantern
Select and Prep Your Boards
For these lanterns, I like to start with fence boards, either pine or cedar. Pine has a nice light color, but it often comes with more knots and imperfections — while cedar not only smells amazing but is also more durable if you’re planning to use the lanterns outdoors.
Both are sold as 1x6s, though the actual dimensions are typically around ⅝” thick and 5¼” wide. I prefer to plane the boards down to ½ inch, which helps flatten any cupping and gives a smooth, clean surface to work with. The slightly thinner material also makes it easier to carve decorative patterns with a router.
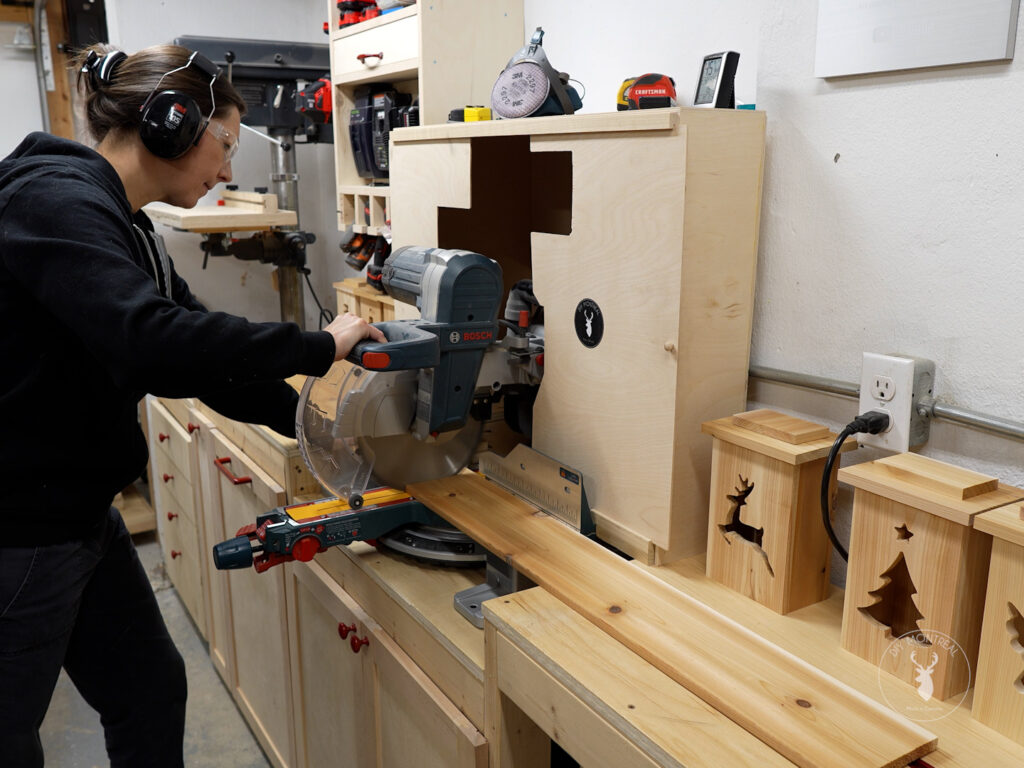
Cut Lantern Parts to Size
Once your boards are planed and ready, it’s time to cut all the parts to size. I have detailed plans available that include exact measurements for each piece, making it easy to follow along. The design is efficient — you can get enough material for two lanterns from a single 6-foot fence board. Just be sure to measure and mark carefully, especially if you’re working around knots or imperfections in the wood.
Carve the Lantern Face
To carve the design into the lantern face, start by securing your router template to the front panel using double-sided tape. I offer a variety of holiday-themed template collections for purchase, or why not make your own! For the best hold, I use XFasten woodworking tape — it’s hands-down the most reliable double-sided tape I’ve found. It sticks firmly without slipping, yet removes cleanly without damaging the wood or leaving behind any residue.
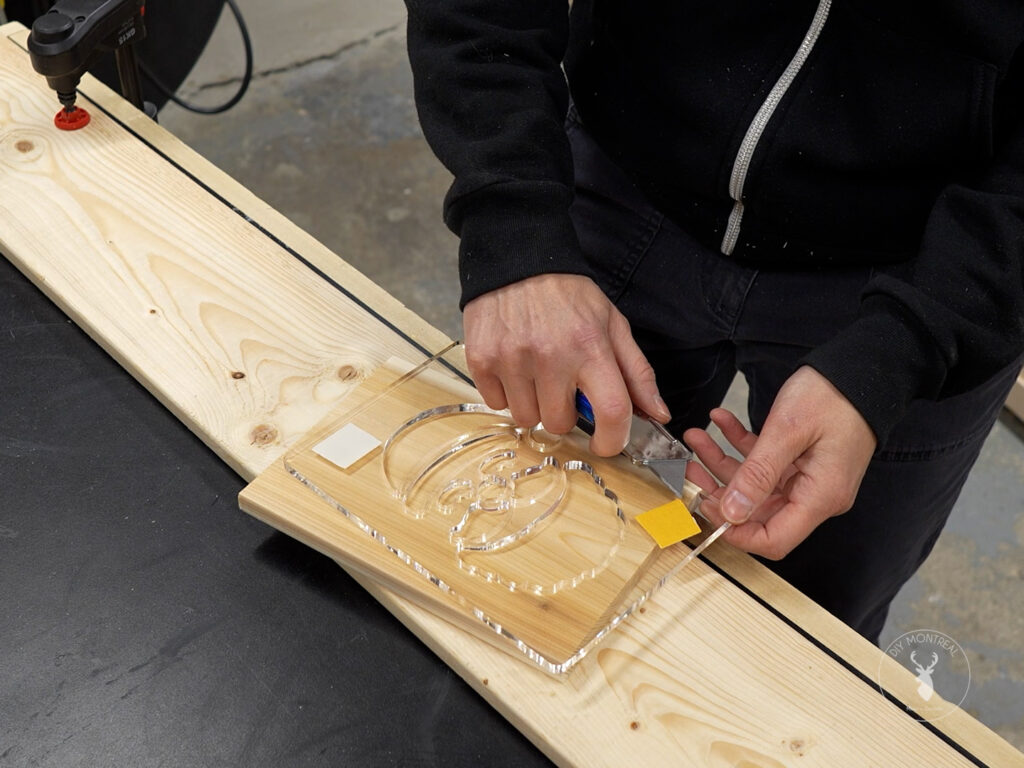
Once the template is in place, don’t forget to place a sacrificial backer board underneath your workpiece. Since you’ll be routing all the way through the face panel, this extra layer protects your workbench from accidental cuts. I like to use more double-sided tape to secure the workpiece to the backer board.
Setting up Your Router
Setting up your router correctly is key to getting clean, accurate cuts when carving the lantern face. You’ll need to use a guide bushing mounted on your router — this rides along the inside edge of the template to control the shape of the cut. For best results, I recommend a 5/16″ outer diameter guide bushing paired with an extra-long 1/8″ upcut spiral bit. This bit size allows you to follow tight details in the design while the upcut action helps clear debris as you carve. Most importantly, make sure the bit is long enough to plunge all the way through the thickness of your material — I recommend this one for its clean cutting performance and ideal length.
Next, to set the router depth, start by bottoming out the bit in the center of the template to establish a zero point, then adjust the depth rod to slightly over ½ inch — just enough to ensure I cut cleanly through the entire board.

With the router pressed against the template, plunge the bit fully and carefully trace the design in a clockwise direction. I personally prefer making the cut in one deep pass, as it gives a clean edge and saves time, but this does carry a higher risk of overheating or snapping the bit if you’re doing a lot of cuts in a row. Alternatively, you can carve in two shallower passes, which is a bit slower but puts less stress on the bit. Try both methods and see what works best for your setup and comfort level.
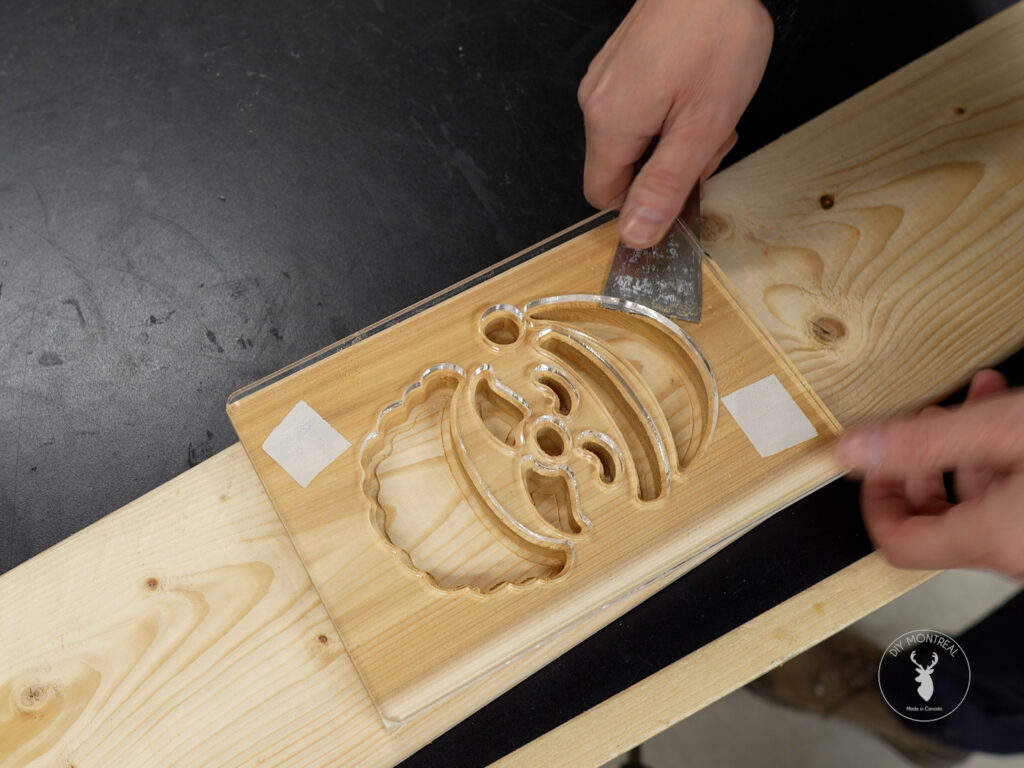
Remove the Template and Save for Next Time
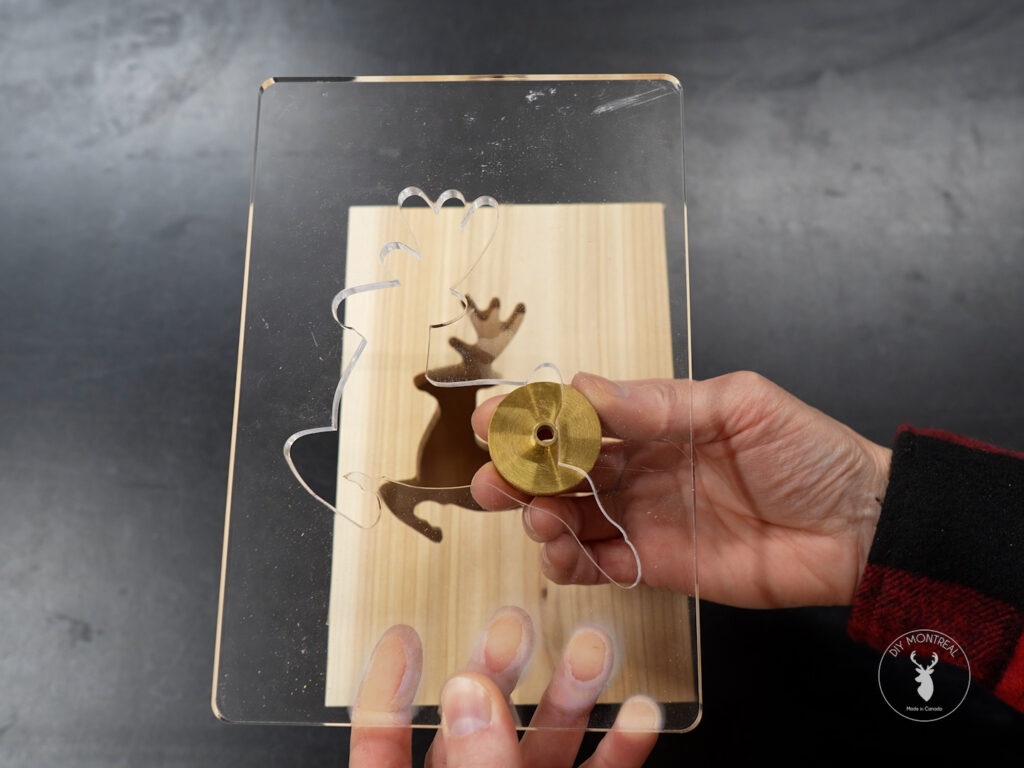
Once the carving is complete, use a small pry bar to gently lift off the template — the XFasten tape comes off cleanly without tearing wood fibers, which makes reuse easy. If needed, you can clean the template with 99% isopropyl alcohol, which removes residue without causing damage.
If there’s any roughness or “fuzzies” left behind from the cut, a light pass with 220-grit sandpaper is usually all it takes.
Assemble the Lantern
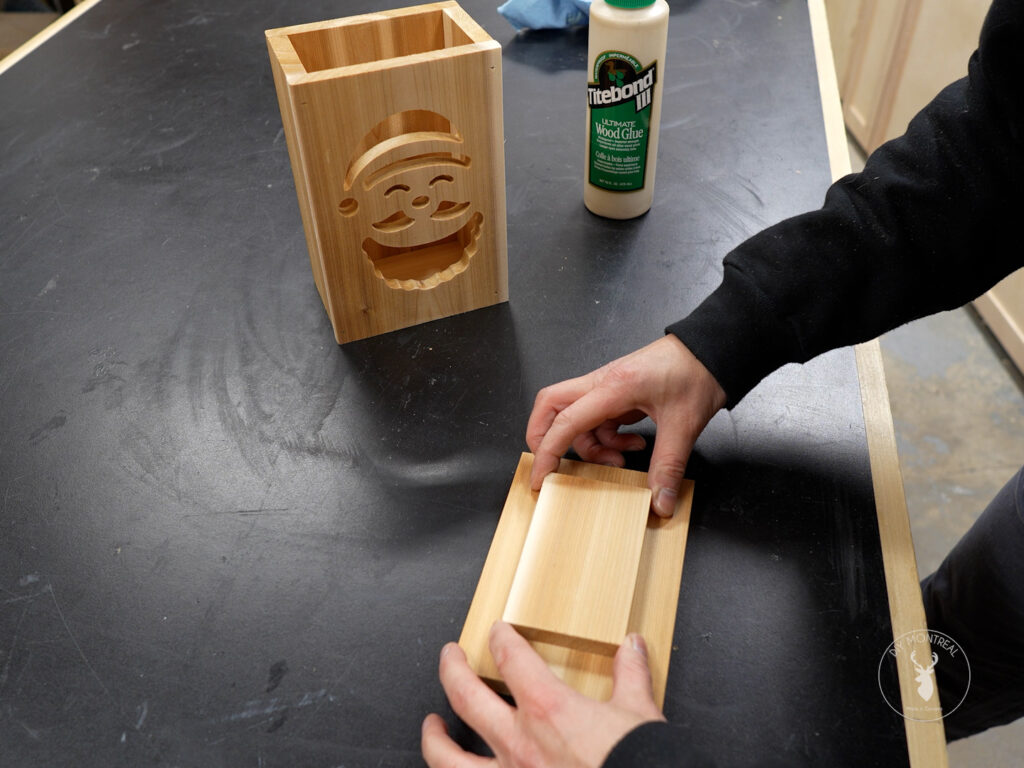
Now it’s time for assembly. You should have all your parts ready: the face, back, two sides, bottom, and two lid pieces. Most people assemble these using wood glue and brad nails, but if you prefer a cleaner, nail-free look, you can skip the nails — just be prepared to spend a bit more time aligning and clamping everything.
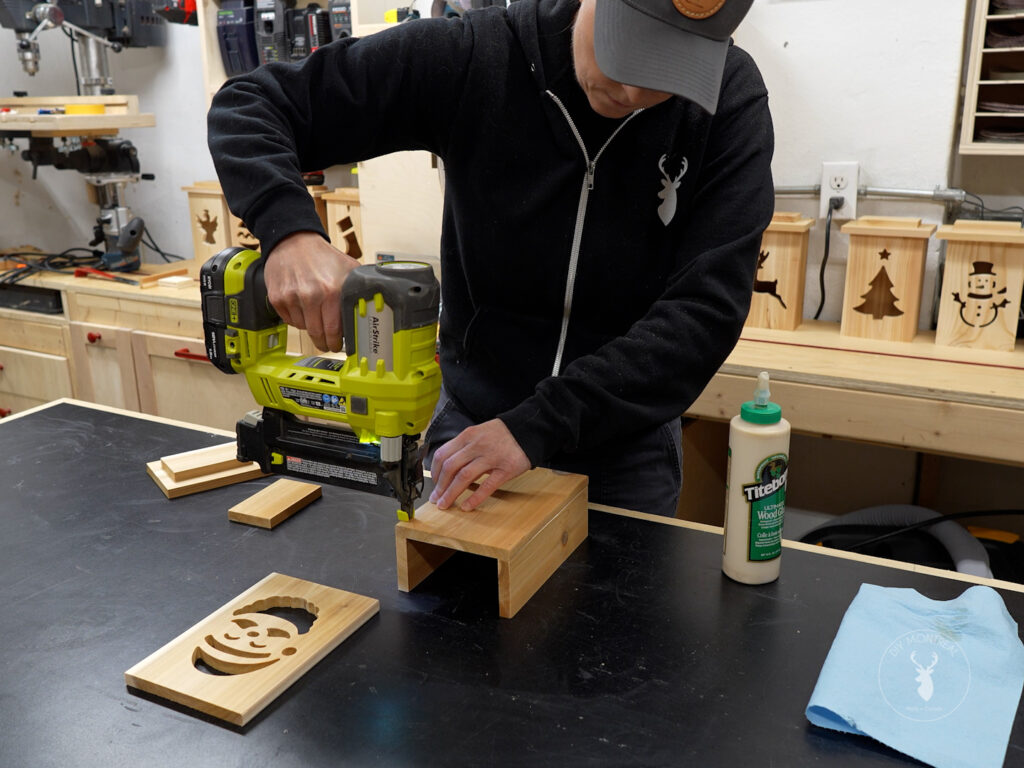
I typically assemble the four sides, then press-fit the bottom, making sure it’s flush, and secure it with brad nails. For the lid, I apply a few dabs of glue, center it by eye (though I’ve included exact measurements in the plans if you want to be more precise), and add a bit of weight to hold it in place while it dries.
Finishing Touches & Safe Lighting
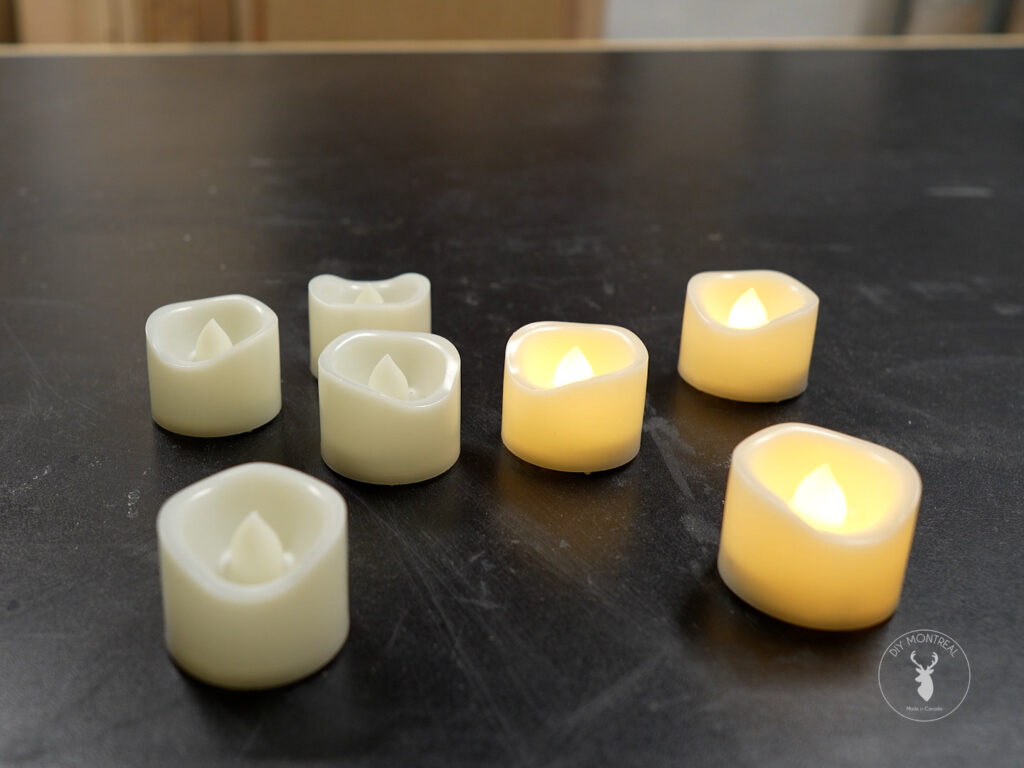
You can leave your lantern unfinished for a rustic look or paint and stain it to match your holiday theme — it’s totally up to you. For the final touch, drop in a flickering flameless tea light. These battery-operated lights are a safe alternative to real candles, giving you that cozy, realistic flicker without any fire risk.
Ready to Light Up Your Holidays?
These DIY wooden lanterns are a rewarding project that brings a personal, handmade touch to your seasonal décor — and they’re just as fun to make as they are to display. With the right tools, a bit of creativity, and the help of my step-by-step video tutorial and downloadable plans, you’ll be well on your way to building custom lanterns you can enjoy year-round. Whether you’re crafting for yourself, gifting to loved ones, or selling at markets, these lanterns are a beautiful way to celebrate any holiday. So grab your tools, pick your favorite template design, and let’s get building!