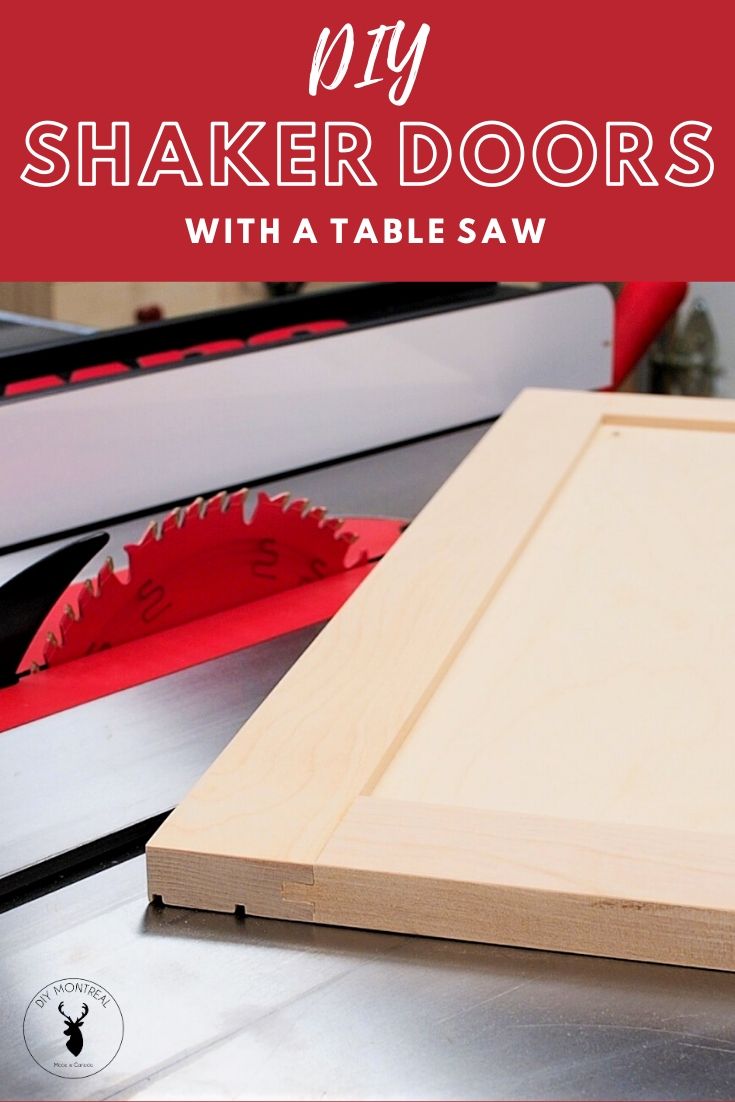
Today we’re tackling basic cabinetry and building some tongue and groove doors (aka rail & style). I’ll show you how to make shaker doors using nothing but the table saw and a regular blade.
The concept of shaker doors is simple: all 4 pieces have a groove, and 2 of them have a tongue on each end, which allows you to snap the tongues into the grooves and form a frame; slip in a center panel, and you have a door.
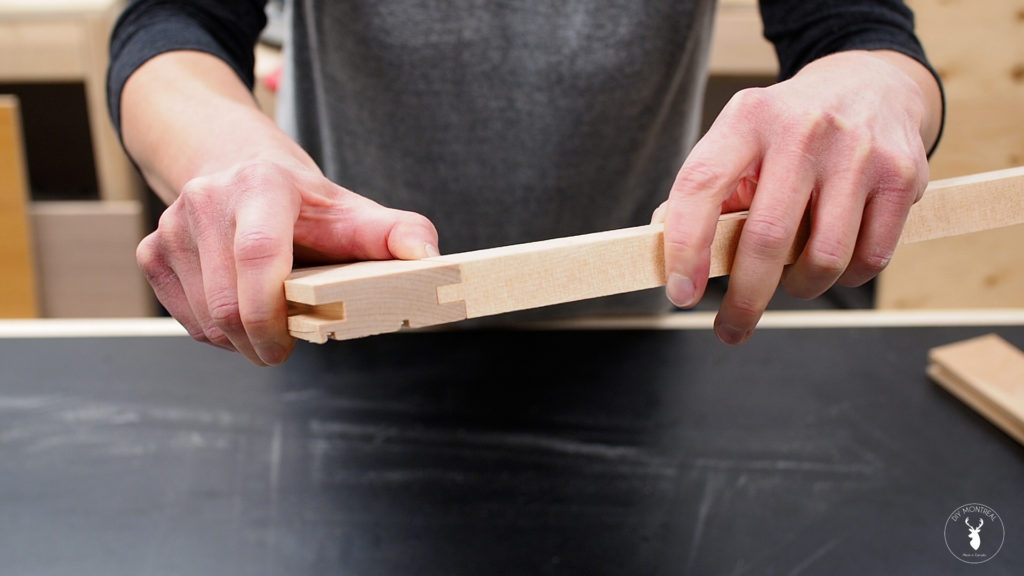
Okay, simple enough, right? But what I want to know is how do you dial in your settings to get a perfect joint? Well, that’s what I’m about to figure out.
Tools & Materials
For this project I’m using some leftover maple floorboards I have on hand. They have small grooves across the back, but since this door will be used in my shop to add storage to my miter saw station, I don’t mind that at all. You’ll want to use hardwood for the frame that’s ideally 3/4 inch thick, with a width of 2 to 2-1/2 inches.
Here are the tools and materials I used to build this shaker door:
How to Make Shaker Doors on a Table Saw
1. Cut Parts to Length
I’m starting by cutting my pieces to length on the miter saw. I’ll set up a stop block to first cut the 2 sides (which are also called stiles) and then do the same to cut the top and bottom pieces (which are referred to as rails).
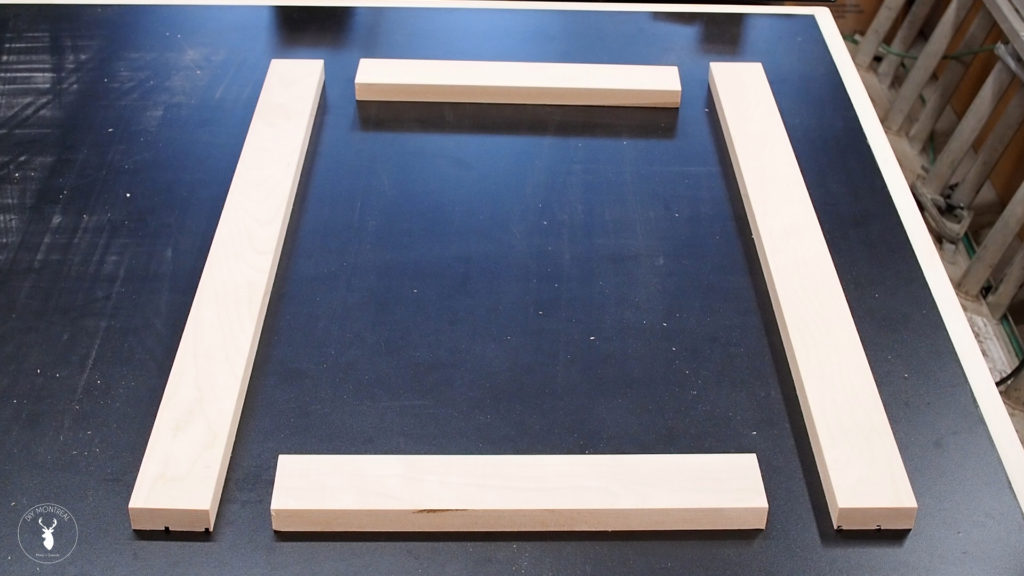
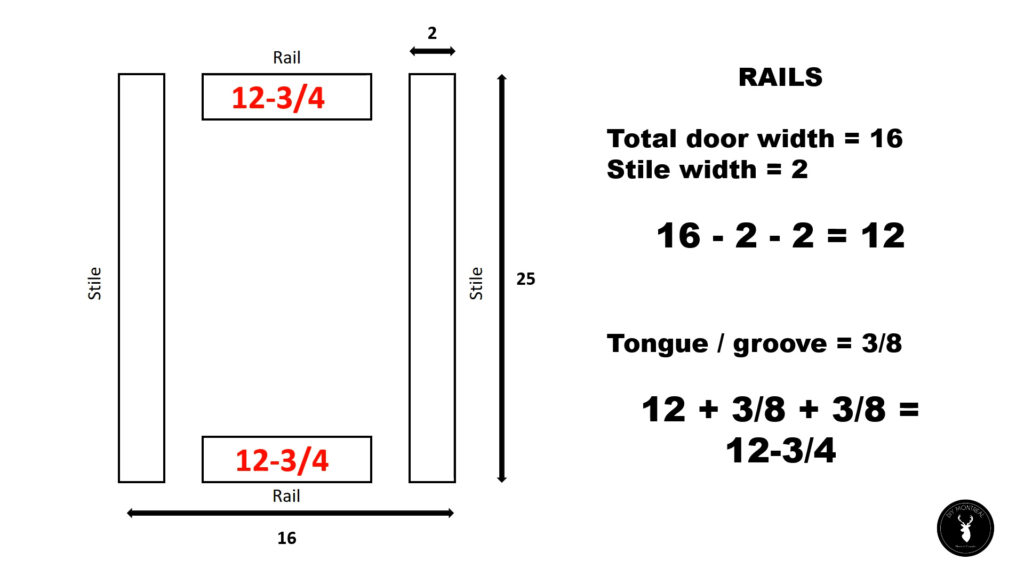
I’m making doors that will be 25 inches tall, so my stiles will be 25 inches long. To calculate the length of the rails, I’ll start with my door width (16 inches) then subtract the width of my 2 stiles (2 inches). So that leaves me with 12 inches. However I know I’ll be cutting grooves that are 3/8 deep, so I’ll add 3/8 for each side, which leaves me with a total rough rail length of 12-3/4.
Tip: Use a Test Piece
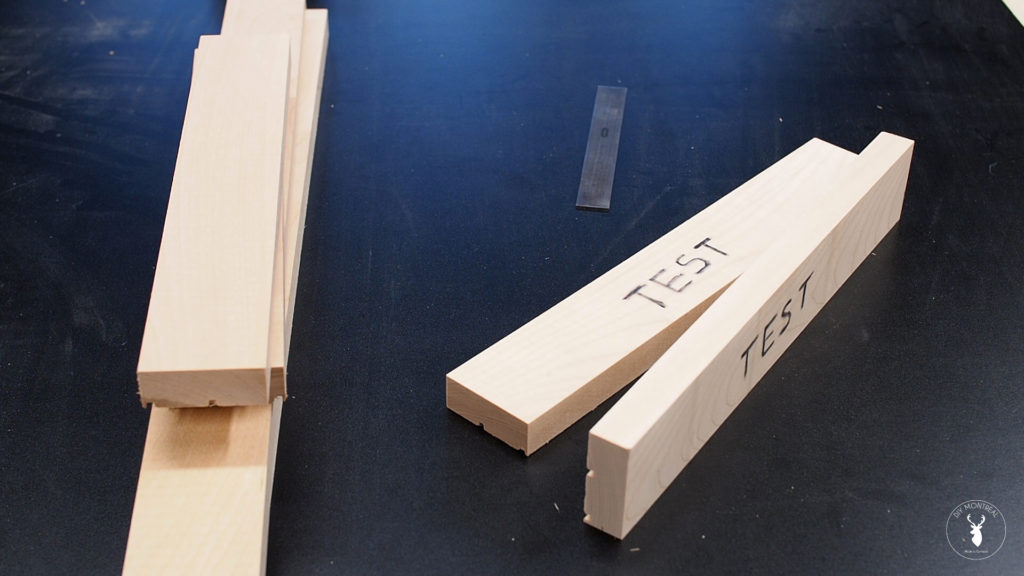
Before going any further, there’s one crucial piece you’ll need, and that’s a test piece made from the same stock. I made 2 test pieces, just in case. So after marking those to avoid any confusion, it’s time to head over to the table saw and cut the grooves.
2. Cut the Grooves
The first step is to set the height of the blade, which will be the depth of the grooves. I cut a scrap piece of wood to exactly 3/8ths and used that as a gauge to set the height. I adjusted the blade height until the very tips were flush with the top and then locked that height in.
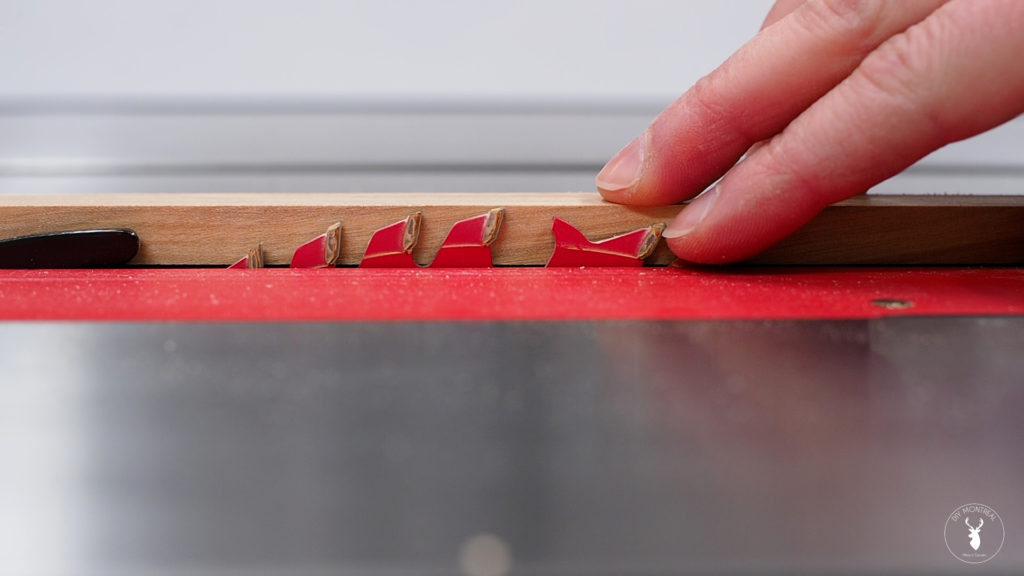
Next I need to set the fence so that the blade is roughly centered down the middle of my board. I marked the center of one of my test pieces and used this as a reference. The center line doesn’t have to be perfect, and the idea is to set my fence so it goes through the center line, but slightly off-center.
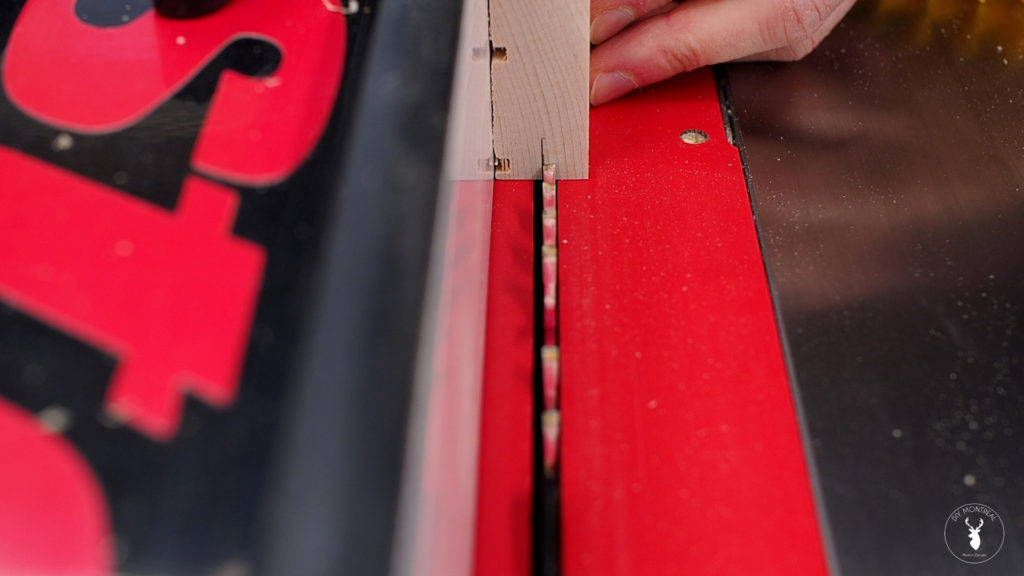
Using my test piece, I ran in through once, then flipped it around and ran it through again. You should end up with a single groove down the middle. If not, readjust and try again on another test piece.
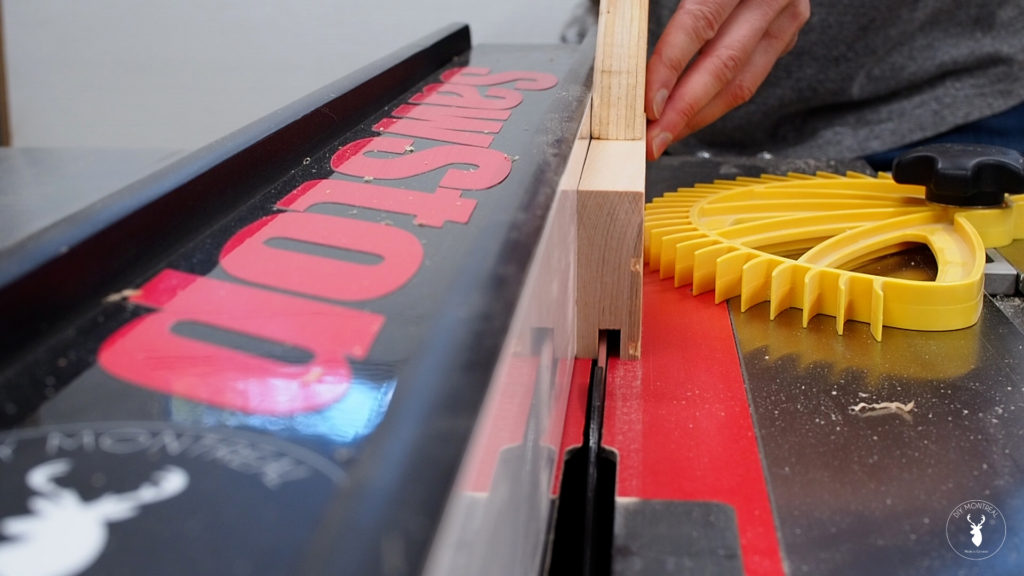
With my test piece being successful, without touching any of my settings, I could go ahead and run all 4 of my pieces through, first on the face and then flipping them over and running them through again. By flipping the boards over, this ensures you get a perfectly centered groove.
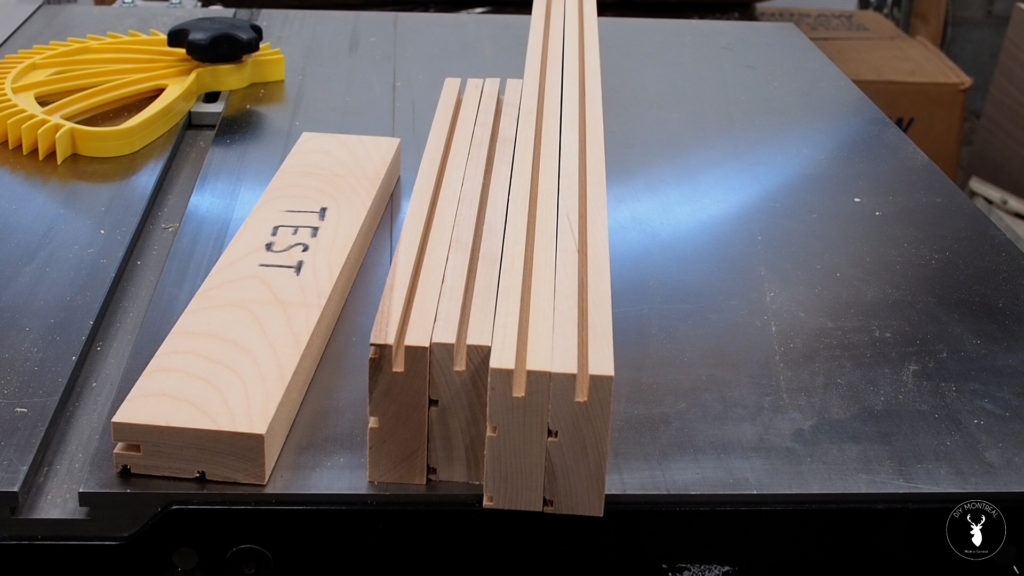
So with that step complete, I have a thin groove in all 4 of my pieces, as well as my test piece. Next it’s time to widen the grove to the perfect size. Again, starting with my test piece, I moved the fence inwards just slightly to widen the groove. Not too much, the idea is to make the groove just big enough to fit your center panel. I ran the test piece through, and again, flipping it over to run it through twice.

With the groove cut, I my test piece over to my center panel material – in my case, a quarter inch plywood – to do a test fit. The groove was too tight, but that was to be expected.
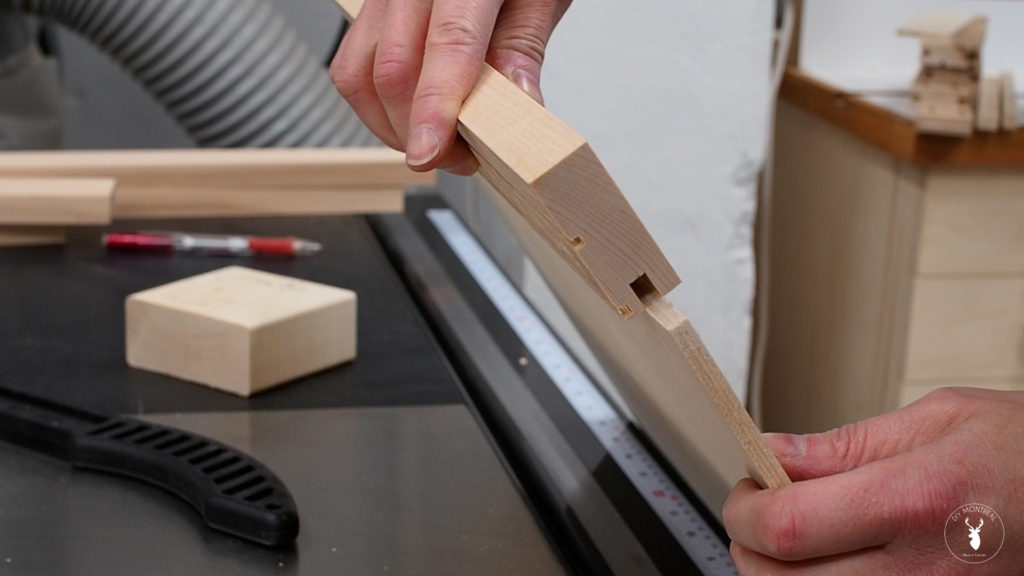
I went back to my table saw, and moved the fence inwards ever so slightly, and locked it down again. I ran the same test piece through once again, both front and back, and then did another test fit on the center panel. Eureka! Perfect fit. The idea is to get a friction fit, meaning it goes on easily without forcing it, and without being loose.
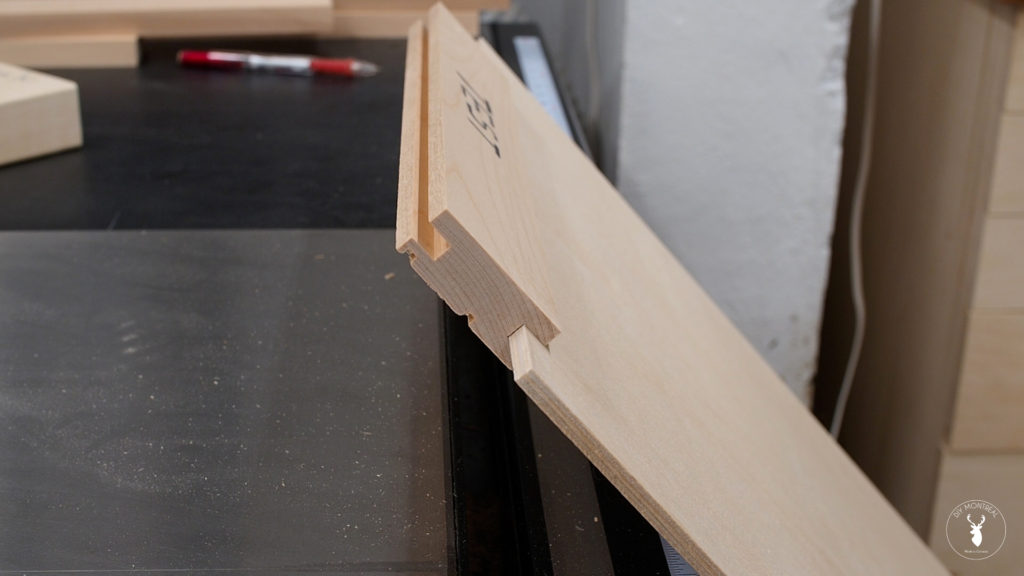
So with my settings dialed in perfectly, I could now run my 4 pieces though, both front and back, and be confident that I would get the perfectly sized groove, dead center.
3. Cut the Tongues (Tenons)
With the grooves done, it’s time to move onto the tenons. Back to my test piece, I drew a line flush with the bottom of my groove. This will help me set my table saw so that the tongues are the exact same depth as the grooves.
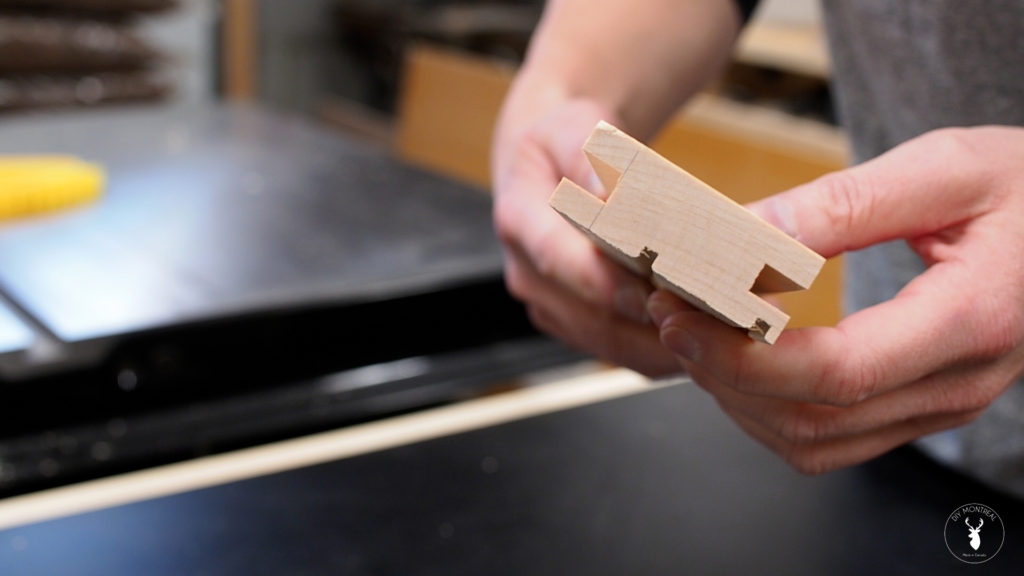
But first, I need to set the height of my blade. To do so, I’ll use the groove in my test piece as a gauge. The idea here is to set the blade BELOW the groove. You really want to creep up on this cut without going too far. Make sure to move the blade to ensure the tips are always below the groove in all positions.
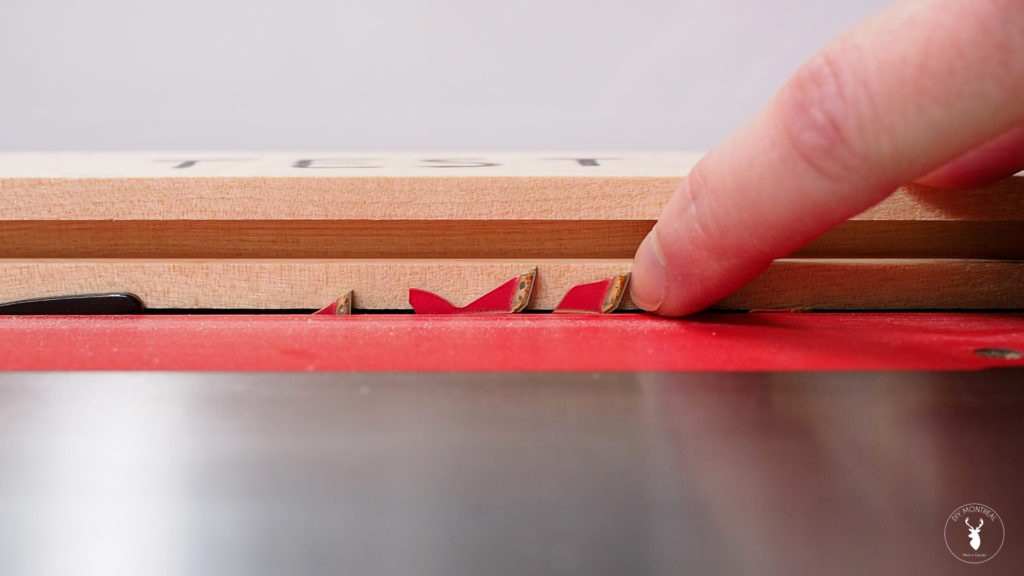
Next, I set my fence so that the blade is just inside my reference line. The idea is to have the blade kiss the line but WITHOUT going through the line.
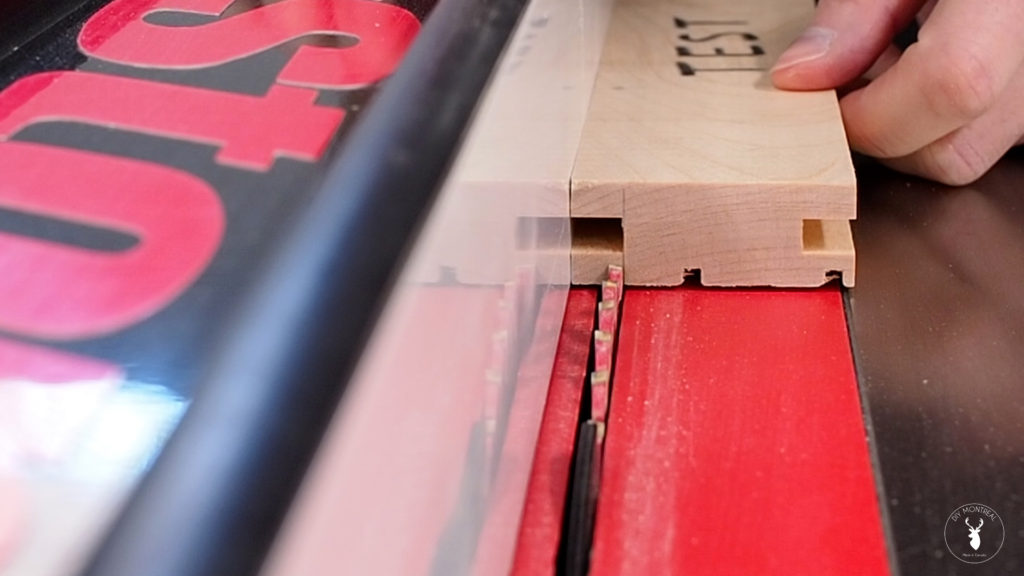
Alright, I can now flip my test piece perpendicular to the fence, and use my miter gauge to make a test cut. After the first cut, I’m left with a small sliver of wood, so I’ll raise the blade ever so slightly and do another cut.
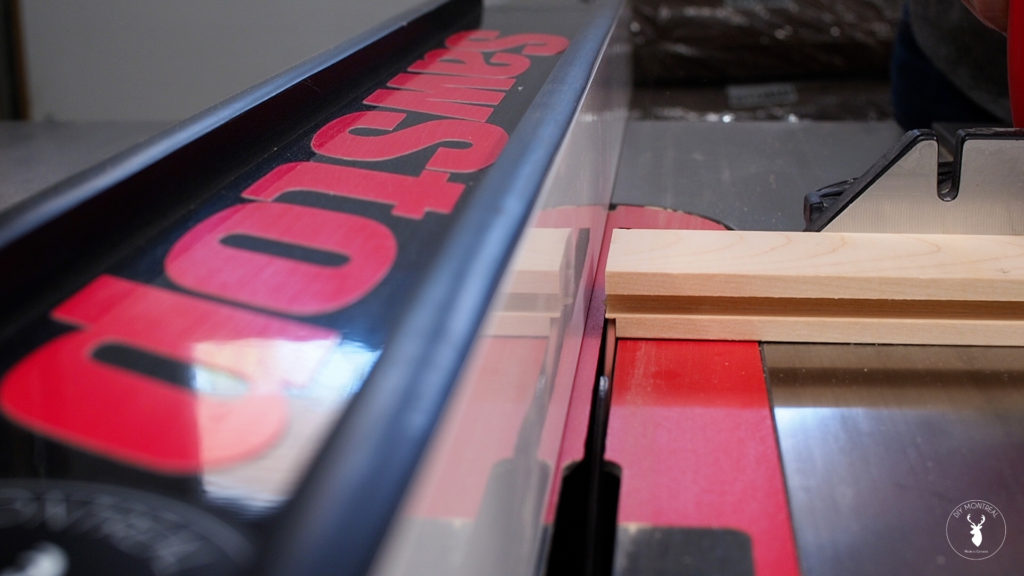
Once I reached the right height where there’s just a paper thin piece left, I could go ahead and cut a tongue, still using my test piece.
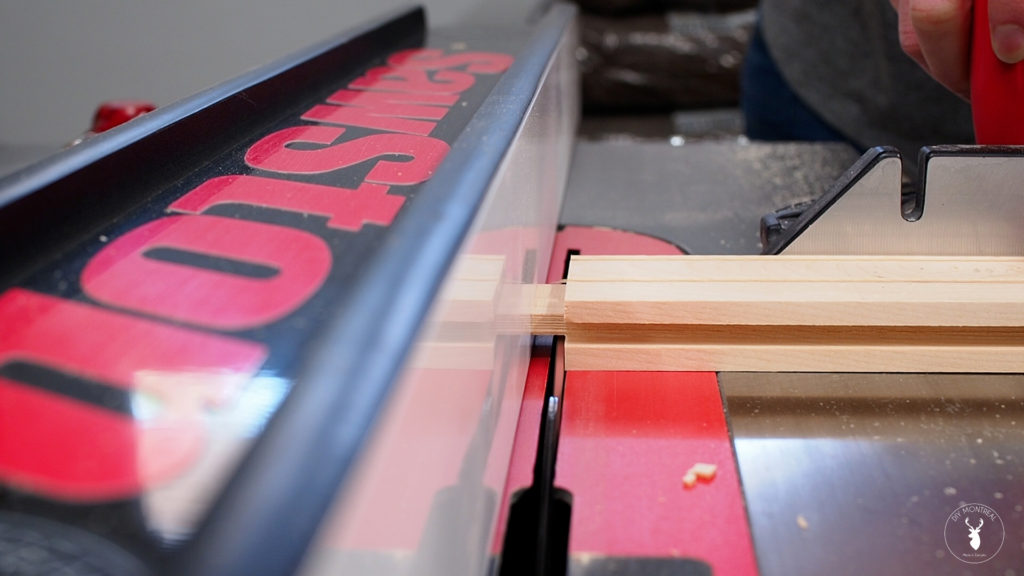
With the tongue cut, I did a test fit to check my settings are right. My tongue is the same depth as the groove, with the shoulder bottoming out perfectly. And I’ve got a nice friction fit, neither too loose nor too tight.
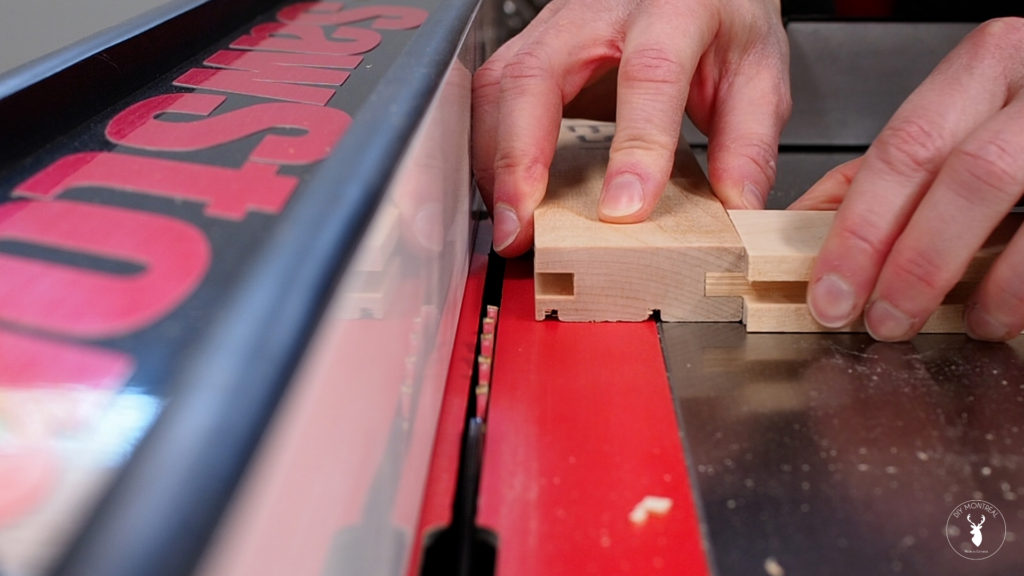
With my test piece perfectly dialed in, I could grab my 2 rails, and cut the tongues on each end without touching any of the settings.
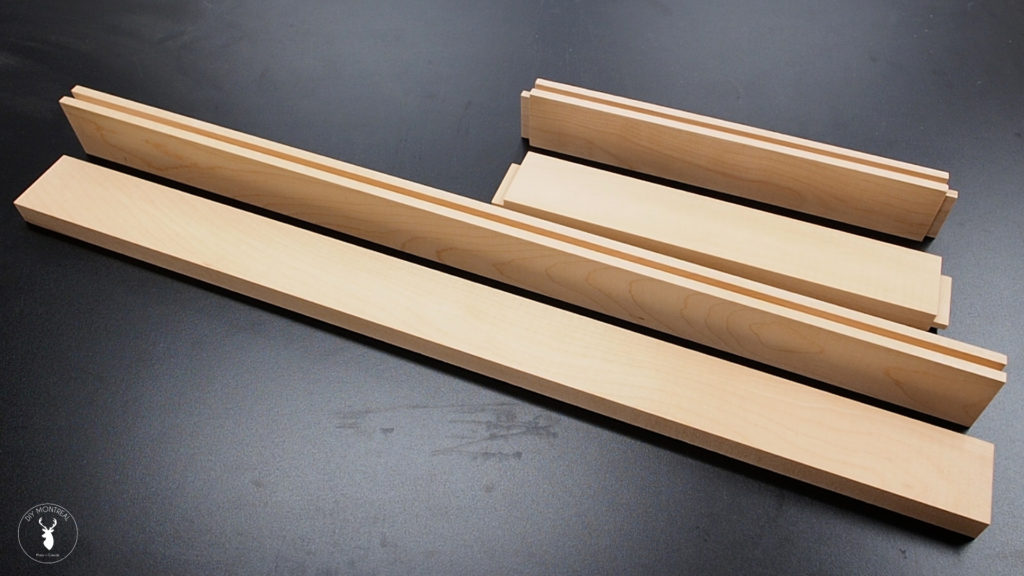
So when all is said and done, I have 2 stiles with a groove, and I have 2 rails also with a groove as well as a tongue on each end.
4. Cut the Center Panel
Next I need to cut the center panel to size, and in order to figure out how big I need to cut it, I assembled the frame and measured the inside of the frame. I then added 3/8 on each side to account for the grooves, then removed an eighth just to give me some wiggle room.
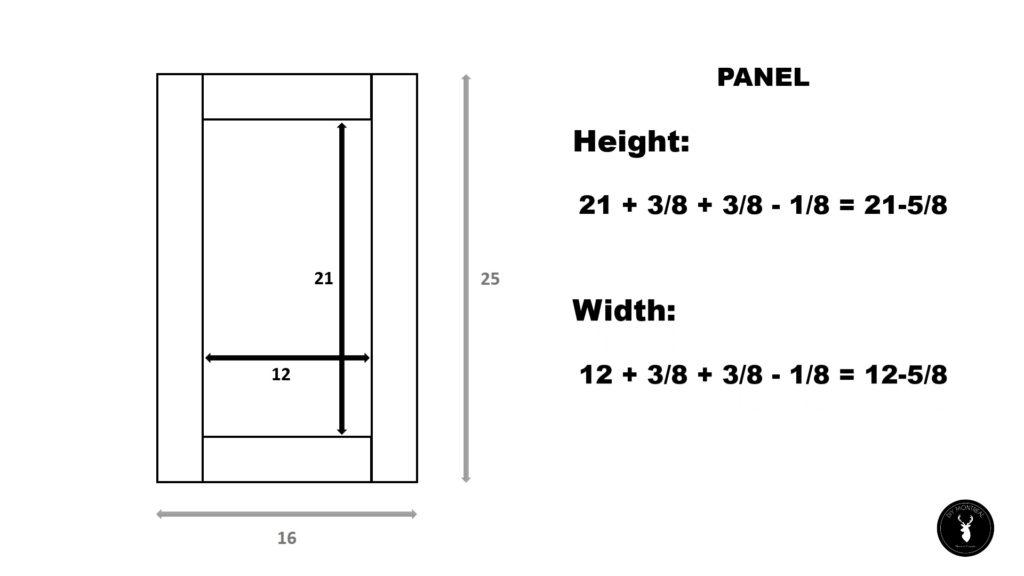
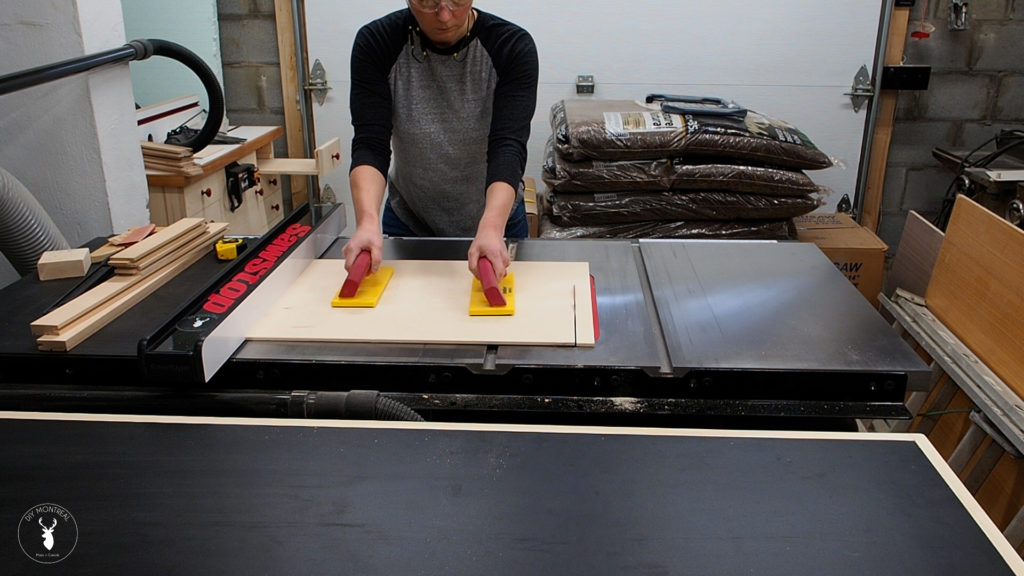
So with the dimensions figured out, I set my fence and cut the panel. I decided to use quarter inch plywood for this door, but you could also use MDF instead.
5. Glue Up the Shaker Door
After doing a dry fit to make sure everything fit without issue, it’s time to glue it up. I didn’t glue the center panel to allow for any potential movement. I only applied glue to the tongues, spreading the glue all around and sliding the rails into place.
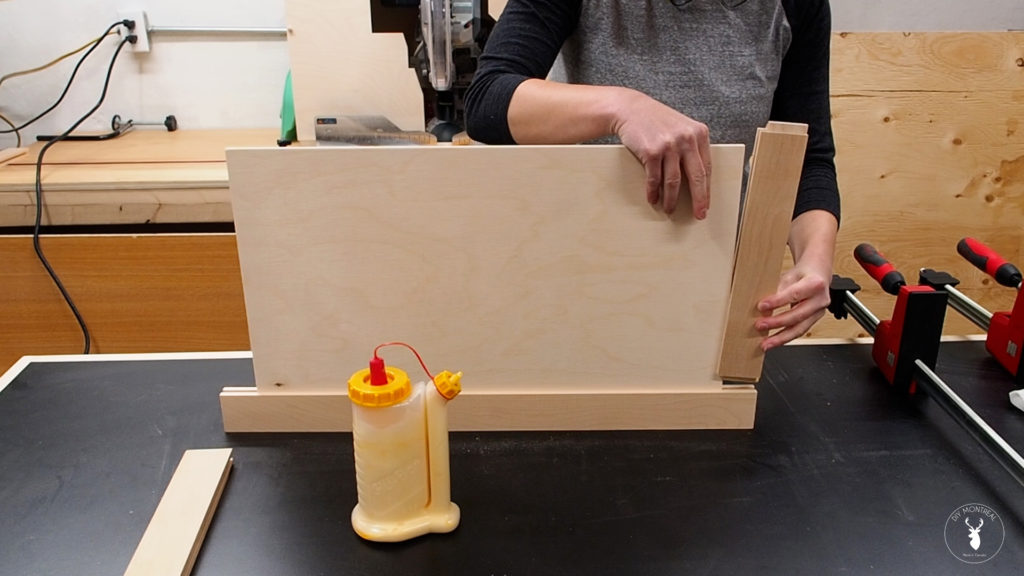
I applied some more glue and slid on the second stile, then used a rubber mallet to help tap it into place and make a few adjustments until everything lined up.
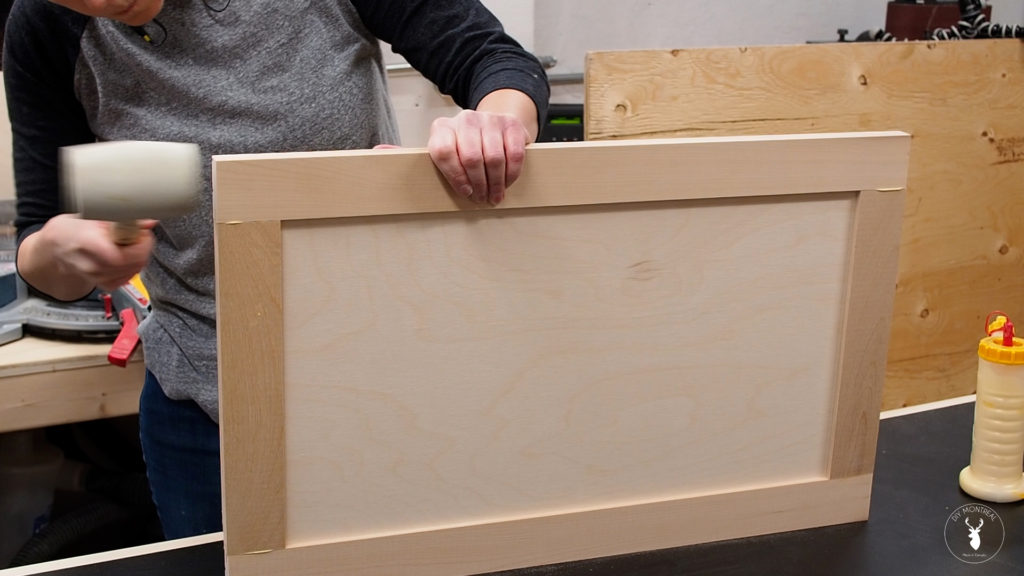
I set the door in some clamps and did a final check on alignment, before tightening the clamps. You really only need to lightly tighten the clamps without overdoing it and make sure to apply even pressure to both sides. I checked that the door was nice and flat without any bowing, and then measured to check that both diagonals were the same to make sure the door was square.
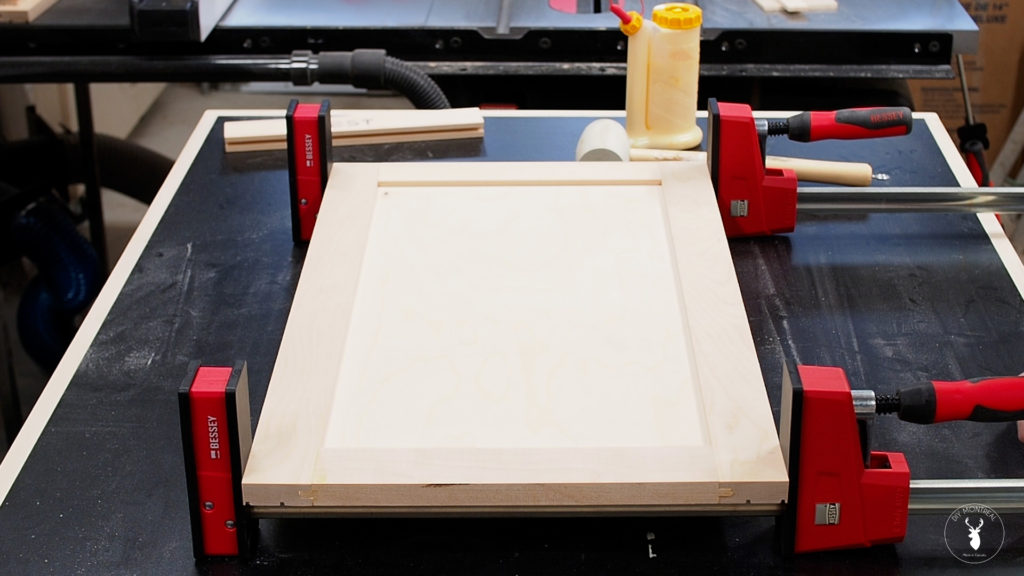
All good here, so I let the glue set in the clamps for a few hours. All that’s left is a little sanding and this door is a wrap! I’ll be using this door in my workshop for my miter station, so I’m leaving it unfinished, but you can paint, stain, oil or varnish the door however you like.
