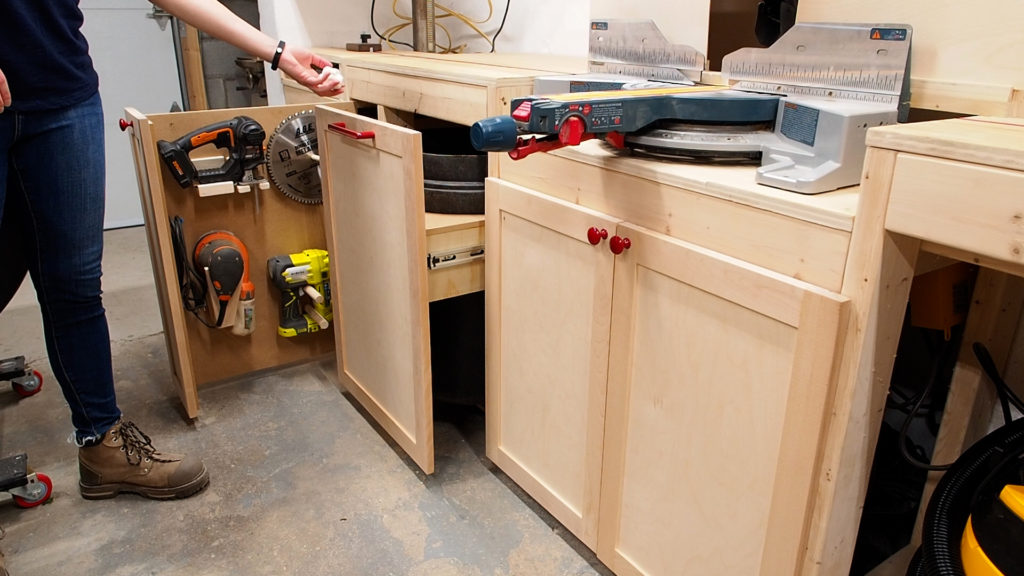
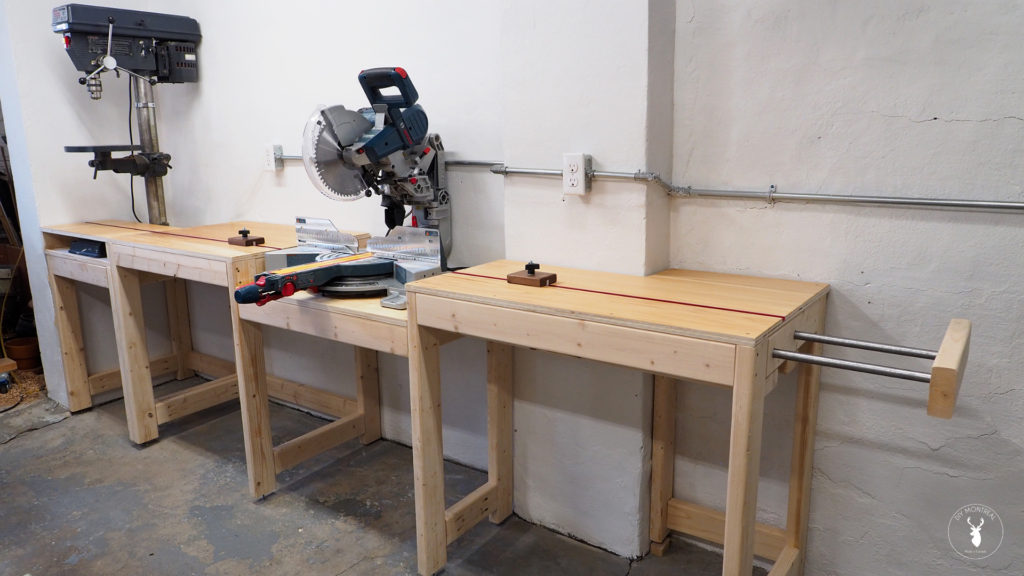
I built a simple 2×4 modular miter saw station last year with an extension wing and an integrated T-track for a sliding stop block. I left the underside of the station open at the time, until I could figure out what type of storage I wanted underneath.
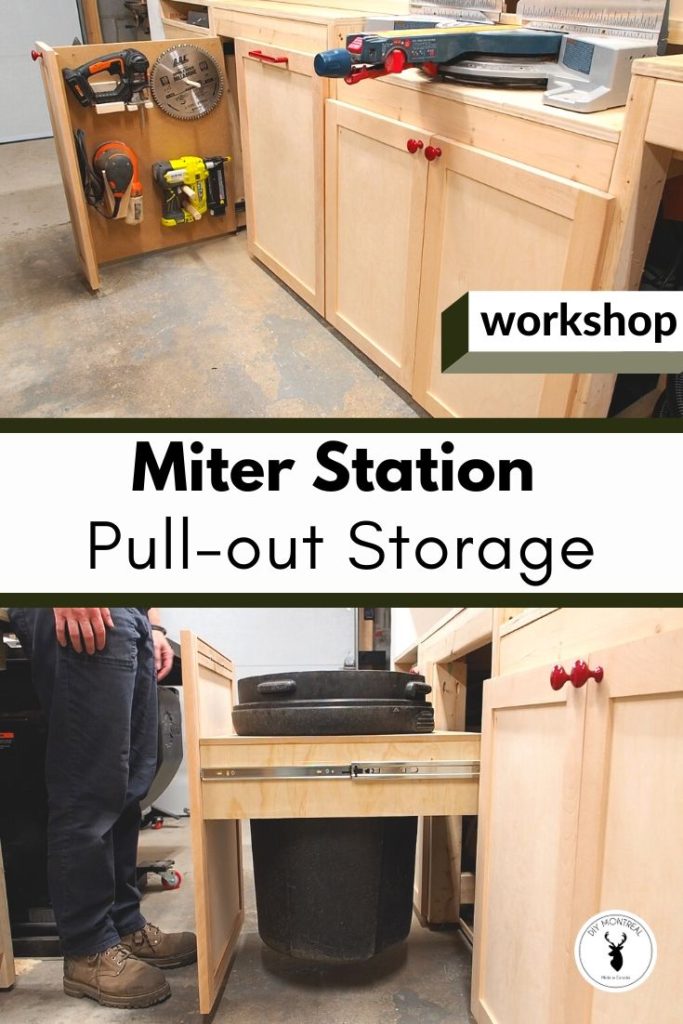
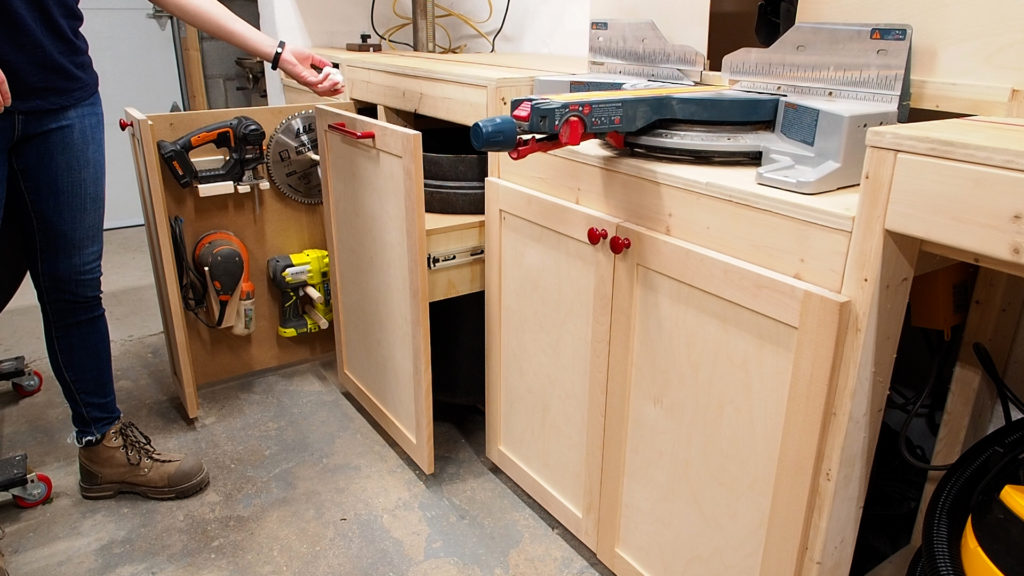
Today, I’m adding a few storage solutions under the miter saw station: shaker doors to hide my dust collection, a concealed pullout garbage bin, and a pullout vertical tool wall where I can storage some of my most used handheld power tools.
Tools & Materials Used
- Drawer slides https://amzn.to/2OdYF8g
- Half overlay hinges https://amzn.to/32nfxC2
- Drawer slide jig https://amzn.to/3gMWQLP
- Door hinge jig https://amzn.to/38Lq7DU
- Drawer cabinet hardware jig https://amzn.to/2ZVznBn
- Pocket hole jig https://amzn.to/3fiaw0R
- Kreg face clamp https://amzn.to/2W4FRN4
- Cordless Brad nailer https://amzn.to/2Ocym2j
- Cordless jigsaw https://amzn.to/2ZVdbqV
- Double-sided tape https://amzn.to/3iRXCZF
>> See all of my tools & gear here
Miter Saw Station – Storage Upgrades
Cabinet Doors
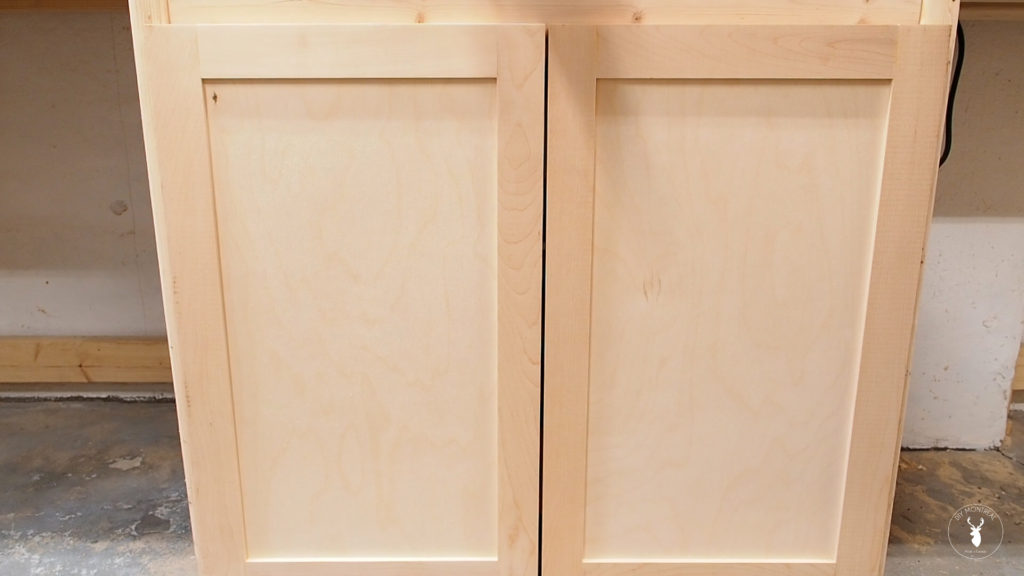
The first thing I want to do is hide my dust collection set-up by adding a set of doors. I built these shaker doors in a previous project if you want to check that out.
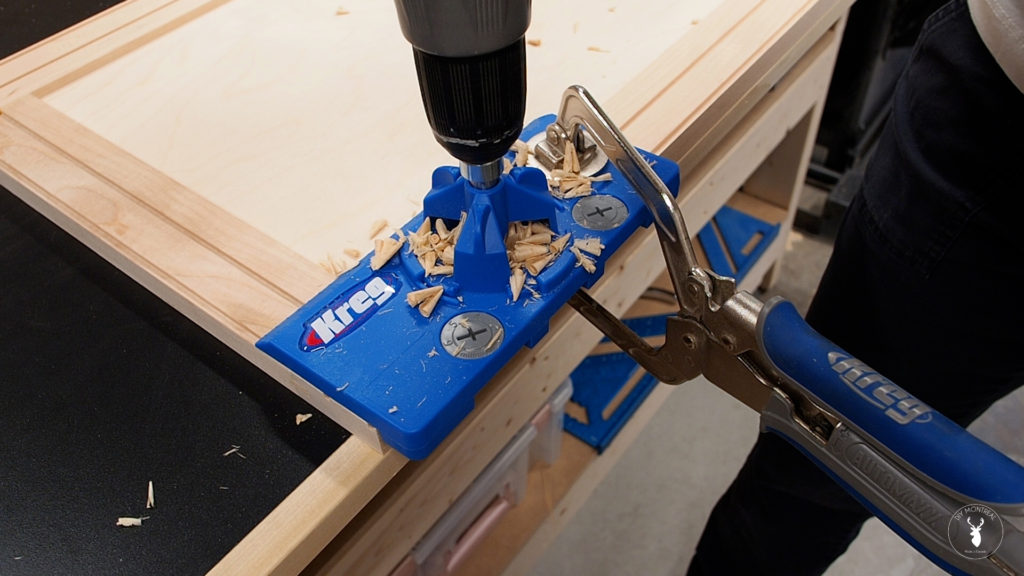
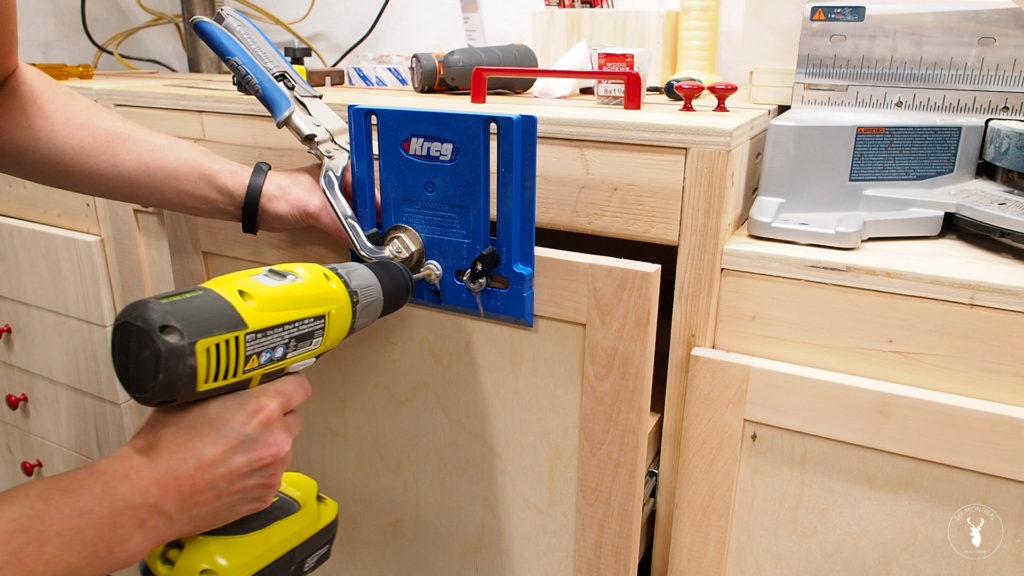
I’m using half overlay hinges that can be installed with a 35 mm bit, but using a jig like this one definitely helps. I aligned the jig with the edge of the door in order to set the hinge 4 inches from the bottom.
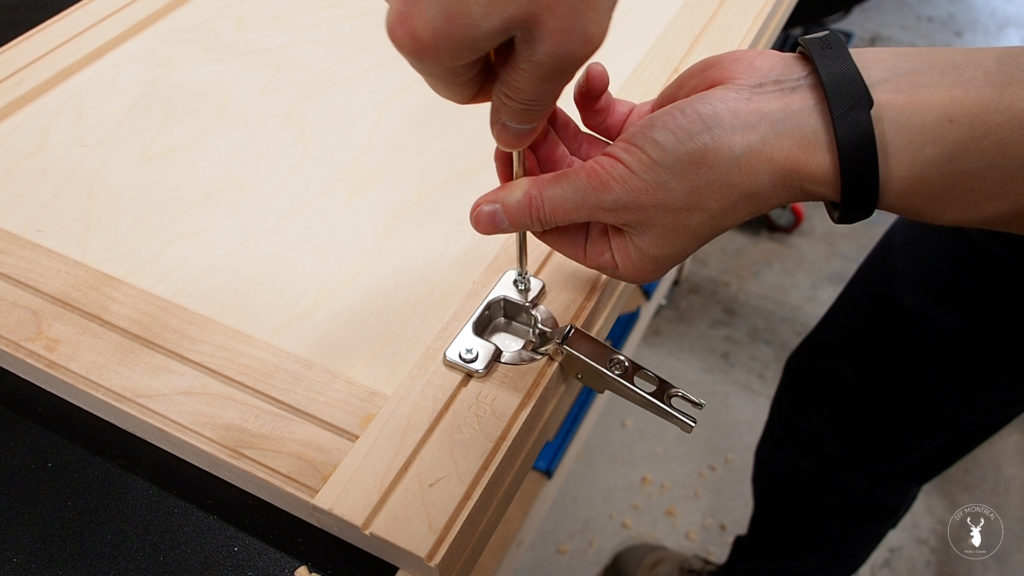
I repeated the same process for the second hinge, then followed the instructions on the packaging in order to install the mounting clips in the right spot. Hinges are always a bit different, but these ones you just slide into the clips, then secure by tightening the back screw.
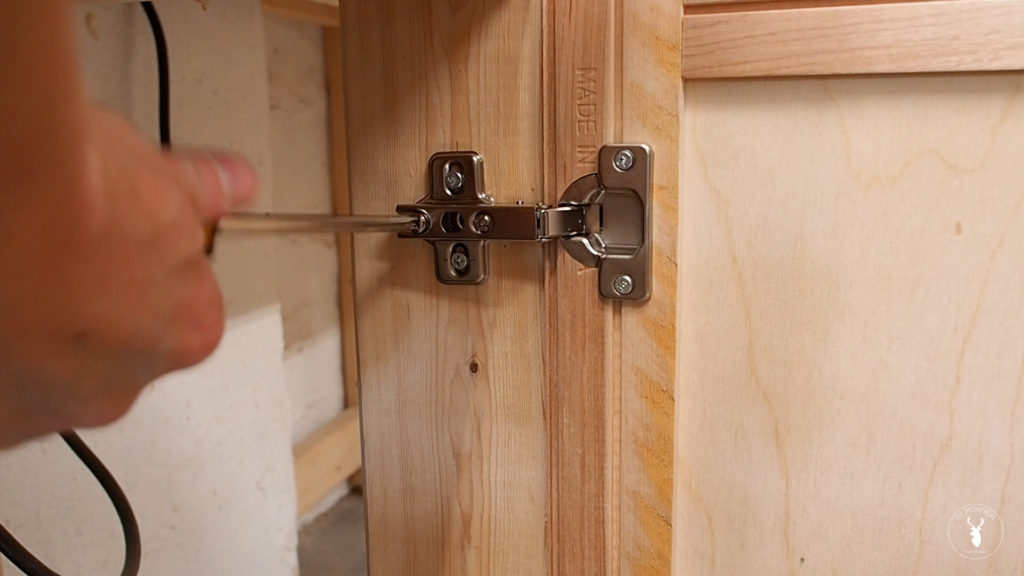
Then simply adjusted the 2 screws on each hinge until the doors were both straight and level.
Pull-out Trash Can
Another cool feature I decided to add to the shop is a pull-out garbage bin, inspired by the one in my kitchen.
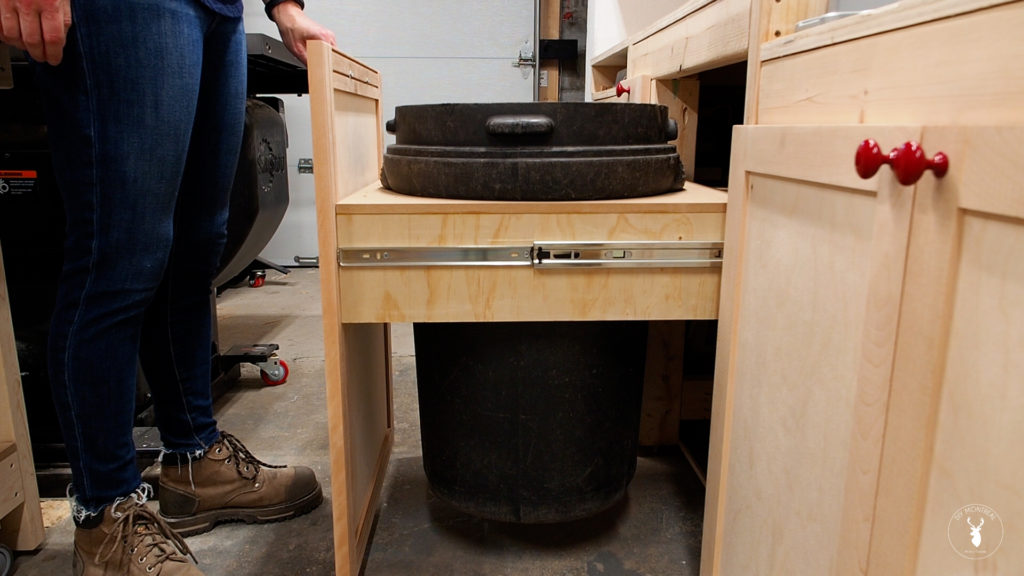
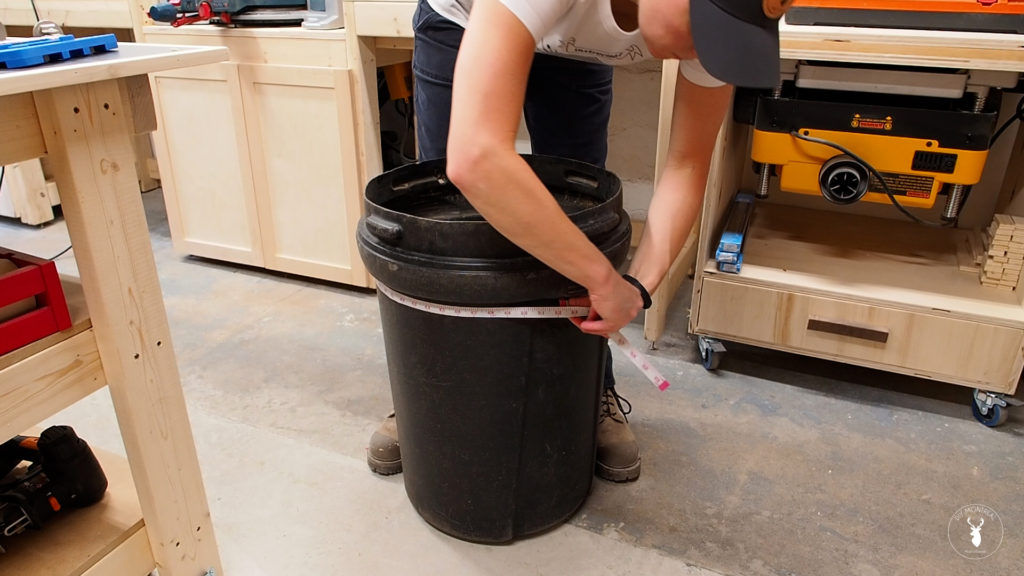
I need to build a holder for the trash bin that I’ll attach to some drawer slides. I first used a soft measuring tape to measure the circumference of my garbage. I then divided the circumference by Pi (3.1416) in order to get the diameter.
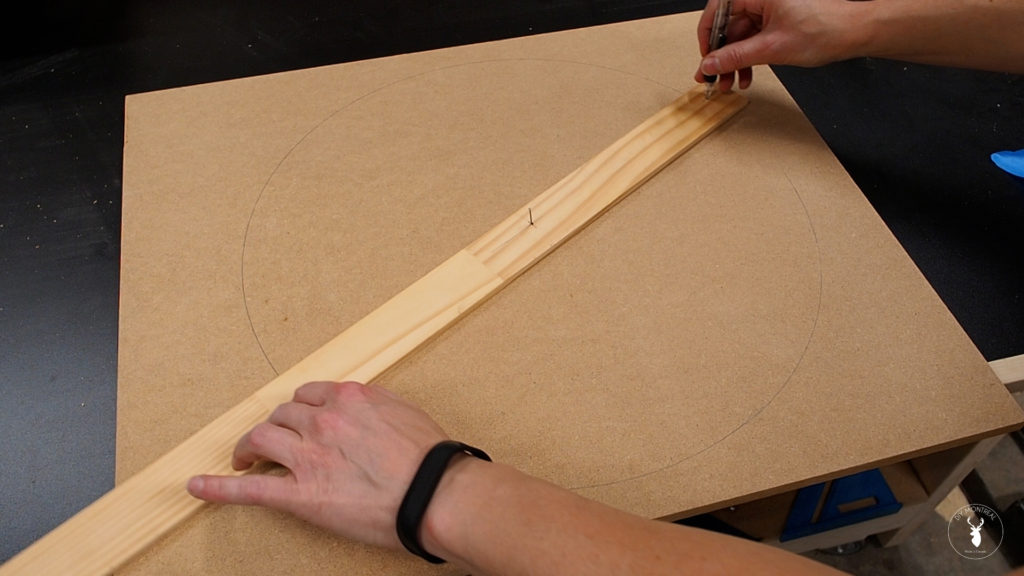
I grabbed a piece of MDF slightly wider than the garbage. To trace out the circle for the cut out, I first found the center point and made a pilot hole. I then used a scrap thin piece of wood to drill two pilot holes to match the radius of my garbage (which is equal to half the diameter). I could then simply nail one hole to the center of my MDF and use a pencil in the other hole to trace out the circle.
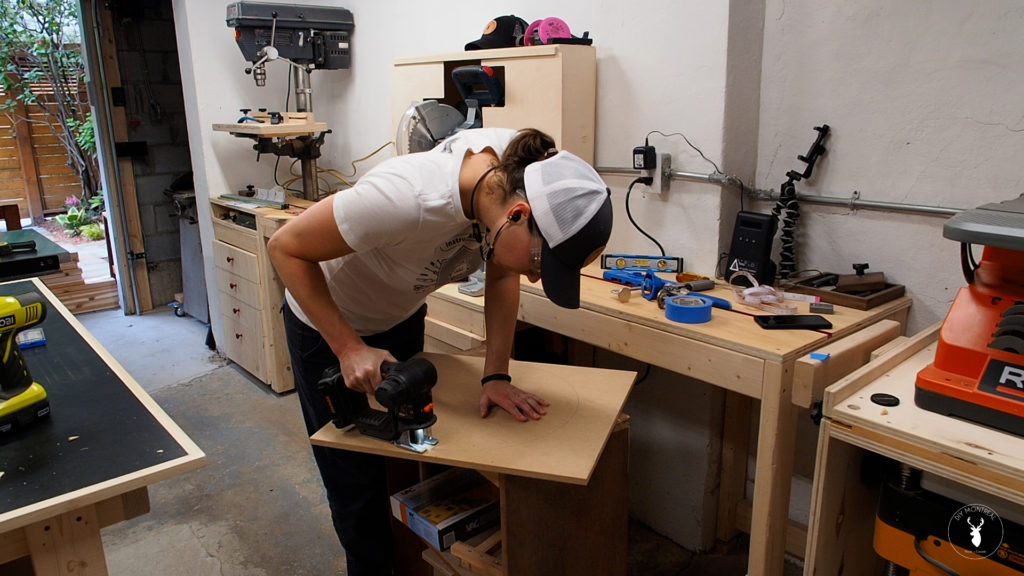
I drilled a large pilot hole so I could insert my jigsaw and cut out the circle along the line.
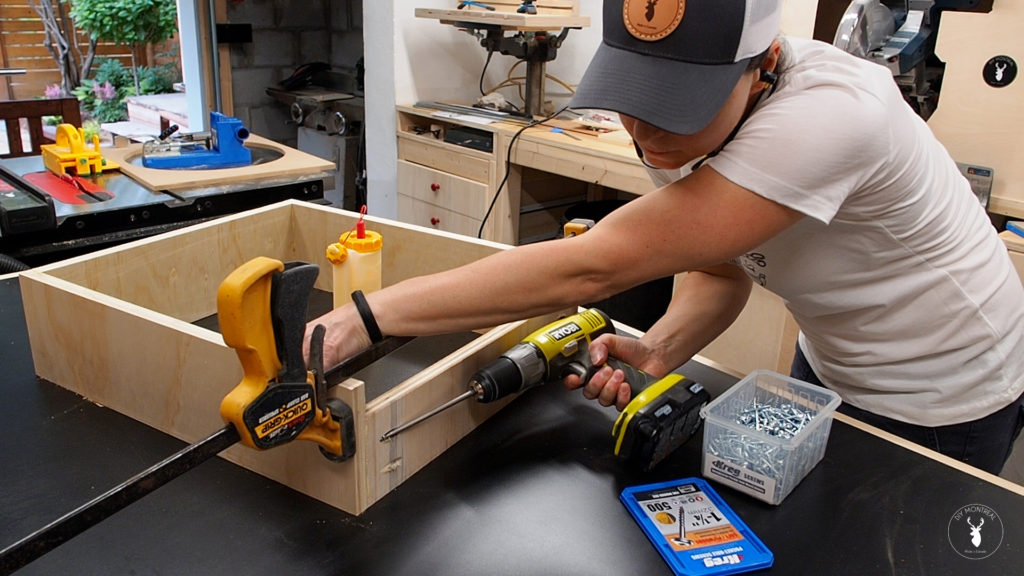
Next I need to build a sort of base to hold the cut out. The base will just be 4 pieces of plywood assembled into a box. I’m making the sides tall enough to install drawer slides and also to have a decent-sized surface to attach my door panel to later on. I used my pocket hole jig to make pocket holes into the front and back pieces, then applied some glue and assembled the box using pocket screws.
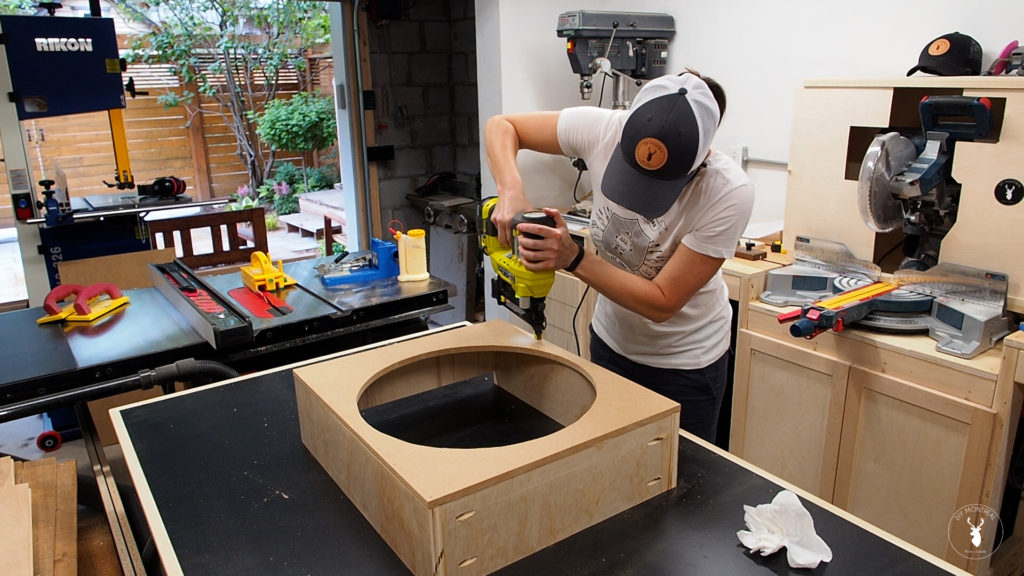
With that done, I can simply apply some glue and secure the cut out panel to the top with some brad nails.
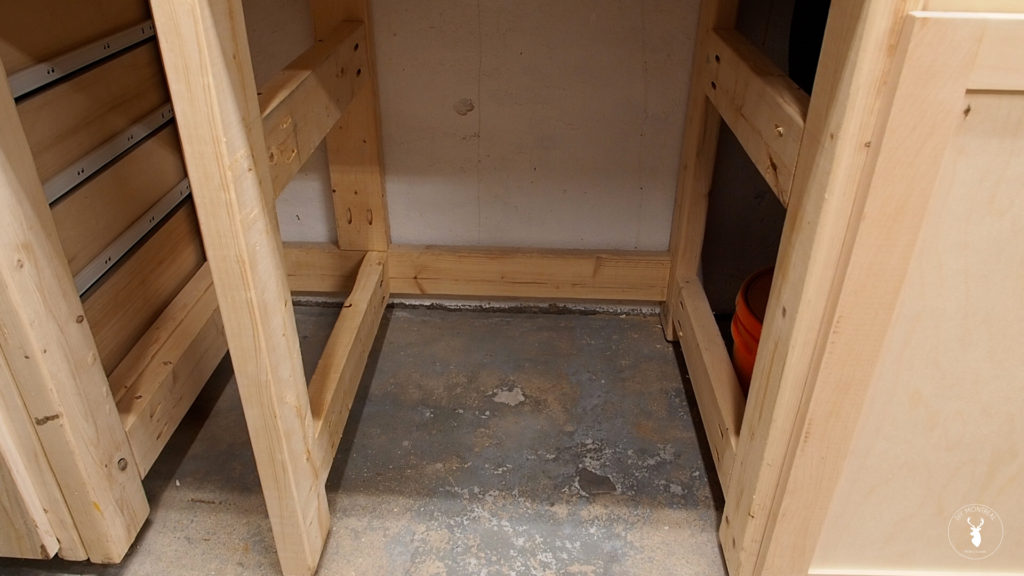
Before installing the drawer slides, I had to modify the base of my miter station so that the opening was exactly the width of the trash holder, plus 1 inch to account for the width of the slides.
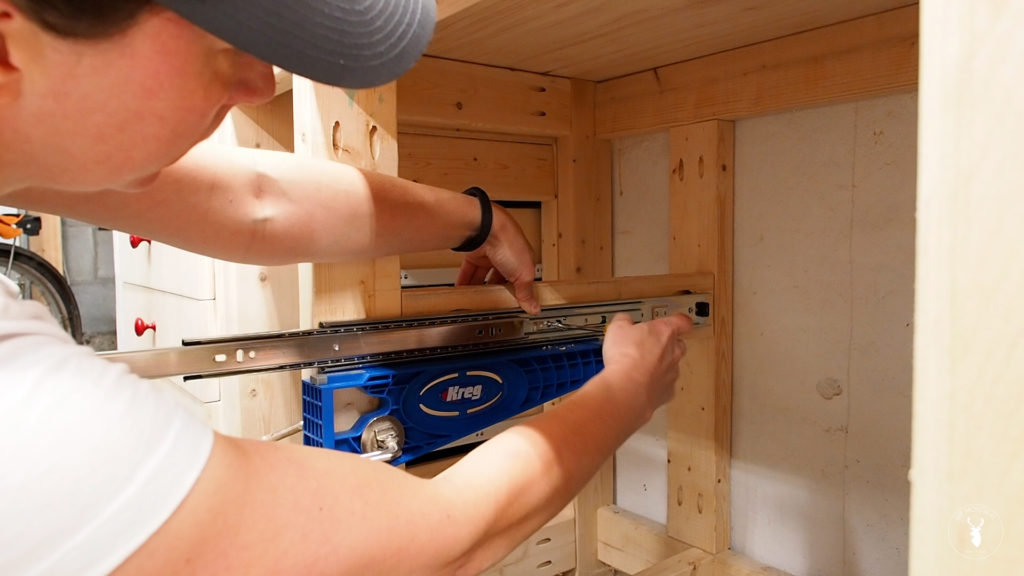
Next, I used these drawer slide jigs to install the drawer slides. Once clamped in position, I simply dropped in the slide and set it one eight of an inch back from the front opening. Then, holding it in place, I gently pulled out the slide and found the holes to install 3 screws and secured it in place.
I repeated the same process on the opposite side, then used my drawer slide jigs to support the trash holder while I pulled out the slides and secured them, this time making the slide flush with the front of the box. I started with the front screws and alternated sides, then could pull out the box a little more to reveal the next screw hole, and so on, until I reached the back.
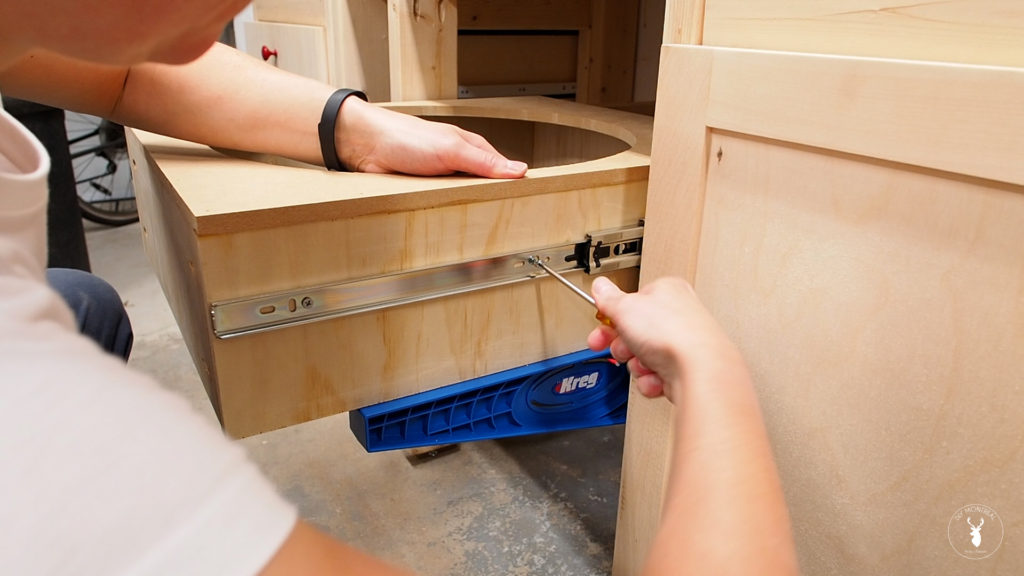
I did a test fit and everything looked good, but I still need to add a door. But- we’ll get back to that in a bit.
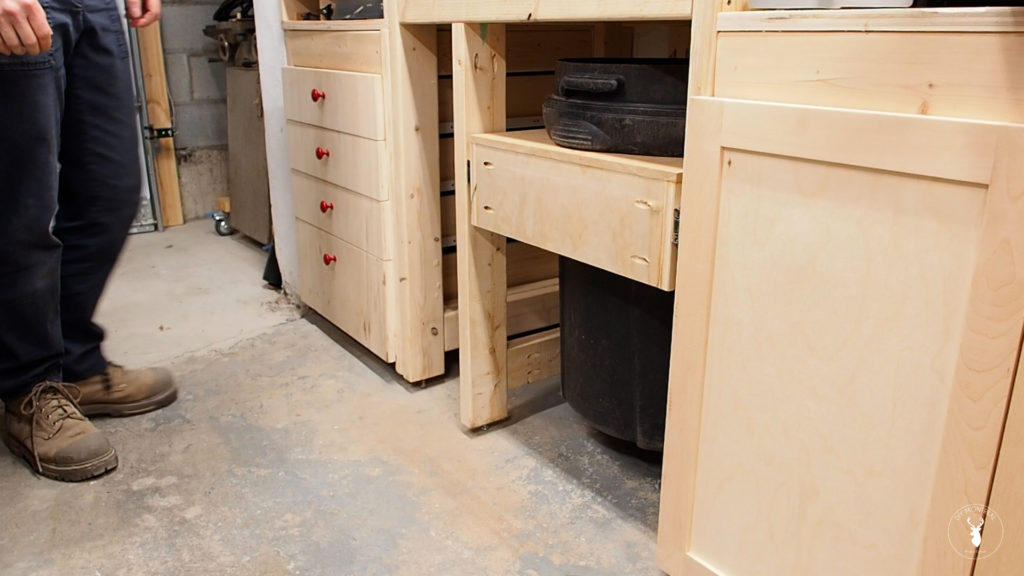
Vertical Pullout Tool Wall
I still have a tiny little nook that I’m going to use as tool storage by adding a vertical pull out wall.
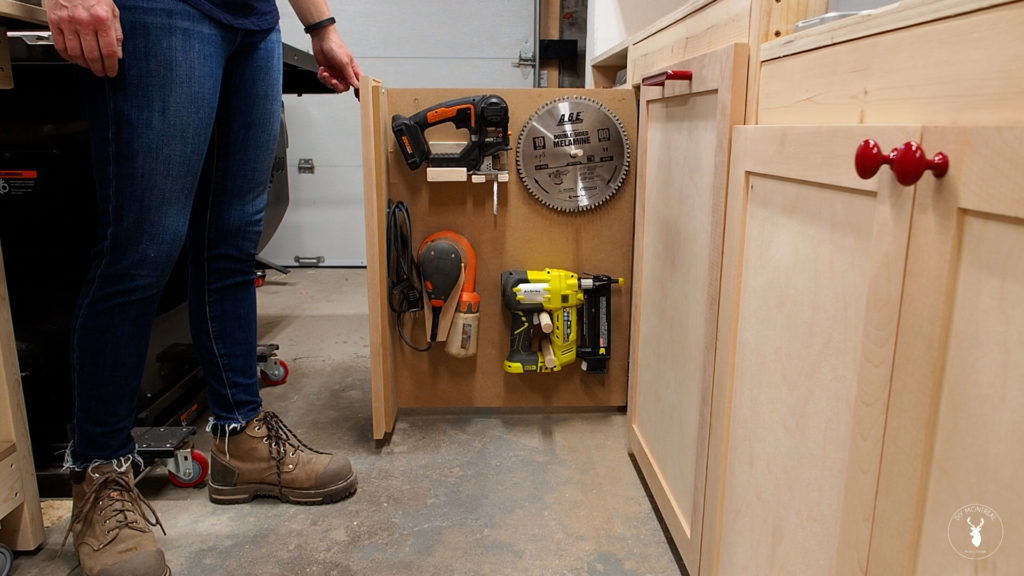
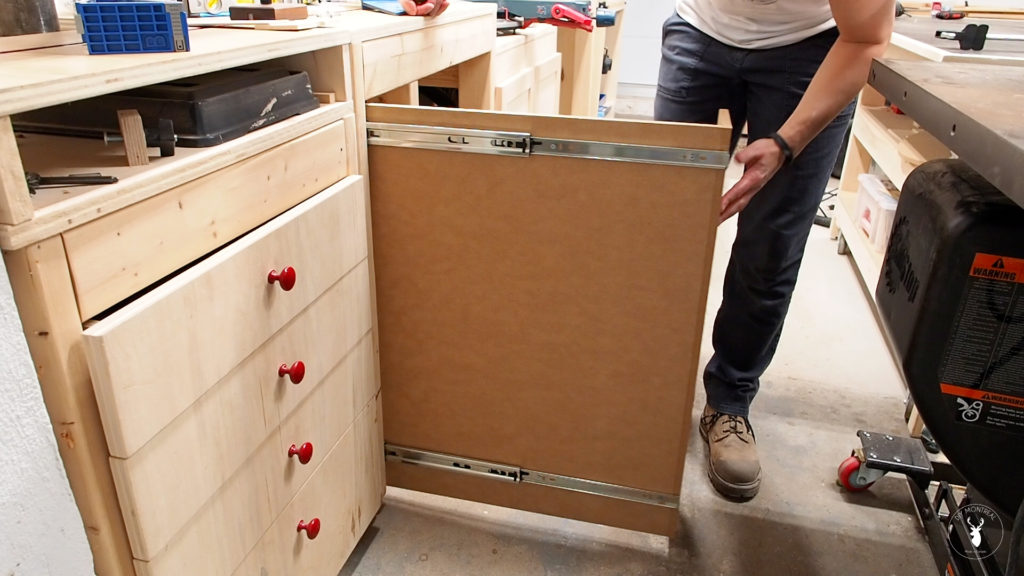
The trick to this vertical pull-out tool wall is to install both slides on the back side, on at the top and one at the bottom. I installed both slides following the same steps as outlined above.
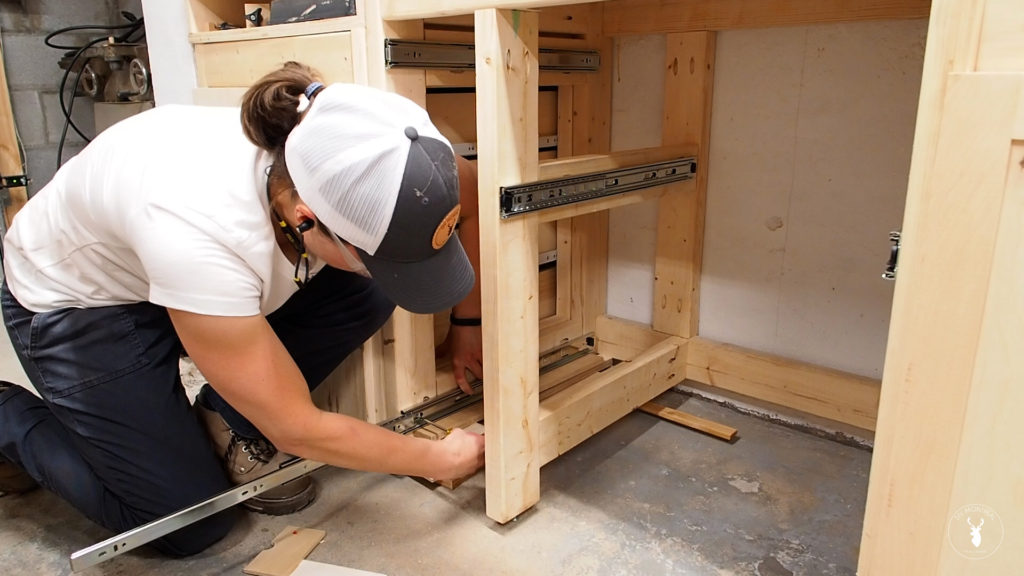
Before installing the panel I decided I should add a false front so I’ll have something to attach the door to, so I simply screwed on another piece of MDF.
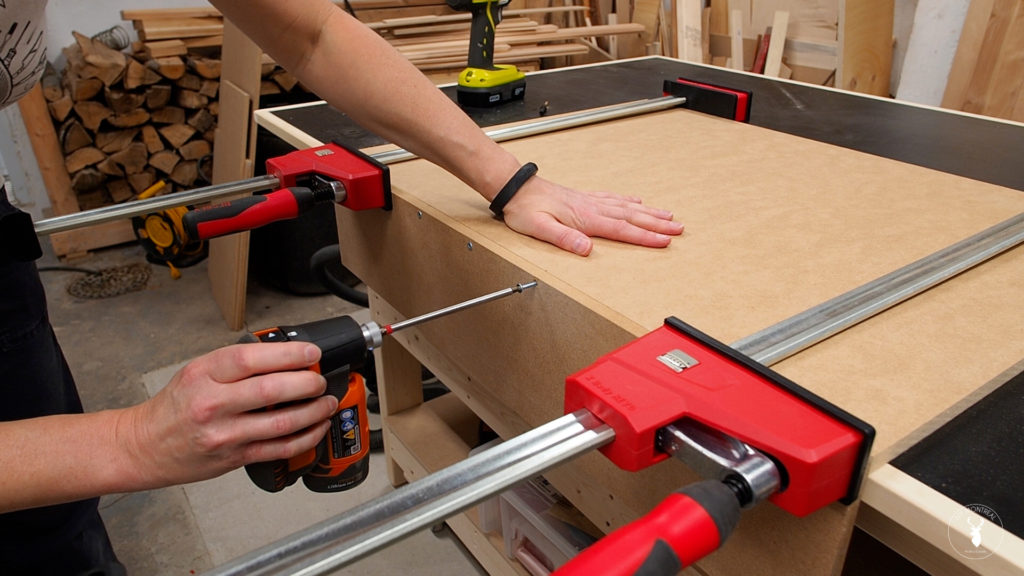
With that done, I could mount the panel to the slides. I used some shims to level and support the panel, then pulled out the slides and secured them with screws.
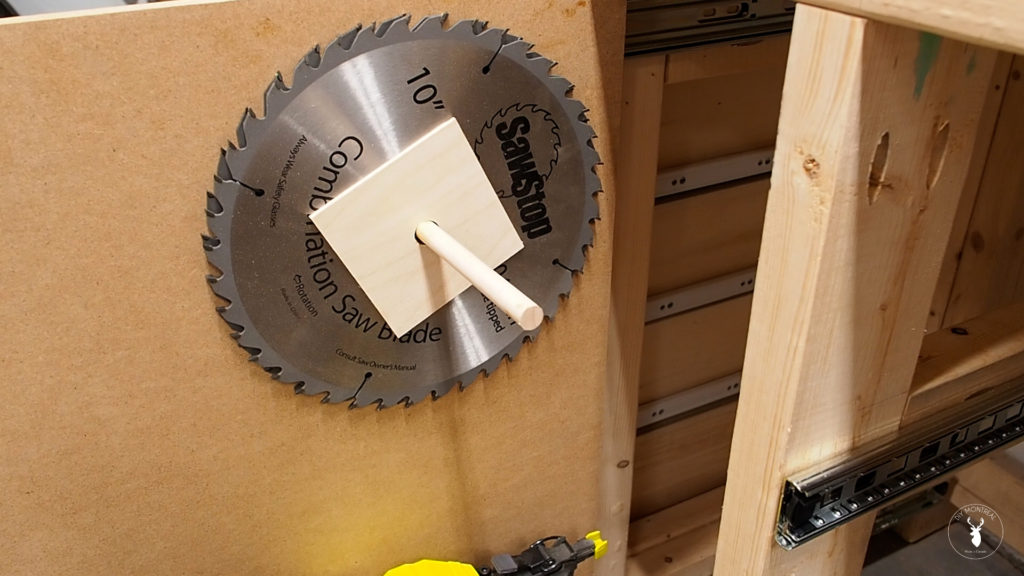
With the panel installed, it’s time to dress up the tool wall, starting with a simple storage solution for my saw blades. After a quick layout, I drilled a whole to insert a half inch dowel with a little glue. Once dried I could hang my blades, using some homemade spacers that I made from thin plywood.
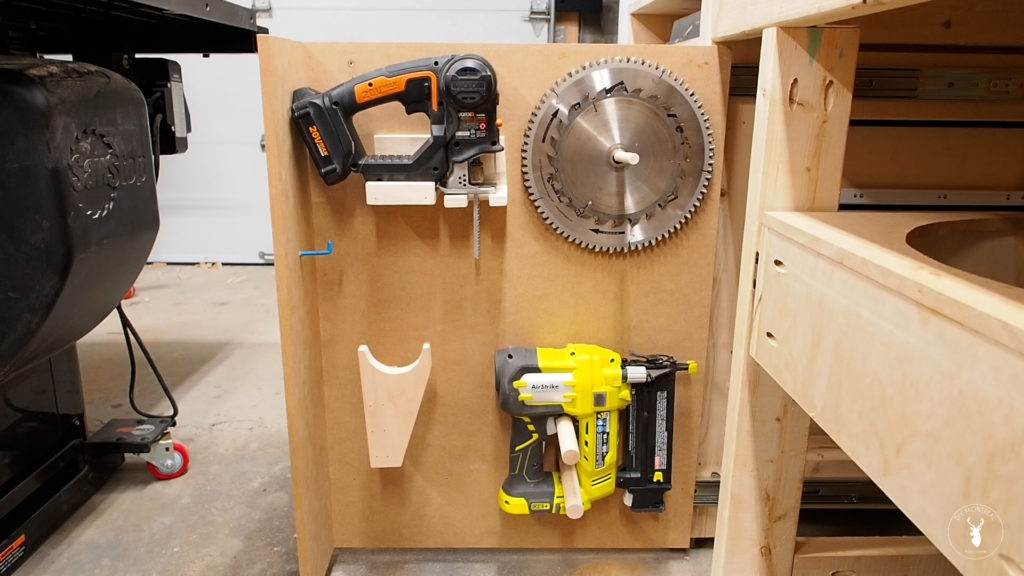
Next I screwed in 2 dowels from the back to hold my Brad nailer, and made a simple holder for my jig saw that I also screwed in from the back. Last but not least, I made a small holder for my sander and added a hook for the cord.
Door Fronts & Hardware
It’s time to add the door fronts, and if you’re interested I have a full video on building shaker doors that you can watch here.
For the door to the garbage, I’m adding this backer so I’ll have something to screw into when installing it. I won’t lie, going with shaker doors probably wasn’t the best idea. Mounting them is going to be a challenge since I can’t really get a clamp on here. I pre-drilled some pilot holes then decided to try some double-sided tape to try to temporarily stick on the door while I screw it in from behind.
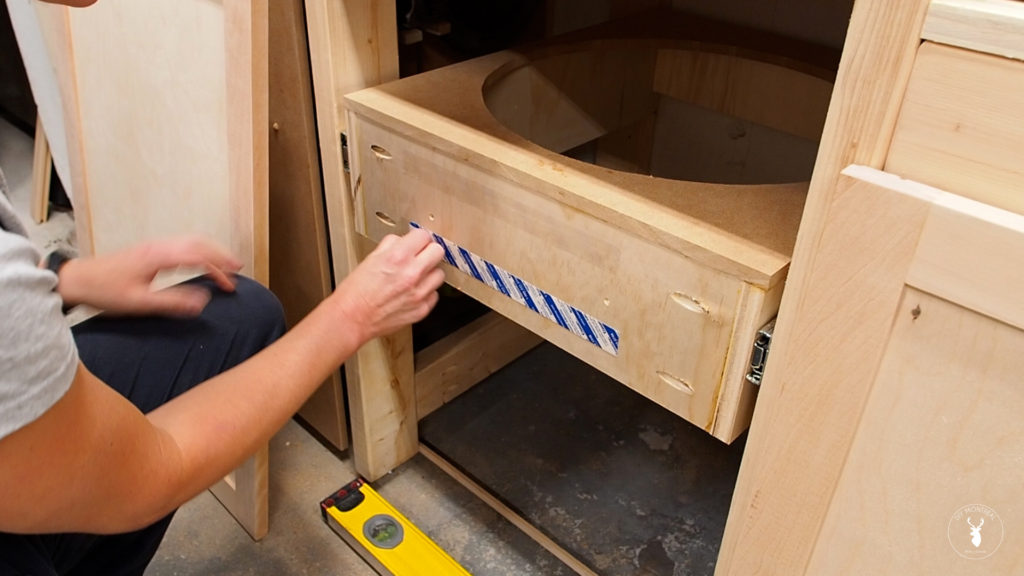
I used a level as a straightedge that I shimmed up against the bottom of the adjacent doors. I then used a spacer to get the door into position.
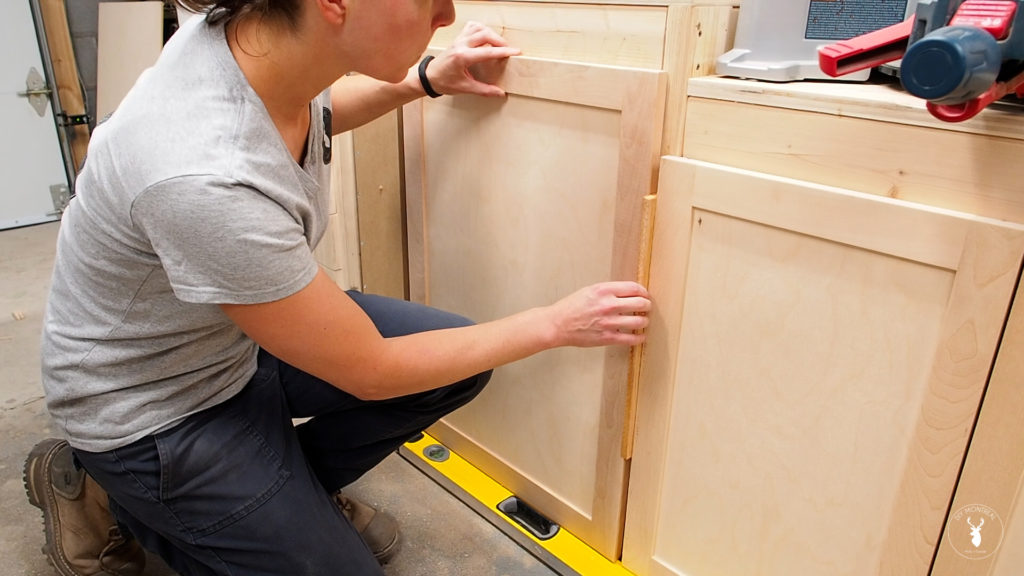
Reaching in from behind I pressed up against the tape and delicately pulled out the door. You can see me awkwardly holding it, trying to get a screw in from behind. It wasn’t pretty, but it ultimately worked. I could then add some more screws trying to get them into the door frame.
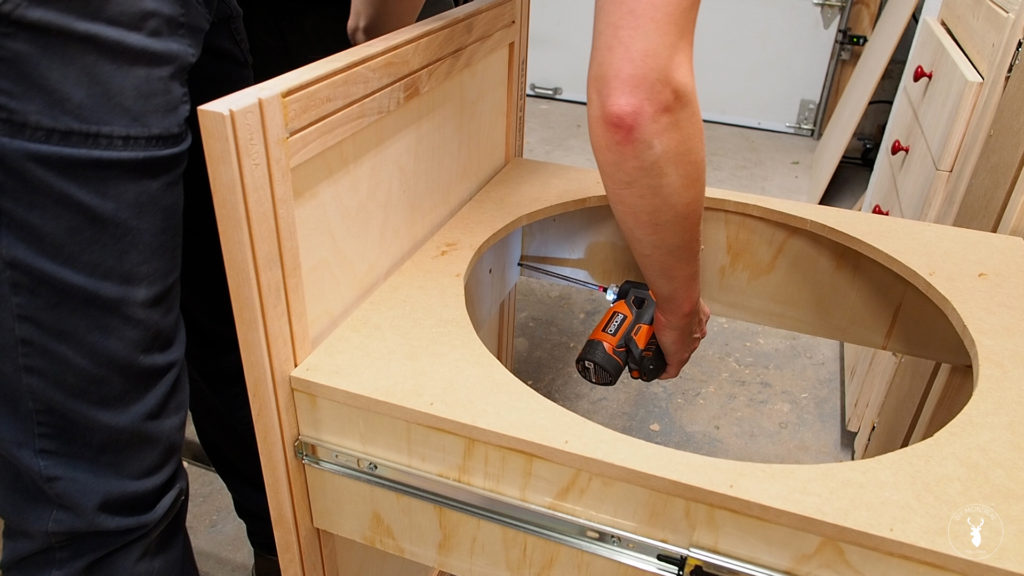
To install the door for the pull out wall, I first drilled some pilot holes and put in the screws from the back. That being said, I figured it would be easier to use the door knob to help install the door, so I started with that. Using the same trick as before, I positioned the door on my level, then used the knob hole to drill through the backer. I could then temporarily install the knob to hold the door in place. After that it was just a matter of leveling the door and screwing it in from behind.
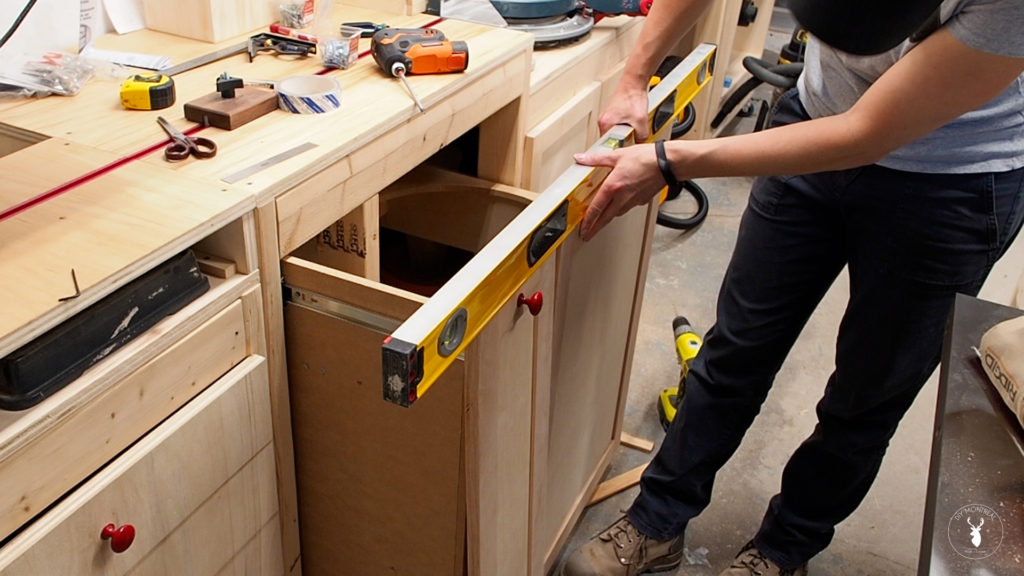
To finish things off, I installed a drawer pull for the garbage and installed the rest of the knobs, all using this cabinet hardware jig.
Having this extra storage in the shop is so awesome, especially having my small tools right there when I need them.
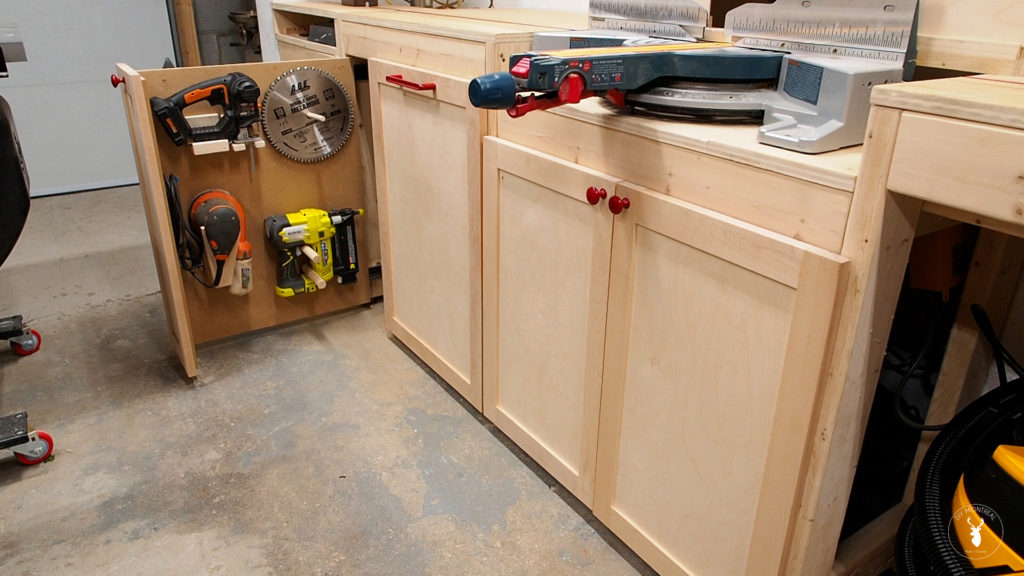
And the pull out trash is not only practical, but just a fun cool feature to make my shop time that much more enjoyable.
