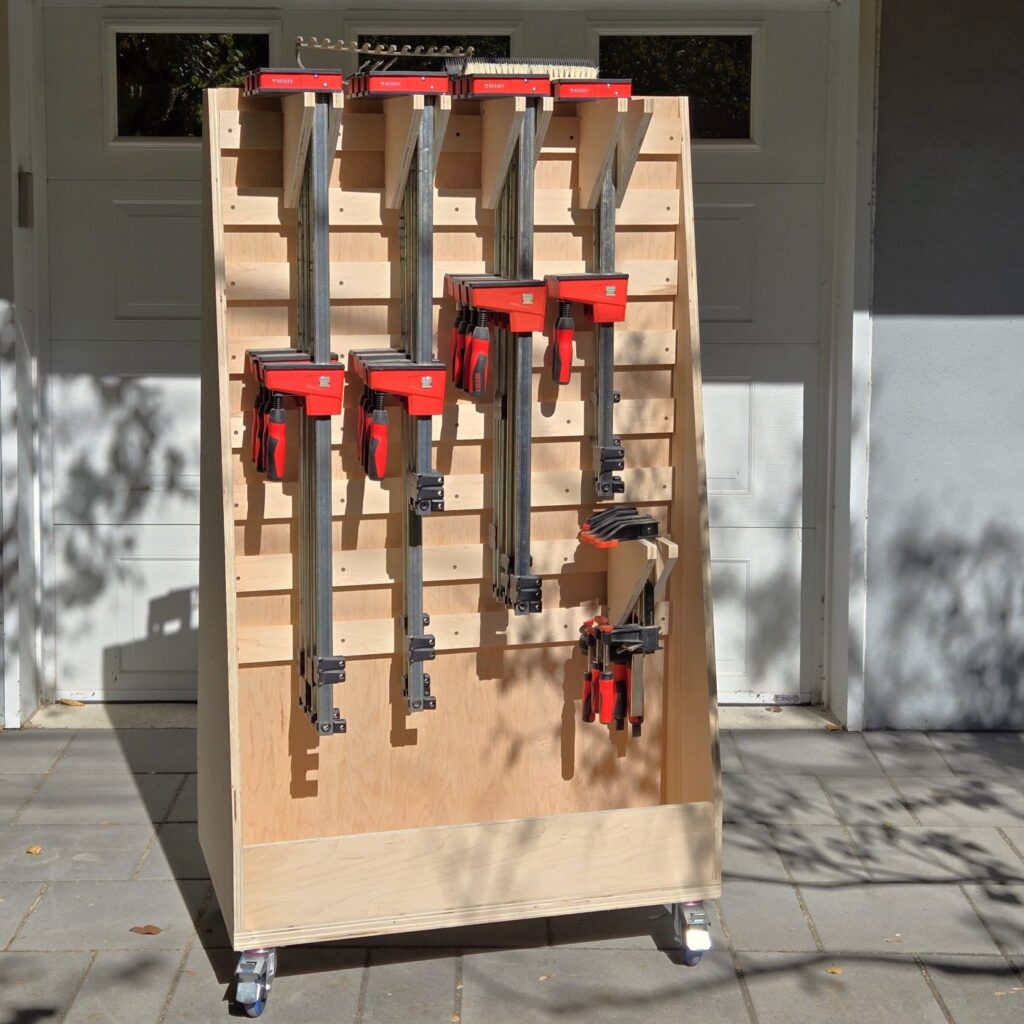
If your shop or garage is running out of floor space and your long-handled tools, brooms, and yard gear have turned into a tangled mess, this project is for you.
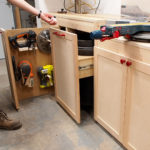
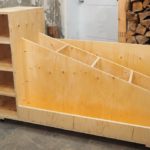
I recently built this Mobile French Cleat Tool Storage Wall. It offers over 6 linear feet of vertical storage, but with a compact 2×3 footprint, it easily tucks into tight shop corners without taking over your floor space.
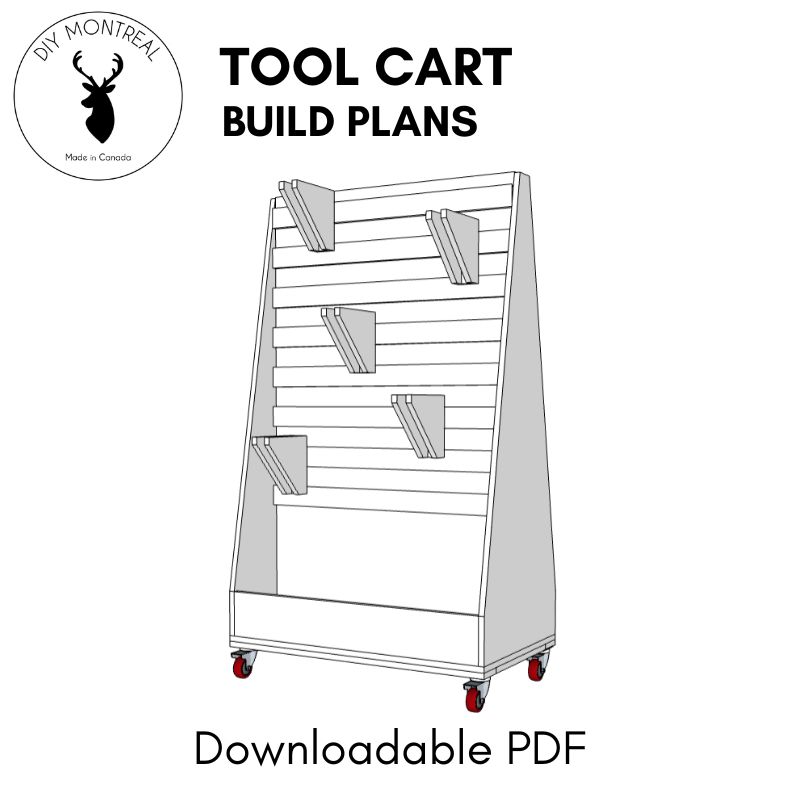
Watch the full build video below to see how it comes together, and grab the detailed build plans if you want to make one for your shop!
Watch the Full Build Video
Build Plans
Easy to follow step-by-step build plans available for this mobile tool storage cart here.
Tools & Hardware Used
- Track Saw (or Circular Saw with a homemade track guide)
- Table Saw & Miter Saw
- Pocket Hole Jig & 1-1/4″ pocket screws
- Adjustable Countersink Bit with Non-Marring Depth Stop
- Brad Nailer
- Combination square
- 1-1/2″ Lag Screws & Washers (for mounting casters)
- Decking/Wood Screws (various lengths)
- Clamping squares
- Digital angle gauge
- Wood Glue
- 4″ Heavy-Duty Swivel Casters
- Gate Handles (for easy maneuvering)
Lumber & Sheet Goods
- 3/4″ Sanded Plywood (I recommend sanded plywood over maple for shop projects—it’s lighter, more affordable, and plenty durable)
- 1/4″ Plywood (for wall cladding)
- 2×4 Studs (ripped down to clean 2x3s for the interior frame)
How to Build a Mobile French Cleat Tool Cart
Step 1: Breaking Down the Plywood
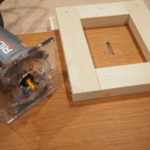
Start by breaking down your 3/4″ plywood sheets using a track saw. (If you don’t have a track saw, check out my video on how to build a homemade track saw guide).
To cut the tapered side panels, sandwich two panels together, flush up the edges, and clamp them tight. Trace your diagonal line and use the track saw to cut both sides simultaneously so they turn out perfectly identical.
Step 2: Building the Solid Base & Subbase
To support heavy tools without sagging, build a dual-layer base:
- Assemble a reinforced subbase using pocket hole screws and a center support board.
- Secure the main 3/4″ base panel to the subbase using wood glue and countersunk wood screws driven from underneath.
- Keep screws clear of the four corners so they won’t interfere with your caster mounting hardware later.
Step 3: Framing the Center Wall
- Rip down 2x4s to 2.5″ wide on the table saw to create clean, square 2×3 studs.
- Assemble a central stud wall with a top and bottom plate and evenly spaced internal studs.
- Glue and anchor the stud wall directly to the center of your base subbase using long wood screws.
Step 4: Assembling Side Walls & Adding Casters
- Clamp the side panels and central wall together to ensure perfect alignment before driving screws.
- Mount heavy-duty 4″ locking casters using 1-1/2″ lag screws and washers driven into the double-thick base.
- Attach 1/4″ plywood panels to clad both sides of the center wall.
Step 5: Cutting and Mounting French Cleats
- Rip 3/4″ plywood strips on the table saw, then tilt the blade to 45 degrees to bevel the top edge.
- Use spacer blocks to install 8 rows of cleats per side, starting from the bottom and working your way up.
- Secure each cleat into the underlying studs using countersunk screws.
Step 6: Batching Out Tool Holders & Finishing Touches
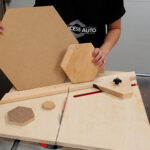
- Batch out plywood rectangles and cut them diagonally at 45 degrees using a polygon cutting sled or miter saw to create triangular brackets.
- Clip the sharp tips off the triangles for safety.
- Assemble the brackets around 1″ or 1.5″ center spacers using glue, brad nails, and screws.
- Fasten a 45-degree French cleat to the back of each tool holder, ensuring it is square to the edge.
- Attach sturdy gate handles to the sides of the cart for smooth pulling and rolling.
The Finished Cart
The beauty of a French cleat wall is its modular flexibility. You can adjust, swap, and reconfigure your tool holders whenever your collection changes. On one side, I have long-handled garden tools, brooms, and shop gear; on the other, seasonal gear and hockey sticks.
If you build this project, tag me on social media—I’d love to see how you arrange your tool storage!
If you enjoyed this build, don’t forget to check out my Brick Pattern Cutting Board Video for a guide on making the panel cutting sled used in this project!