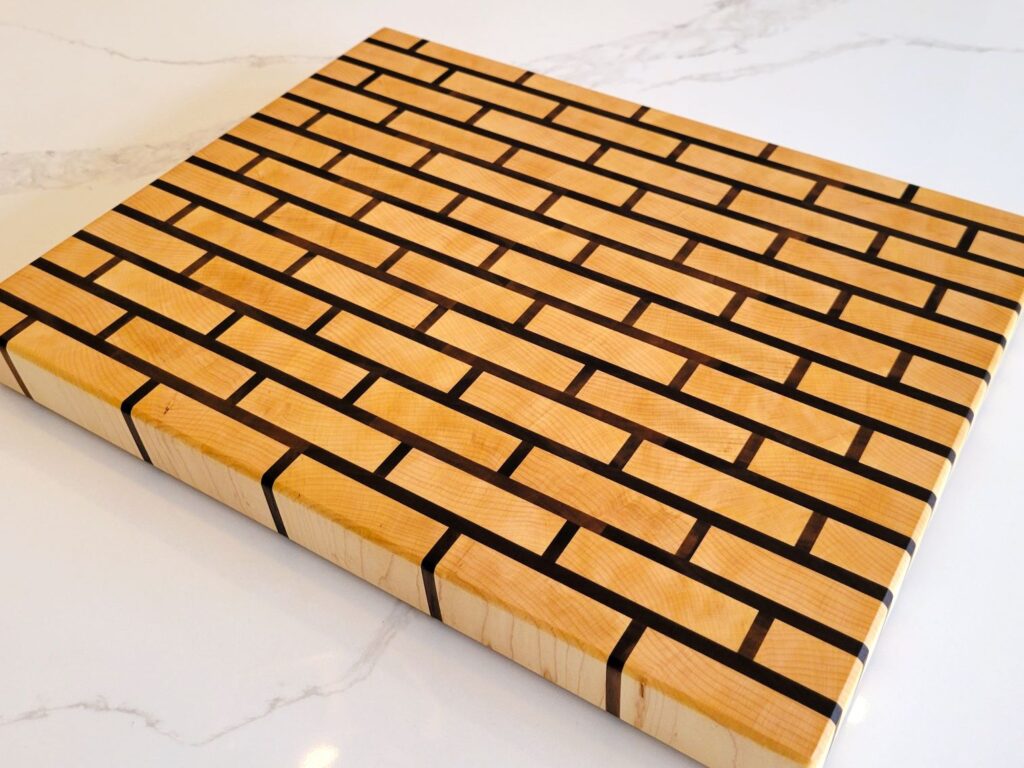
Do you ever wonder what the hype is all about when it comes to end grain cutting boards? Personally, I never got what the big deal was… until I tried to make one myself! Three homemade jigs later, I had a stunning brick pattern end grain cutting board fit for chef.
In this tutorial, I’ll lay out the advantages, challenges, and the step-by-step process of making a brick pattern end grain cutting board.
Tools & Materials Used (affiliate links)
- 4/4 rough walnut
- 4/4 rough maple
- Titebond 3
- Cutting board feet
- CA glue & activator
- TotalBoat Wood Honey
Making a Brick Pattern End Grain Cutting Board
Advantages & Challenges:
End grain cutting boards offer more than just aesthetic appeal. They boast self-healing properties, resist knife marks better than traditional cutting boards, maintain knife sharpness, and allegedly have anti-bacterial benefits.
How to Make End Grain Cutting Boards
However, the path to crafting them involves overcoming significant challenges, such as cutting thin strips, dealing with grain direction intricacies (you don’t want to mix end grain and face grain in the same cutting board), and finding alternatives to using a traditional planer.
Milling Lumber:
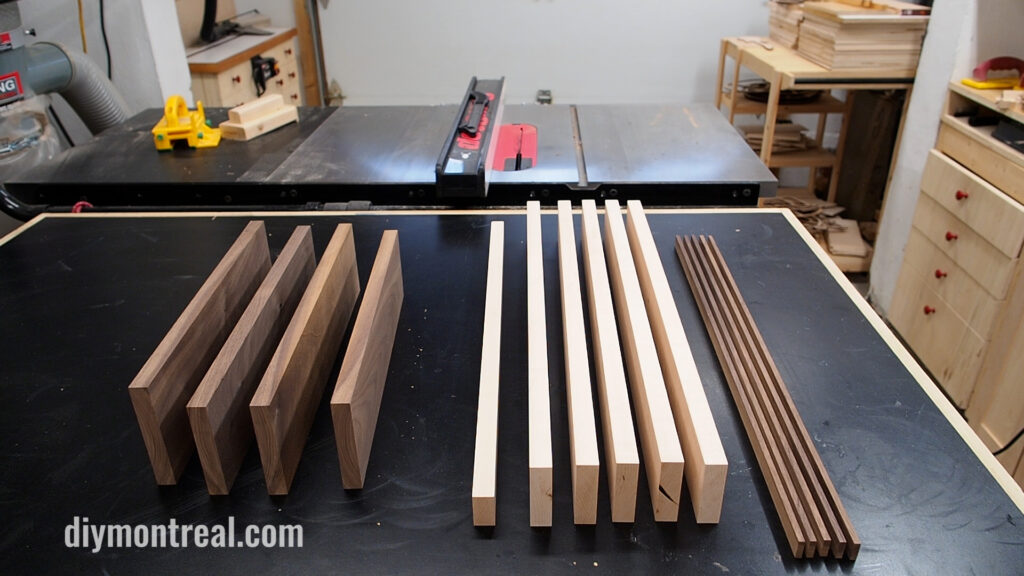
Opting for a maple and walnut brick pattern, I begin by milling rough lumber and cutting parts to size. I share all the dimensions and cut list in my brick pattern cutting board plans. Click the image below for more info.
Jig #1 – Thin Strip Cutting Jig:
Milling and cutting the parts to size brings me to the first jig we’ll need. Since cutting thin strips on the table saw can be stressful (and dangerous if not done safely), I decided to build a simple thin strip cutting jig.
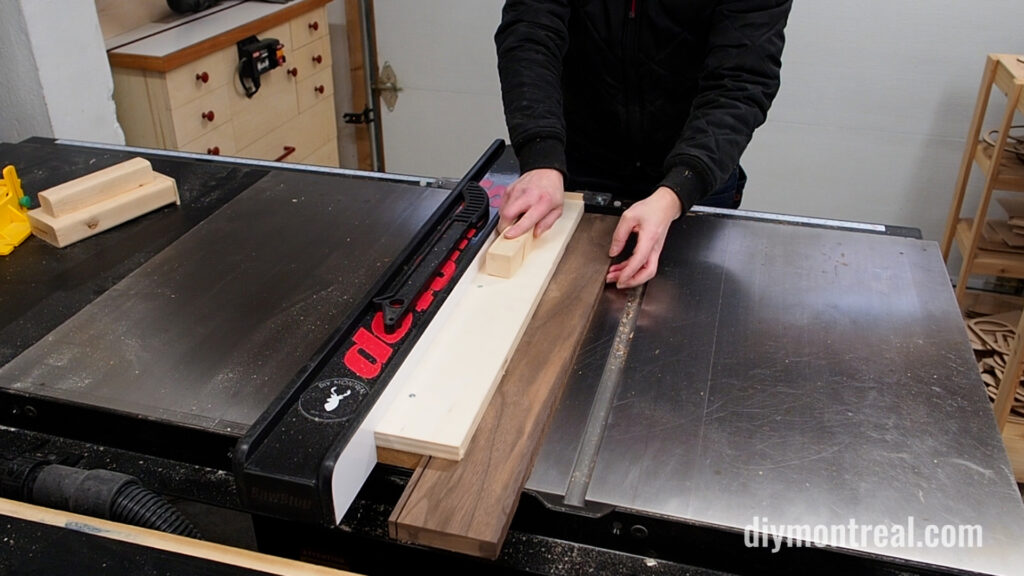
It’s made up of 3 simple parts: one strip of plywood, one strip of wood that’s the exact same thickness as the board you want to rip into thin strips, and a small block for the handle. See dimensions below.
To use the jig, set your fence to 2 inches + the width of the strip you want to cut. So, if you want to cut 1/4-inch strips, set your table saw fence to 2-1/4.
Thin strip cutting jig dimensions:
– 3/4 inch plywood > 24″ x 3-1/2″
– Wood the same thickness as the board you want to cut into thin strips > 24″ x 2″
– Small pine block for the handle > 1-1/2″ x 1-1/2″ x 6″
First Glue-Up – 2 Panels:
Moving on to the glue-up stage, I’ll create two panels. The first will alternate the maple boards and thin walnut strips.
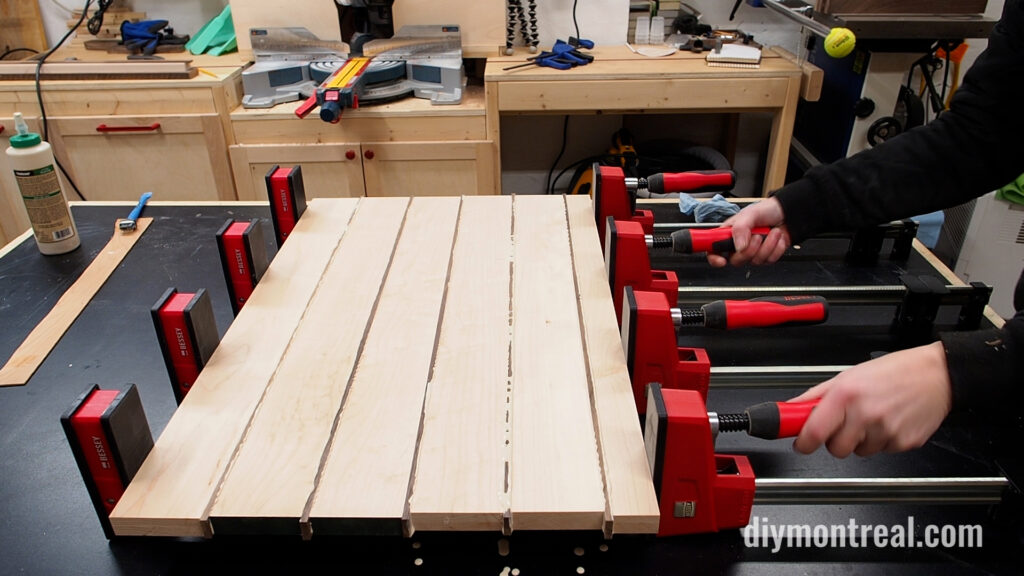
The second panel will be made up of the wider walnut boards. This second panel will be used to cut the walnut end grain strips we’ll need later on. I used Titebond 3 waterproof glue which is ideal for cutting boards, and let the panels dry in the clamps overnight.
Jig #2 – Simple Panel Cutting Sled:
Once the 2 panels are dry, I’ll need to first square up one edge, then rip them into even strips.
To do this, I’ll build a super simple panel cutting sled. Jigs don’t need to be complicated, and that’s what I had in mind when putting together this table saw sled. If you already have a large crosscut sled, you can use that instead.
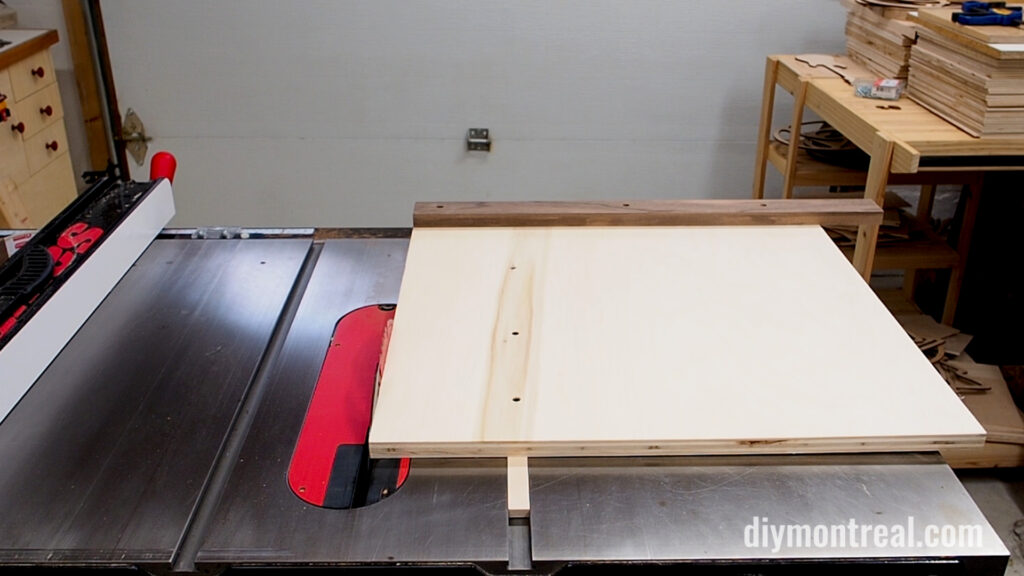
To make the sled, simple cut a single runner and drop it into your table saw’s miter slot. Drop a plywood base onto it and drill right though the base into the runner to secure it. Trim the edge by pushing the sled though the blade to create a zero clearance edge. Lastly, add a fence at the back of the sled that’s square to the freshly cut edge.
Panel cutting sled dimensions:
– Base: 3/4 inch plywood > 24″ x 24″
– Runner: maple > 3/4″ x 3/8″ x 27″
– Back fence: hardwood > 2″ X 1″ x 27″
Cut Panels into Even Strips:
You never want your workpiece to be in contact with the fence as it passes through the blade when using a sled of any kind on the table saw. Instead, I’ll use some double-sided tape to secure a block against the fence well in front of the blade.
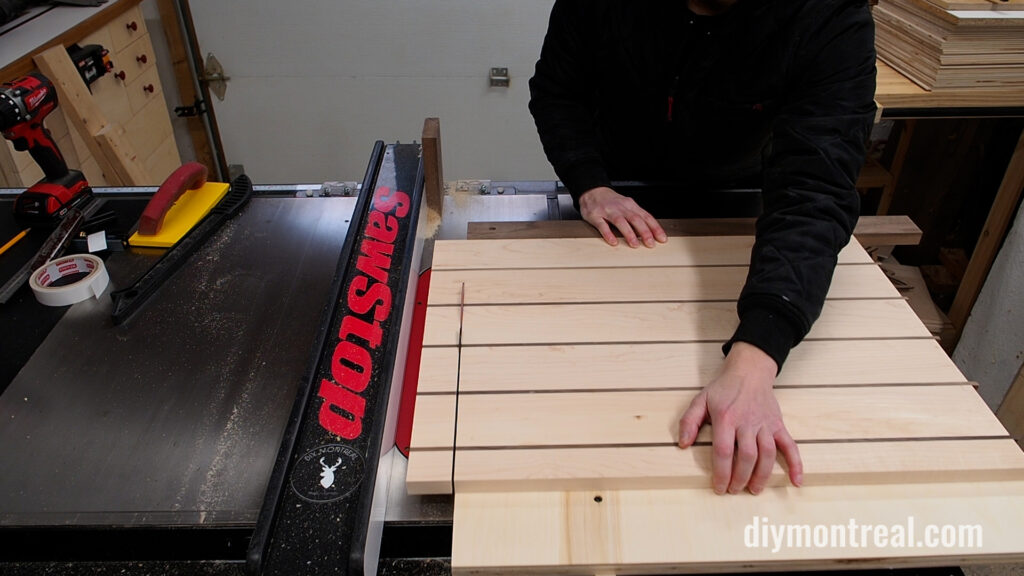
With the block in place, I can just slide over my panel until it contacts the small block while making sure it stays square against the sled. Then, push push the sled forward to cut the first strip, and repeat.
When you get towards the end, make sure to use push blocks to help keep the panel from twisting and to protect your hands as you push it through the blade.
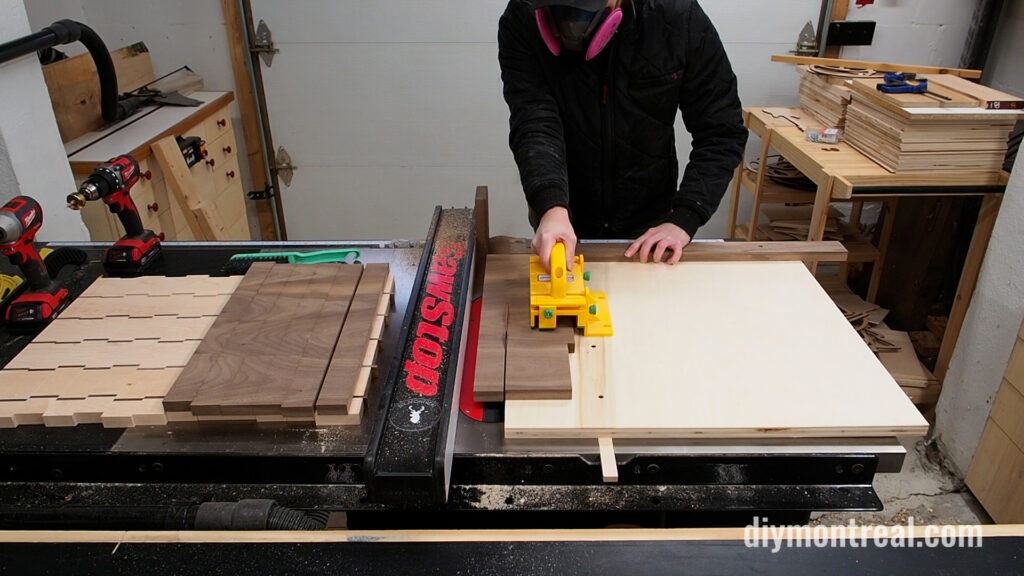
Cut both panels into strips.
Resaw Thin End-Grain Strips:
Next, the walnut strips need to be cut into thin end grain strips. You can use a bandsaw then use a drum sander to sand them down to their final thickness, but I don’t have one.
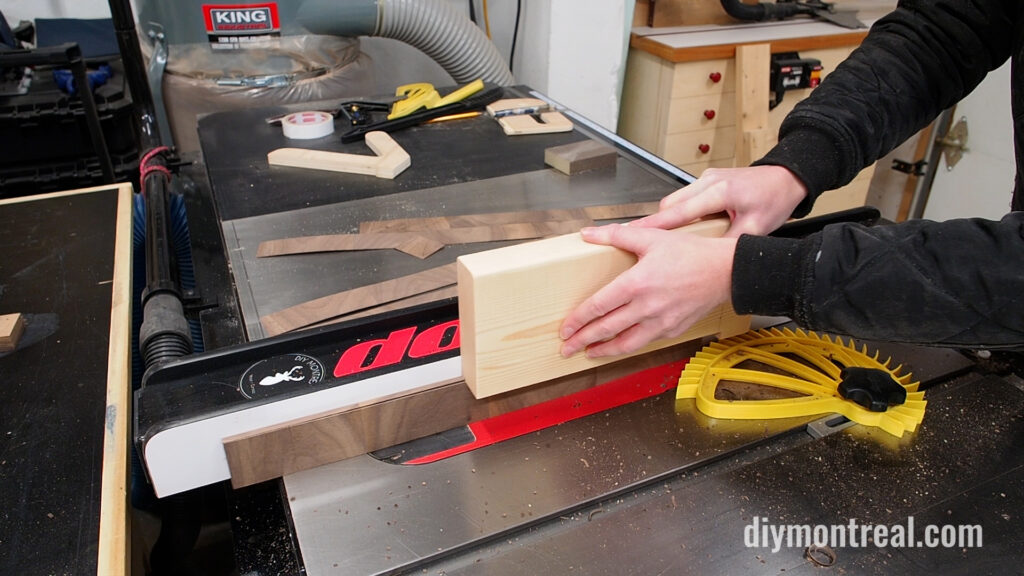
Instead, I’ll use the table saw for this. Ripping 1-3/4 inch thick wood into 1/4 inch strips made me a little nervous, so I was sure to use all the safety precautions, including a featherboard and homemade push block. It’s made from a 2×6 with a sacrificial heel to help hold down the strip and safely push it through the blade.
Final Glue-Up Into Brick Pattern:
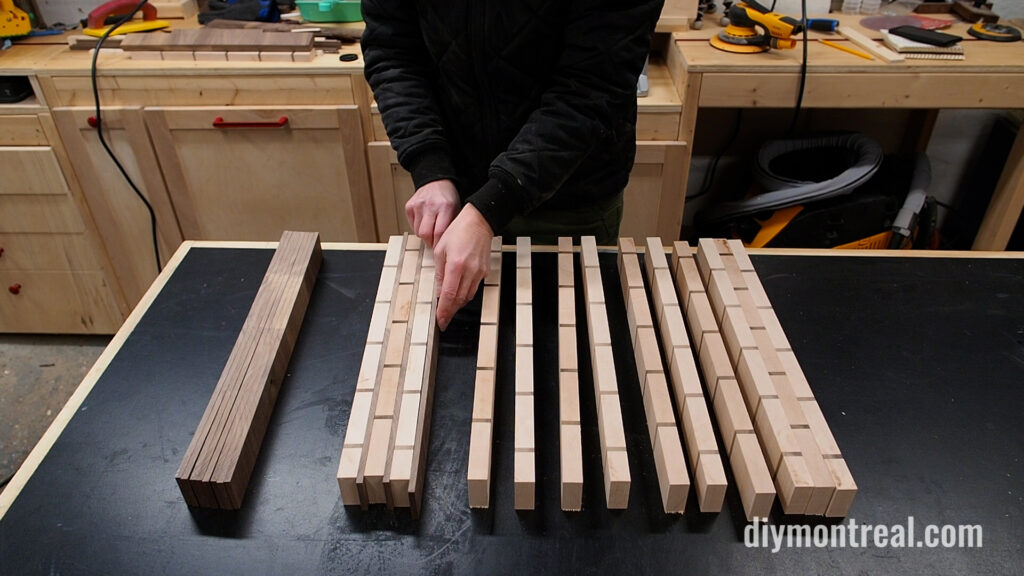
With all of my strips now cut, it’s time to glue this up into a brick pattern. First, let’s flip all the walnut/maple strip on edge so that everything facing towards me is end-grain. Then simply rotate every second piece 180 degrees so we start to see that brick pattern forming. This is why the last piece of maple we cut had to be half the size of the others so we would get this offset pattern. And lastly, I’ll insert a strip of walnut between each row. We can now get a preview of what this cutting board will look like.
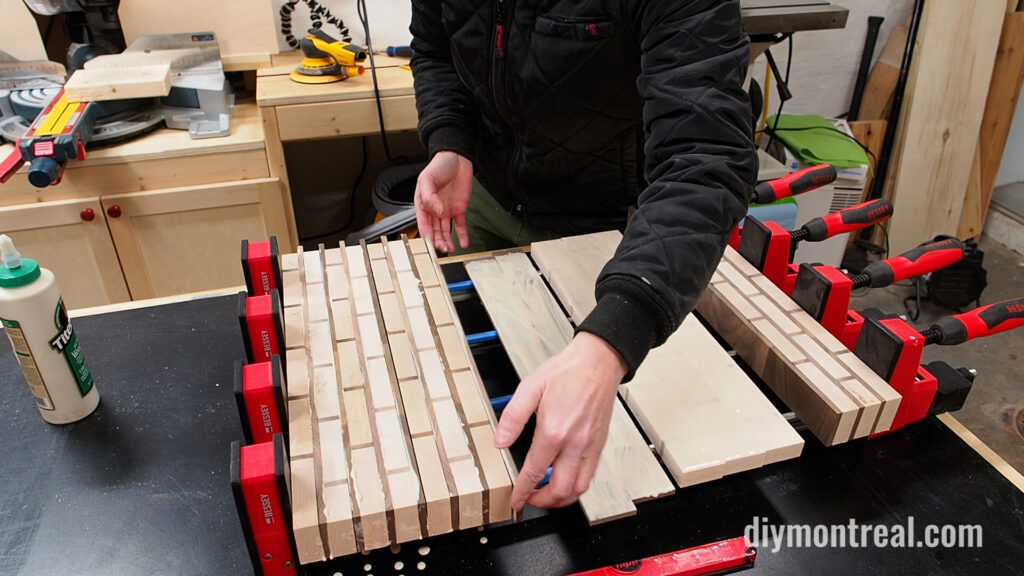
There are a lot of pieces to glue together, so it’s important to work fast. I worked in small sections, a few strips at a time, applying generous Titebond 3 glue to each piece. I tried to keep one side of the board lined up as I went to maintain the alignment of the brick pattern. Then tighten down the clamps and let it dry overnight.
Jig #3 – Router Flattening Jig:
Now that it’s dry, I need to flatten this board.
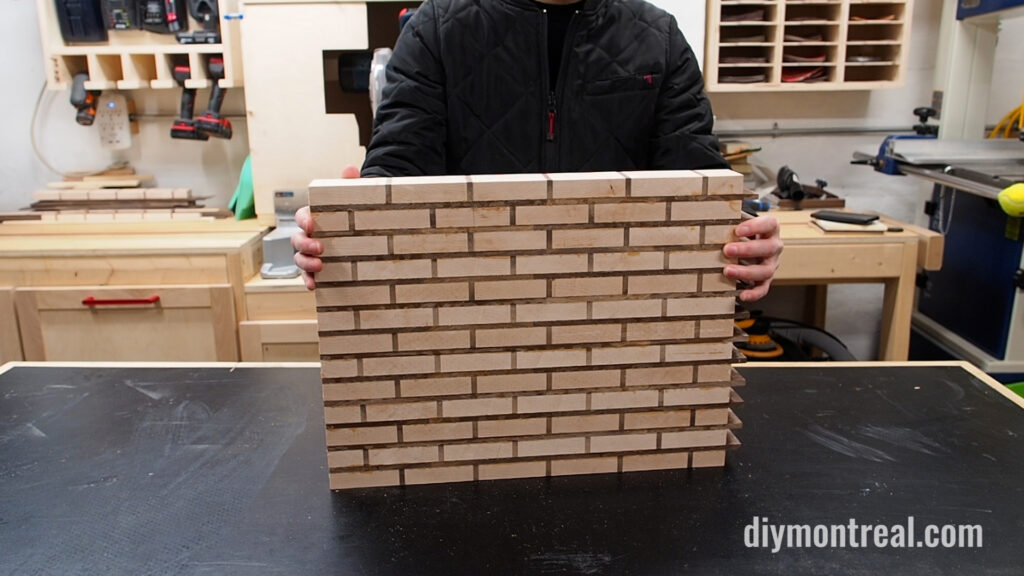
You may be tempted to run this through the planer, but I really wouldn’t. You never want to run end grain through a planer. I’ve heard all sorts of stories from tear-out, to boards splitting in half to planers exploding. It’s just not worth the risk. Instead, I’m going to throw together a router flattening jig.
A router flattening sled is easy to make. All you need is a “sled” that’s wide enough to fit your router, with an opening cut in the bottom so the router bit can poke through. You’ll also need 2 rails that the sled with ride along. The rails should be flat, parallel, and perfectly identical.
Router Flattening Sled dimensions:
– 3/4 inch plywood > 24″ x 7-5/8″ (base) + 24″ x 2″ (sides – x2)
– Pine > 36″ x 2″ (x2)
Final Flattening:
The flattening jig is now ready to use. I’ll start by clamping the rails to my workbench, leaving enough room for the cutting board to fit, plus some extra working room so the bit will have somewhere to go. I cut some spacer blocks using some scraps to fill the gaps on each side and secure the board between the rails.
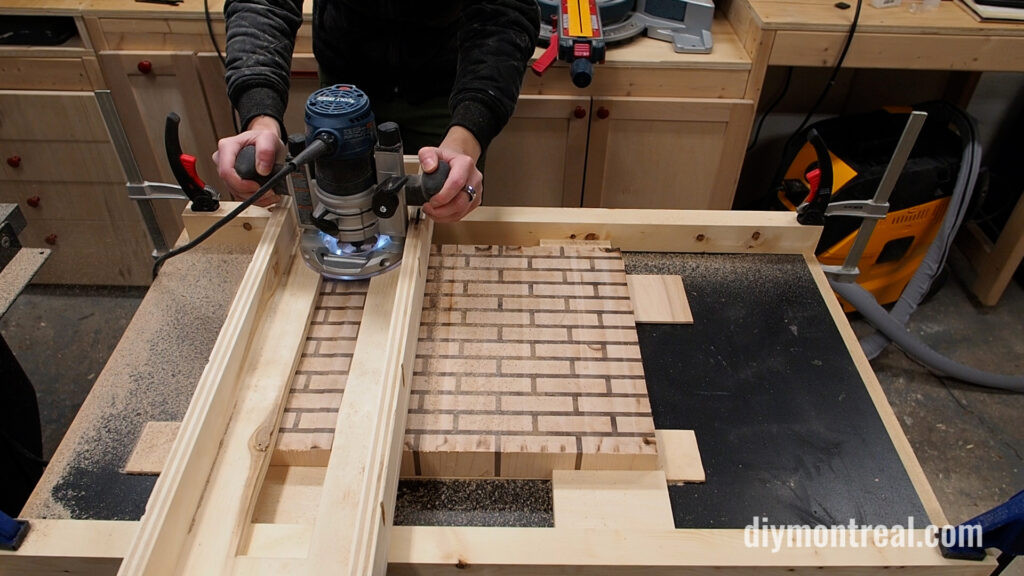
With a flattening bit mounted in the router, I’ll lower the bit until I hit the board, then lower it just a hair more, about a sixteenth of an inch. You only want to take really shallow passes here, no more than an eighth of an inch. You can repeat the process, going a little deeper for as many passes as you need to fully flatten the board.
Shaping and Finishing:
The shaping and finishing stages involve squaring up the board using the panel sled, adding roundover to all the edges, followed by extensive sanding. Since the board is still pretty rough after using the flattening jig, I’ll start with 60-grit and go over the surface multiple times, moving at a slow even pace. Then work my way up through the grits until 220.
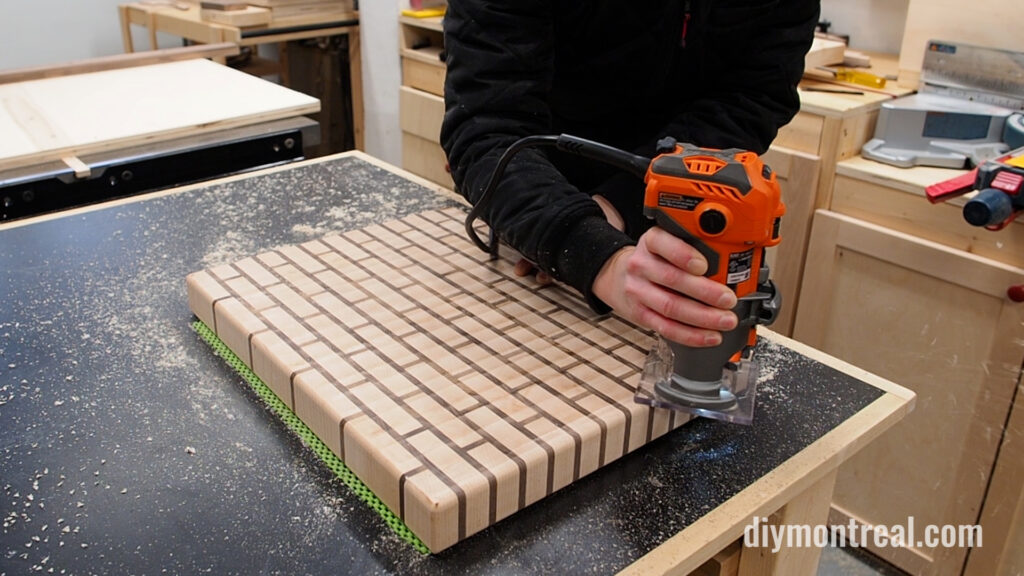
To finish this board, I used TotalBoat Wood Honey. It’s a food-safe mix of oils and waxes. I started using this finish recently on my router bowls and just love how easy it is to use and the amber finish it gives the wood. It really makes the colors pop.
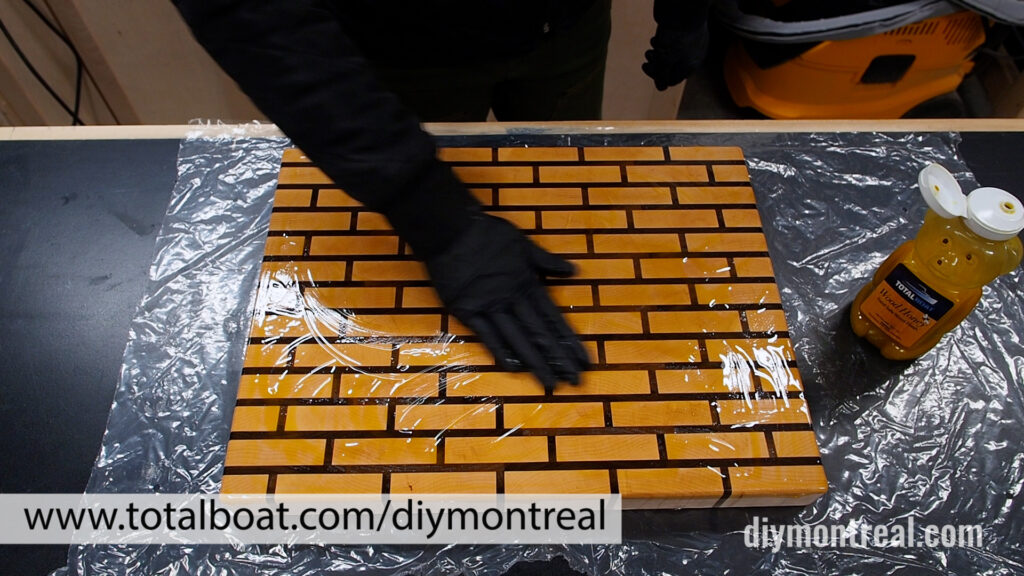
By the way, you can get 5% off all TotalBoat products by using this link.
Conclusion:
As it turns out, making your first end grain cutting board is a lot of work, but a really fun challenge! I totally get it now, and feel really proud of this build. Once you’ve got the right jigs, you can really start making these faster and get creative with your designs.
Just a reminder that I have plans available for this brick pattern end grain cutting board. Grab them here.
