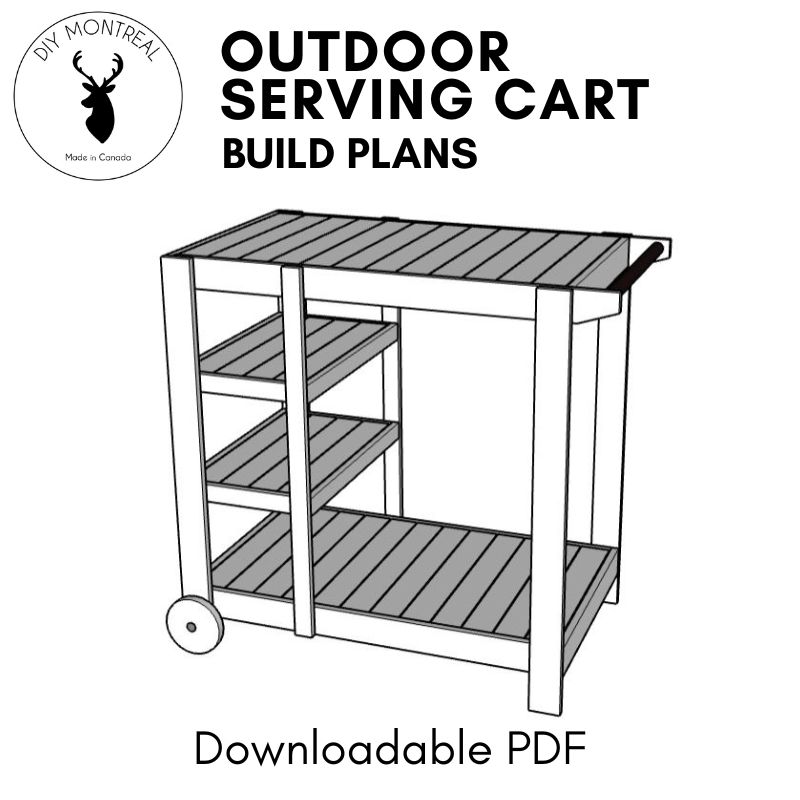
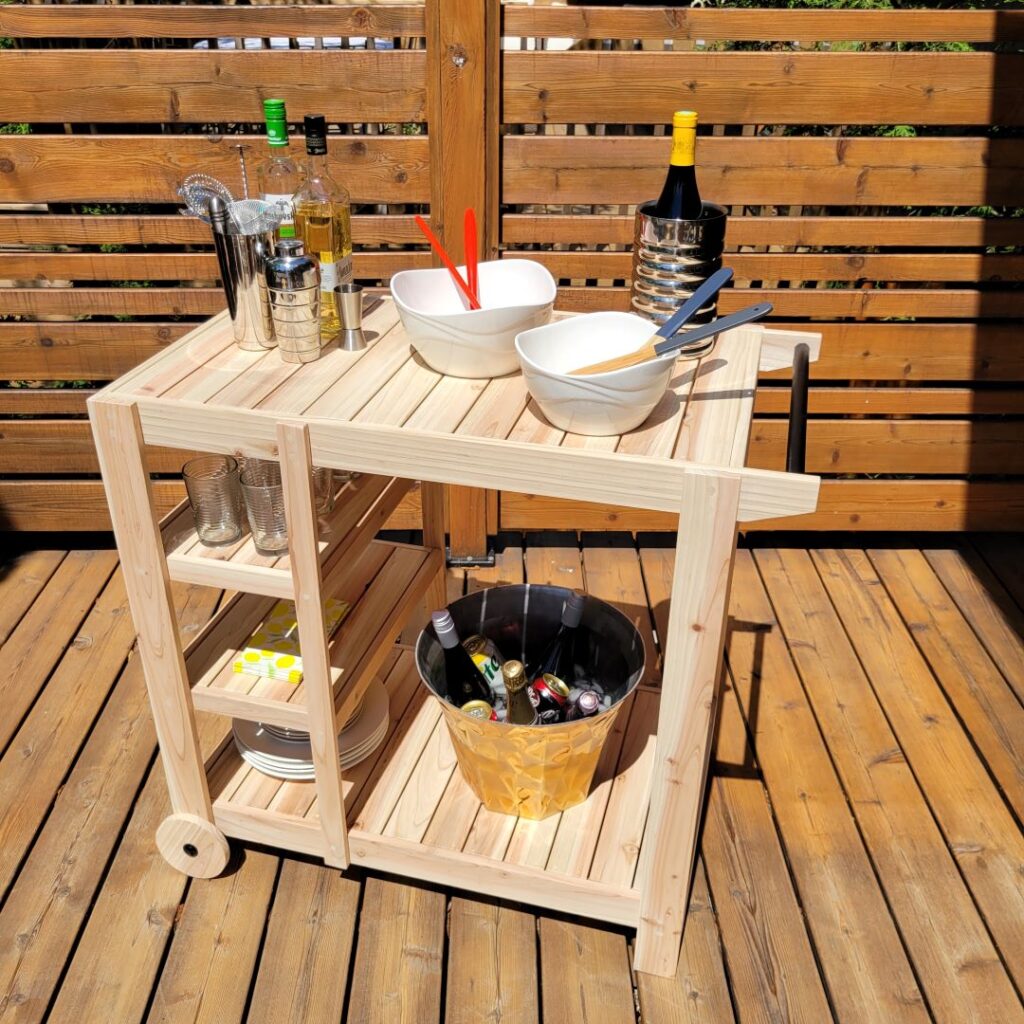
In this blog post, we’ll guide you through the process of building a beautiful and functional outdoor serving cart or bar cart using cedar fence boards. Cedar is an excellent choice for outdoor projects due to its weather and rot resistance. We’ll also share some valuable tips and tricks to make your project a success.
Tools and Materials
- Table saw
- Miter saw
- Chamfer bit
- Countersink bit
- Forstner bits
- Plug cutter
- Roller stand
- brad nailer
- Flush trim saw
- Cedar fence boards
- Waterproof wood glue
- Carriage bolts
- India ink
- Wood Pro wood filler
Get the Plans (click image below)

How to Build an Outdoor Serving Cart / Grill Cart
1. Selecting Cedar Fence Boards
Start by choosing straight and high-quality cedar fence boards. Cedar’s natural resistance to weather and rot makes it perfect for outdoor furniture. Ensure that the boards are as straight as possible for a smoother construction process.
2. Squaring the Edges
To ensure your boards have square edges, shave off one edge using a table saw. Safety is paramount, so always use a blade guard and additional support like a roller stand to handle the boards effectively. A featherboard helps maintain consistent width cuts.
3. Cutting and Labeling Parts
Use a miter saw to cut the boards to length according to the dimensions in the plans. Using a stop block ensures that all mirrored parts are precisely the same length. Label your parts as you cut to prevent confusion during assembly.
4. Adding a Chamfer
Before assembly, add a slight chamfer to the board edges. Chamfering not only enhances the appearance but also provides a more professional finish. You can use a router table or a handheld trim router for this purpose.
5. Bottom Shelf Assembly
Assemble the bottom shelf section by adding a cleat to support the slats. Use waterproof wood glue suitable for outdoor use. Ensure proper spacing between slats and secure with exterior-grade screws.
6. Top Shelf Construction
Construct the top shelf with tapered ends and a round handlebar. Cut the taper using a flush trim saw and create shallow holes for the handlebar using a drill press. Stain the handlebar with India ink for a sleek black finish.
7. Concealing Screw Holes
To hide screw holes cleanly, use a plug cutter to create plugs from poplar wood. Fill the holes with glue, tap in the plugs, and trim them with a flush trim saw. Sand lightly for a seamless finish.
8. Cart Assembly
Assemble the cart section by section, starting with the sides. Use spacer blocks to ensure proper alignment and drill countersink pilot holes before securing with screws. Check for squareness using a speed square.
9. Adding Middle Legs
Install middle legs to support the small shelves. Again, use spacer blocks for alignment and secure with glue and screws.
10. Plug screw holes
Cut some plugs using a plug cutter then pop them out using the bandsaw for a faster process. Fill any imperfections with glue and sawdust, then sand flush to achieve a perfect finish.
11. Attaching Wheels
Cut 5-inch wheels using a bandsaw circle cutting jig and install them with carriage bolts. Remember to add washers between the wheel and the leg for stability.
12. Final Touches
After completing all these steps, you’ll have a mobile outdoor serving cart ready for your summer gatherings. Solve your space issues during barbecues and enjoy the convenience of this beautiful cedar cart.
Building your own cedar outdoor serving cart is a rewarding DIY project. By following these steps and incorporating some clever tricks, you can create a sturdy, functional, and attractive addition to your outdoor space. Don’t forget to check out the plans for this fantastic project. Happy building!

