
This project began with me wanting to make a picture frame. I was doing some research on how I wanted to reinforce the mitered corner joints and that’s when I realized something. The corner splines I often see people use on decorative boxes and picture frames aren’t just decorative. They actually make the mitered joint much stronger! I knew then and there that I had to start by making a spline jig for my table saw.
Watch the step-by-step video, or read on!
Click here to SUBSCRIBE to my YouTube channel for more DIY videos!
P.S. Be sure to watch the video for the GIVEAWAY draw!
Make a Box for Your Fence
The jig starts by making a box that will slide snugly on your table saw’s fence. I started by measuring the height of my fence. I however noted that the top of the fence had some screws protruding, so I made sure to consider those in my measurements. I cut 2 strips of scrap 3/4 birch plywood to that height, about 10 inches long.
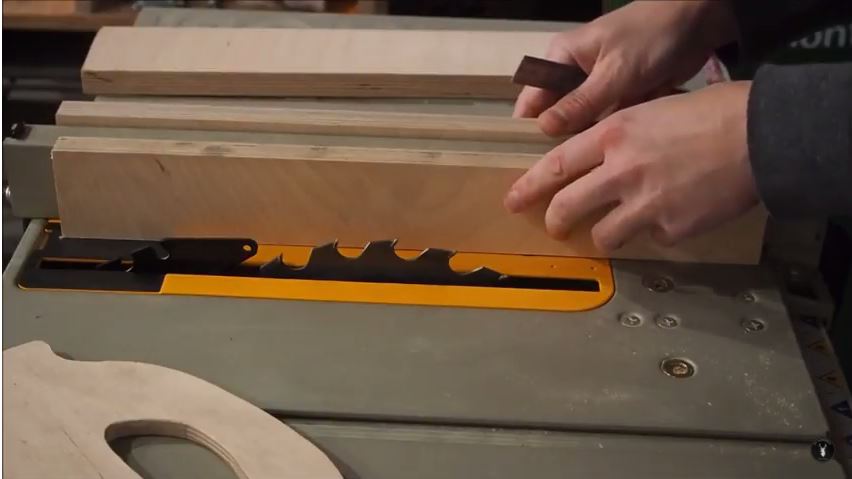
I placed the freshly cut plywood strips on each side of the fence, then measured the total width. I then cut a third strip of birch plywood to this width.
Lastly I glued and screwed the pieces together, making sure the box would slide freely back & forth on the fence while being snug.
Make it Bigger
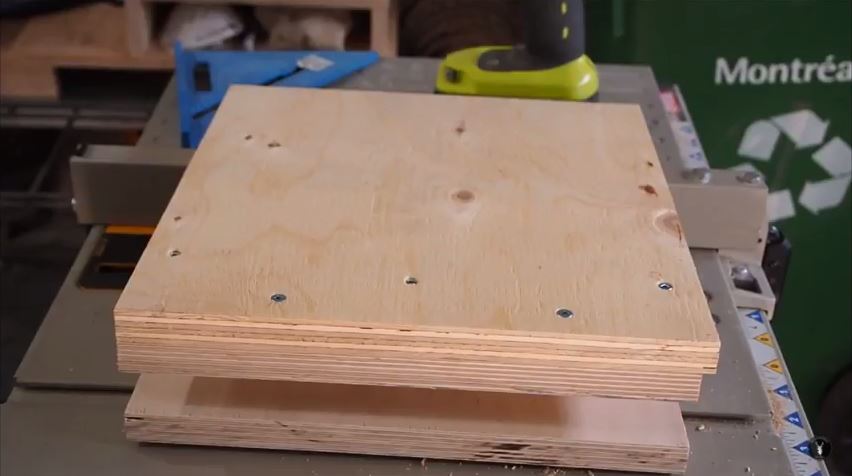
Since I will be using this jig mostly for picture frame splines, I wanted the face of my jig to be large enough to accommodate this.
I found another piece of 3/4 plywood roughly 12×12 inches that I glued and screwed to the front face of the fence box I had just made.
Tip: Watch where you place the screws… read the next step first!
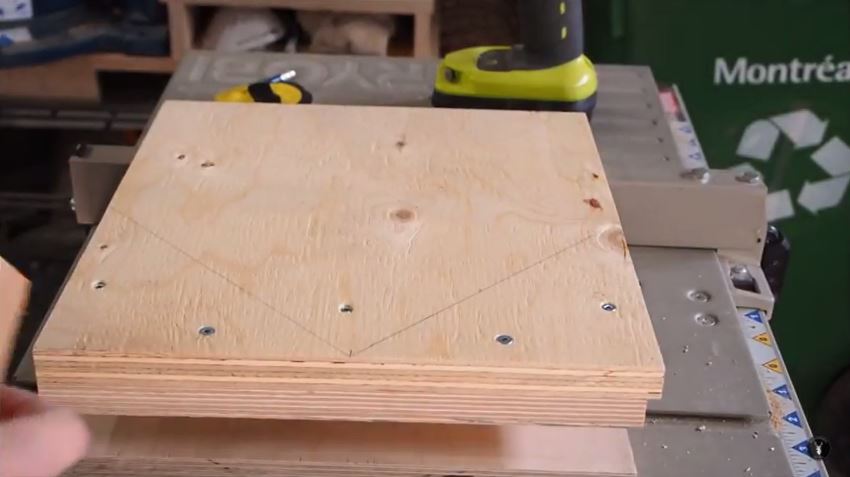
Add the 45 Degree Supports
I started by finding the center point of the face at the bottom. I then used my speed square to trace a line at 45 degrees on each side of the center line.
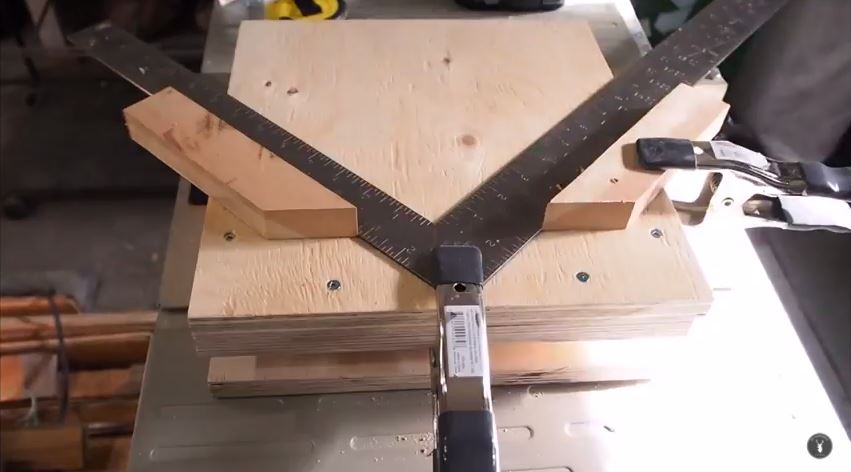
Next I cut a piece of scrap wood in half at 45 degrees using my miter saw. Before I fixed it into place, I did two things:
1. I marked about 2-1/4″ from the bottom of the jig. I wanted to make sure to leave this unobstructed space so my saw blade could run freely into my work piece.
2. I clamped a carpenter’s square along the 45 degree markings I had made. This served as a guide to help glue and screw the scrap supports into place.
Using the jig
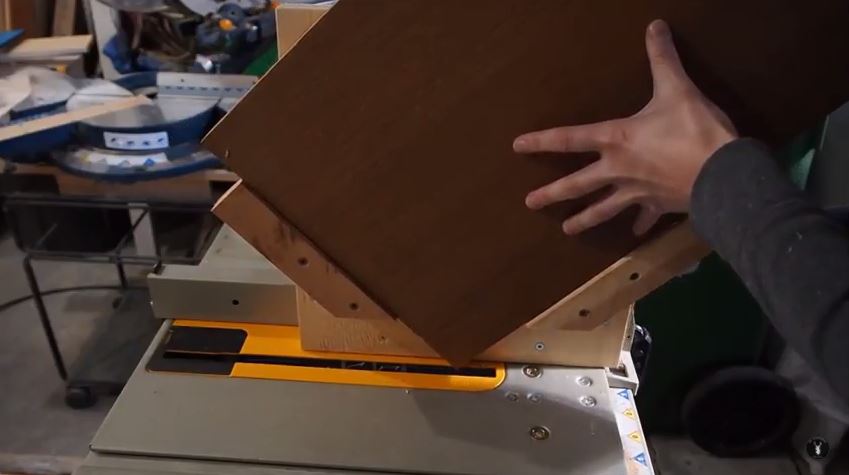
To use the jig, simply place your frame onto the supports and clamp the piece to the jig.
Visually align your fence so your blade will run through the middle of the width of your picture frame.
Raise the blade to the desired height. Turn on the saw, push the frame through the blade, then turn of the saw. Repeat on all 4 sides.
If you haven’t already, watch the video
P.S. in my next project, I’ll be making a picture frame with corner splines. Be sure to check back next week, or subscribe to my newsletter to be notified of new projects as they come out!