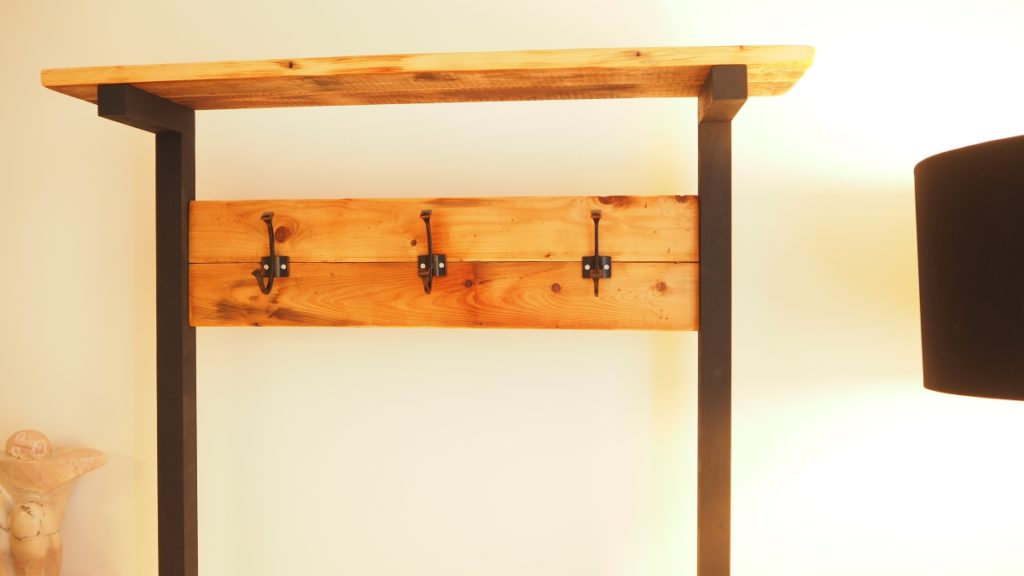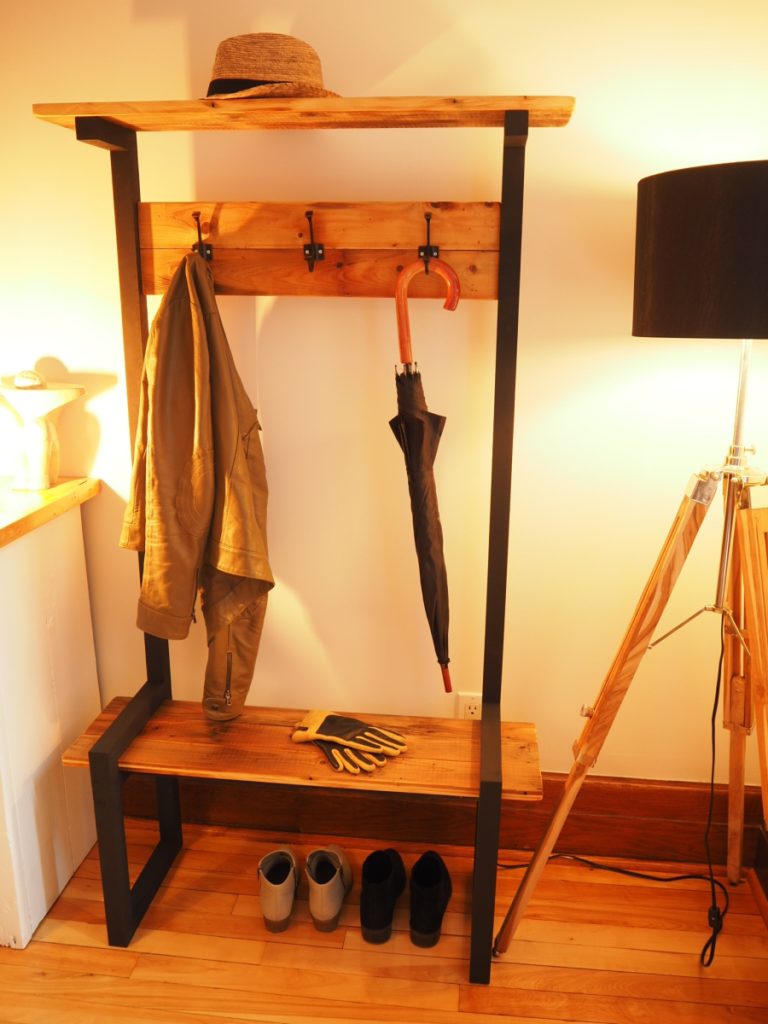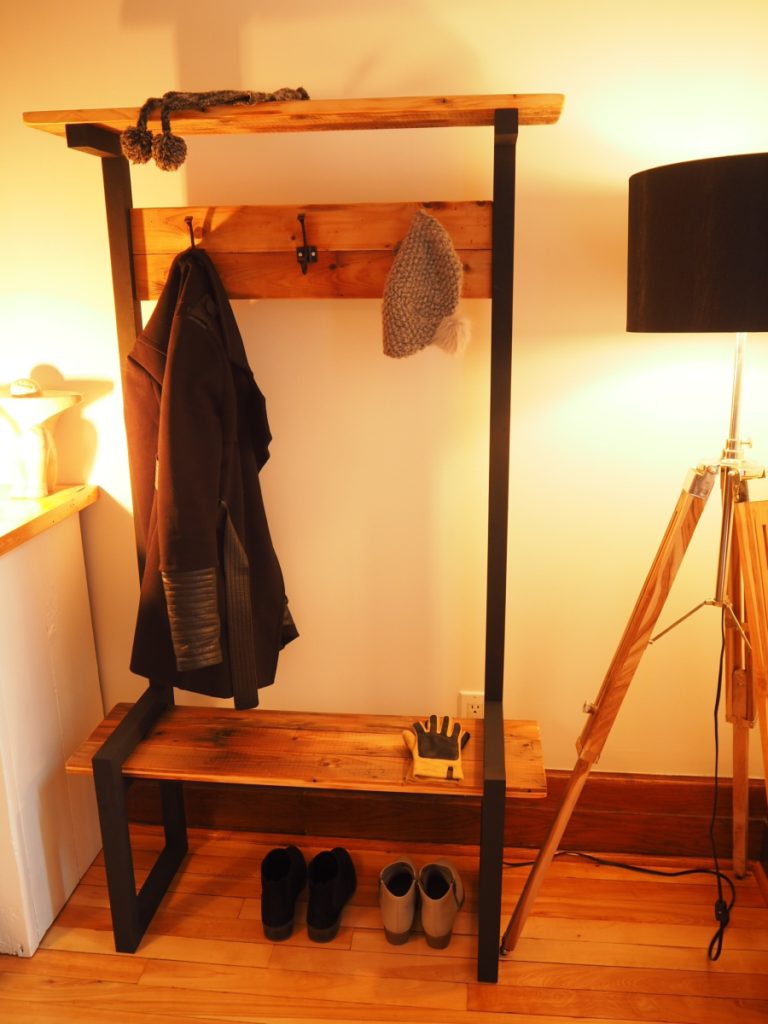
One thing I learned making this entryway coat rack bench is that there’s actually a name for it. It’s called a hall tree. Who would of thought?
If you have a small entryway and are looking for a simple (yet cool) way to store your coats, shoes, hats, mitts, umbrellas and everything else, a hall tree is the ideal solution. I was inspired by a steel and reclaimed wood design I came across one day, so I recreated the look by using black paint for an industrial look.
Click here to SUBSCRIBE to my YouTube channel for more DIY videos!
Materials
- (3) 2 x 2 x 8 Select Pine Boards
- Reclaimed wood
- (3) coat hooks
- (36) 2-1/2″ pocket hole screws
- (8) 1-1/2″ pocket hole screws
- (10) 1-1/2″ screws
- Spray paint
- Teak oil
Tools
Cut list
- 2 x 2s
- 2 @ 60″ (back legs)
- 2 @ 17-1/2″ (front legs)
- 6 @ 10″ (horizontal leg braces)
- 2 @ 27″ (underside cross braces)
- 2 @ 6-3/4″ (top shelf support)
- Reclaimed wood
- 36″ x 10″ (bench seat)
- 36″ x 6-3/4″ (top shelf)
- 27″ x 6-3/4″ (coat rack)
Step 1: Build the 2 x 2 frame
For this project I used three 2 by 2’s. I started by making all my cuts as per the cut list above using my miter saw.
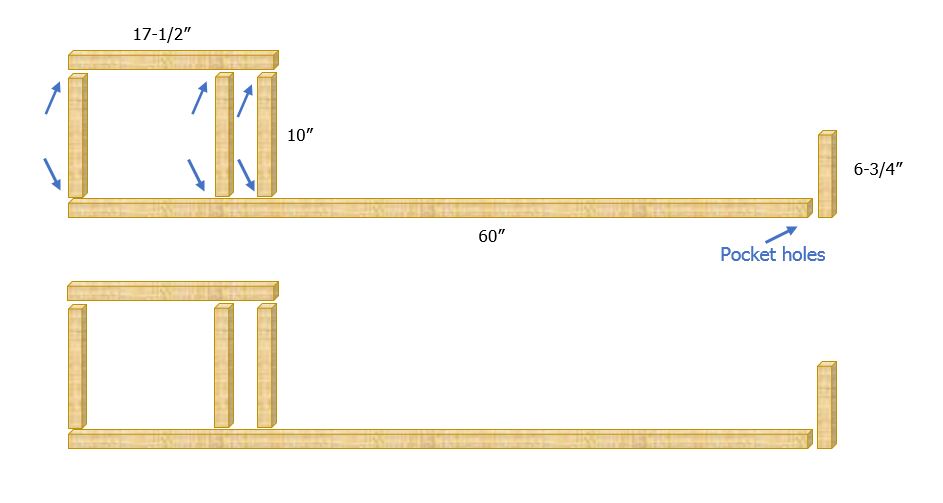
I then laid all the pieces out as per the diagram above so I could mark where to drill the pocket holes (blue arrows). I marked them on the underside or backside of the frame in order to make sure they wouldn’t be visible. I then used my Kreg Jig to drill all the holes.
Before assembling the pieces, I also made some pilot holes so I would be able to screw down the bench from underneath later on.
I proceeded to assemble each side of the frame using 2-1/2″ pocket hole screws with the help of my Ridgid compact palm driver.
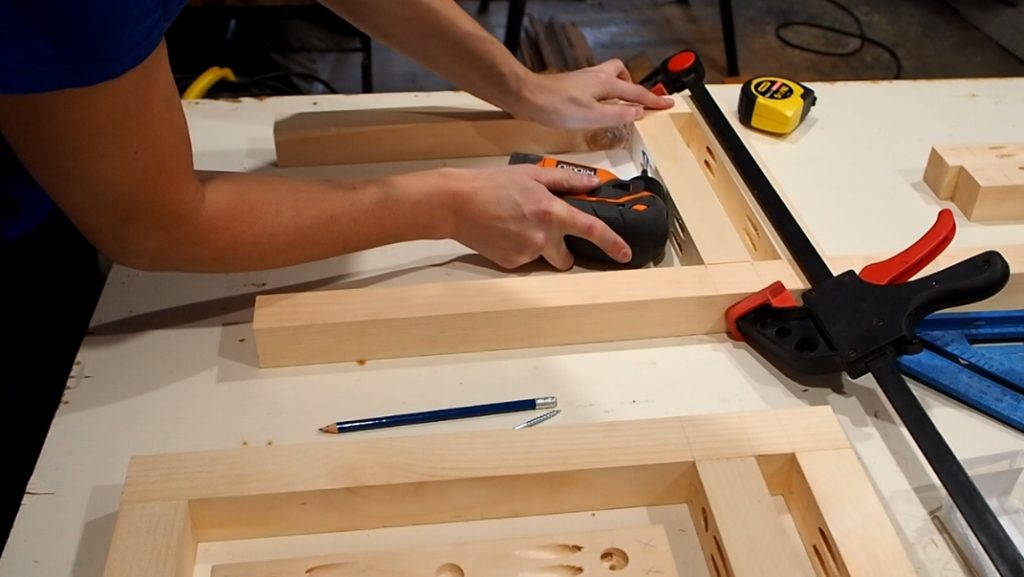
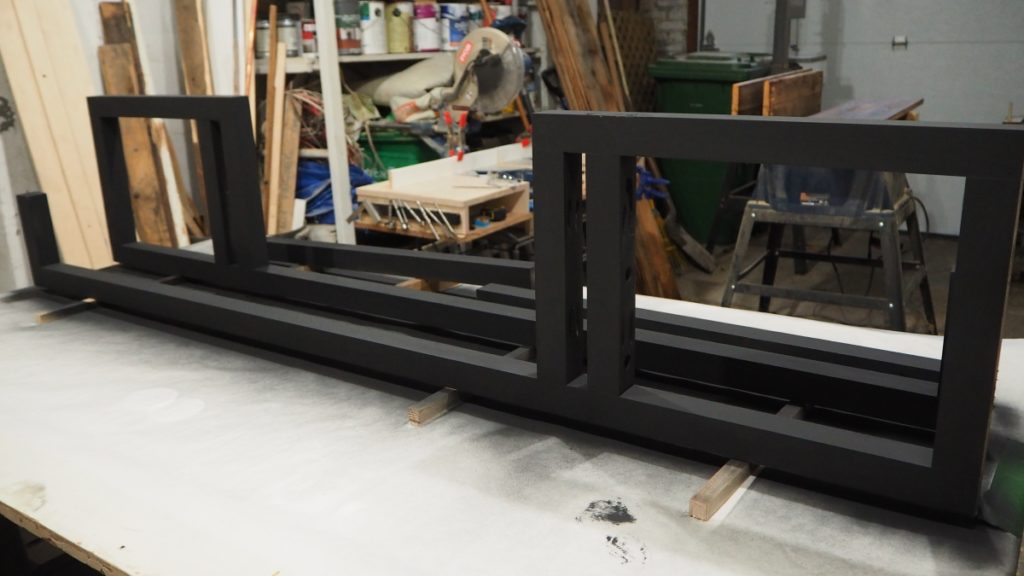
I finished off by lightly sanding the assembled frame, then applied 2 coats of matte black spray paint.
Step 2: Reclaimed wood
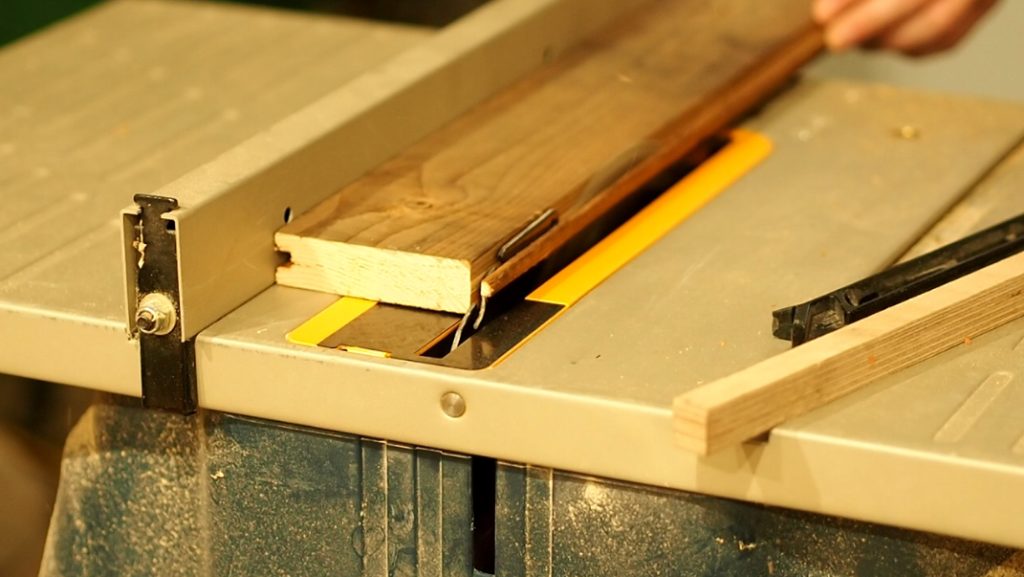
Next I moved on to the reclaimed wood. Since I was using reclaimed tongue and groove barnwood, I started by cutting off the tongue from a few boards, then glued and clamped some pieces together to make a 10 inch bench seat, a 7 inch shelf and a 7 inch coat rack. I then cut the pieces down to the final dimensions listed in the cut list above.
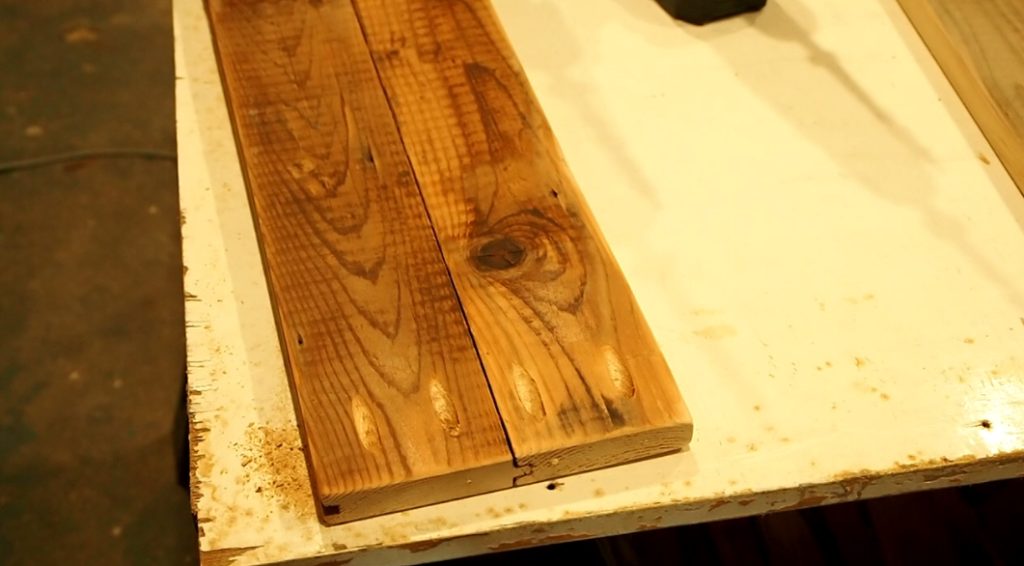
I pre-drilled some pocket holes on the back side of the coat rack so it would be easy to assemble later on.
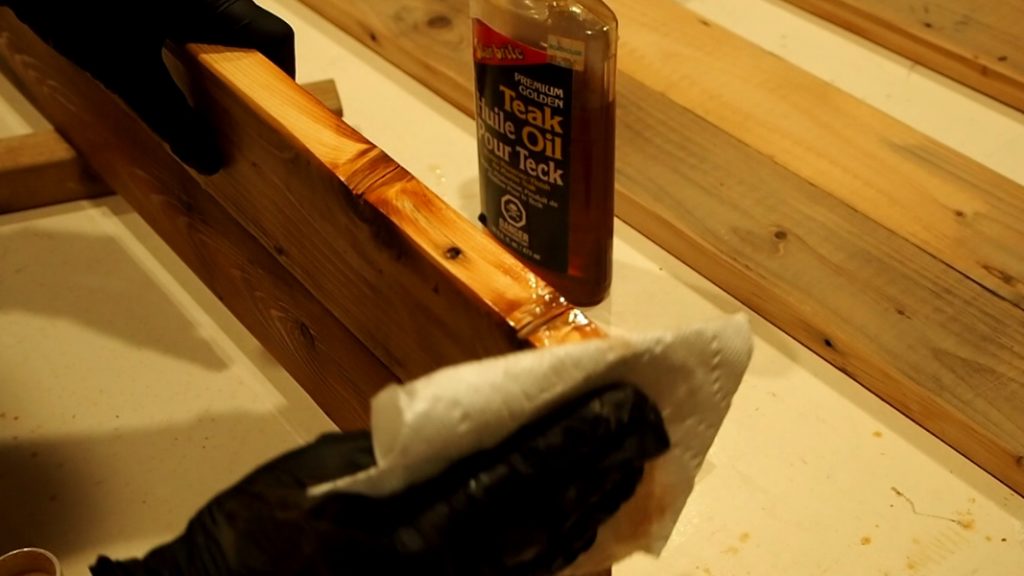
I sanded the wood with some 220-grit sandpaper, but only made light passes in order to conserve the wood’s character. I finished it off by wiping on some teak oil.
Step 3: Assembly
Once the paint and teak oil had dried, I laid the 2 x 2 frames on their back to attach the horizontal seat support boards using the pre-drilled pocket holes.
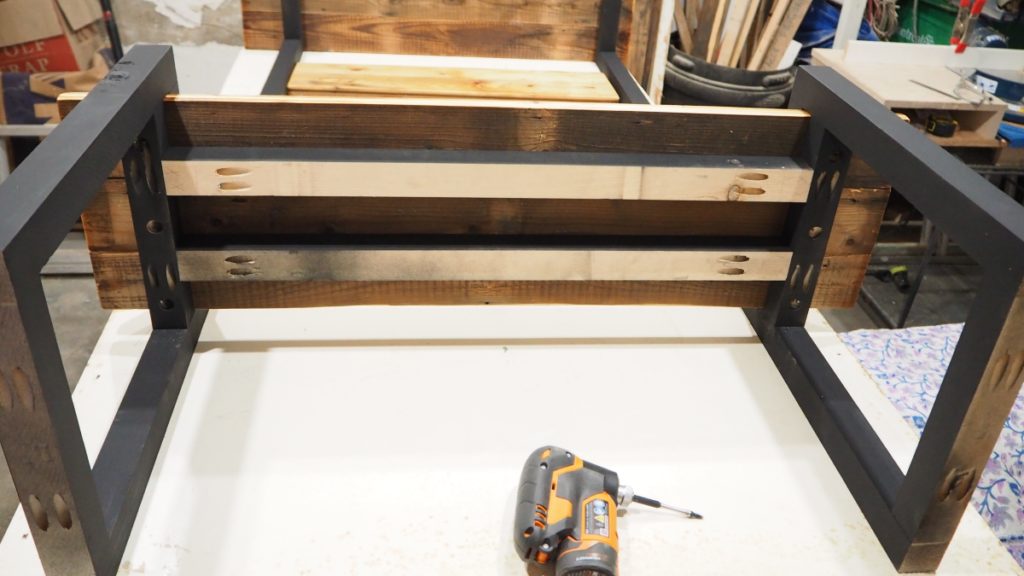
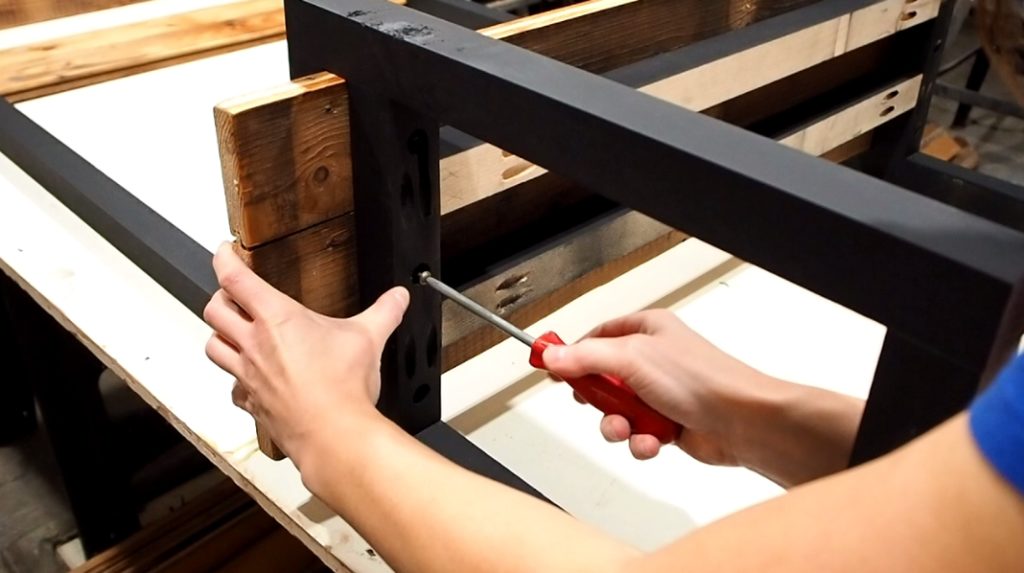
I then screwed down the bench from underneath using the pilot holes I had pre-drilled while making the frame.
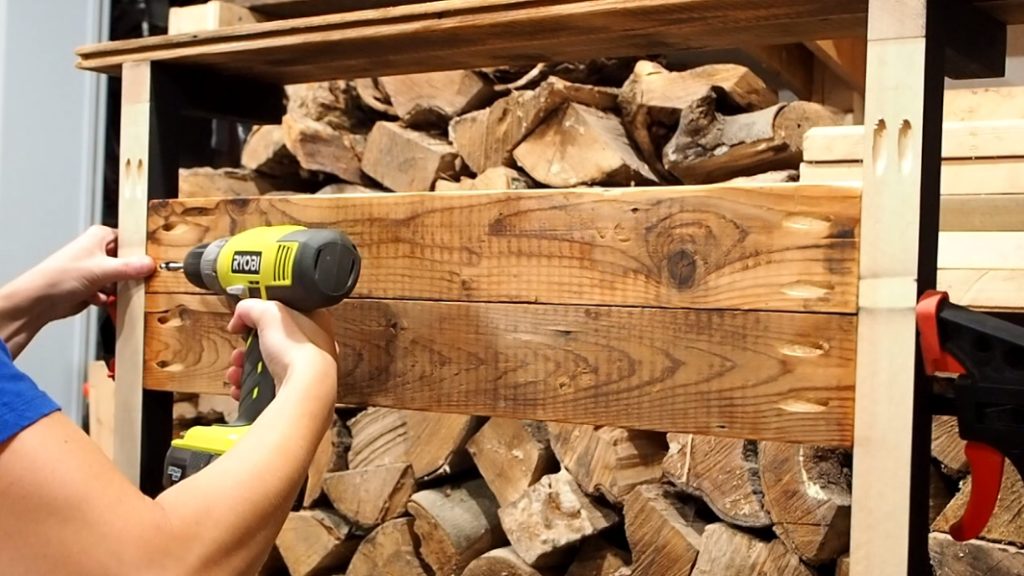
Next I moved on to the top shelf, but first clamped the coat rack into place. I made sure to center the shelf, then made small pilot holes before screwing down the shelf with some 1-1/2 inch screws.
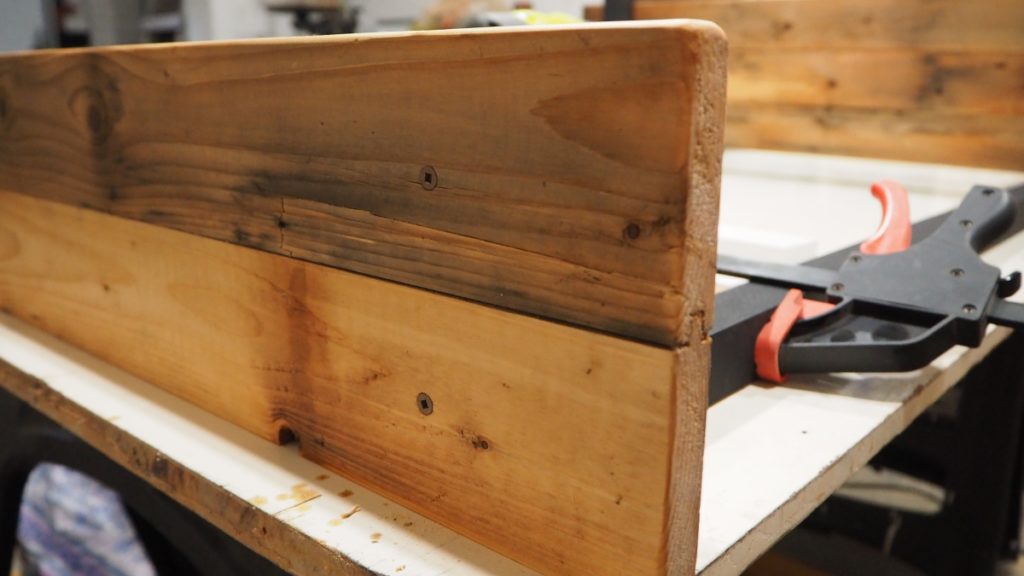
I finally stood the hall tree up on its feet and screwed in the coat rack using the pre-drilled pocket holes.
I finished off by attaching the 3 coat hooks to the rack using 1 inch screws.
