I’m willing to bet that many of us have a piece of broken furniture hiding in the basement somewhere (I know I do!) Maybe it has a broken leg or just needs a makeover. You tell yourself you’ll fix it… one day.
I’ve grown tired of looking at this old pine table that’s gone all orange looking and is covered with deep scratches. Oh and not to mention, it lost 2 of its legs at some point. Enough is enough, I said. Time to give this table a second life!
The idea is to strip down the table to bare wood and refinish it with a raw wood look. While I’m at it, I’ll build new legs and convert it into a folding table using folding leg brackets I found on Amazon. They actually work really well!
How to Refinish a Pine Wood Table
How to Get a Raw Wood Look
People always ask if there’s a quick way to refresh old furniture. Truthfully, no. The best option is to strip down the wood and refinish it. It’s not as hard as you think. It just takes a little time and patience.
Strip the Table Down to Bare Wood
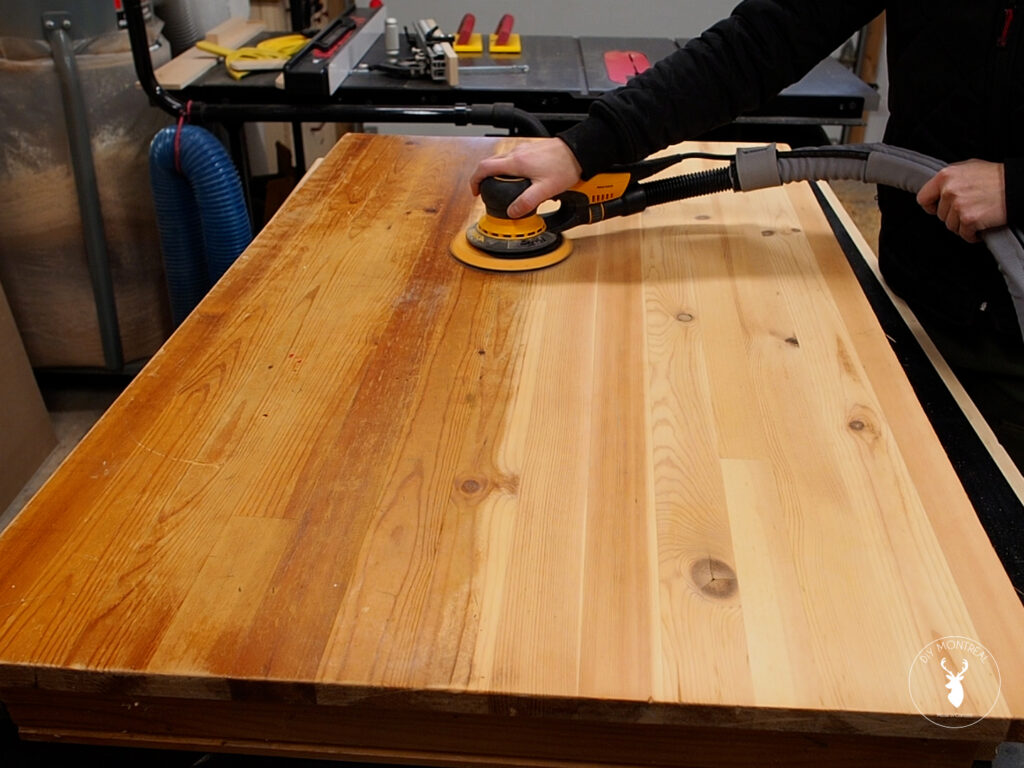
To strip away the old finish, I’ll start with 80-grit sandpaper. Moving slowly, let the orbital sander do the work until you can see the bare wood.
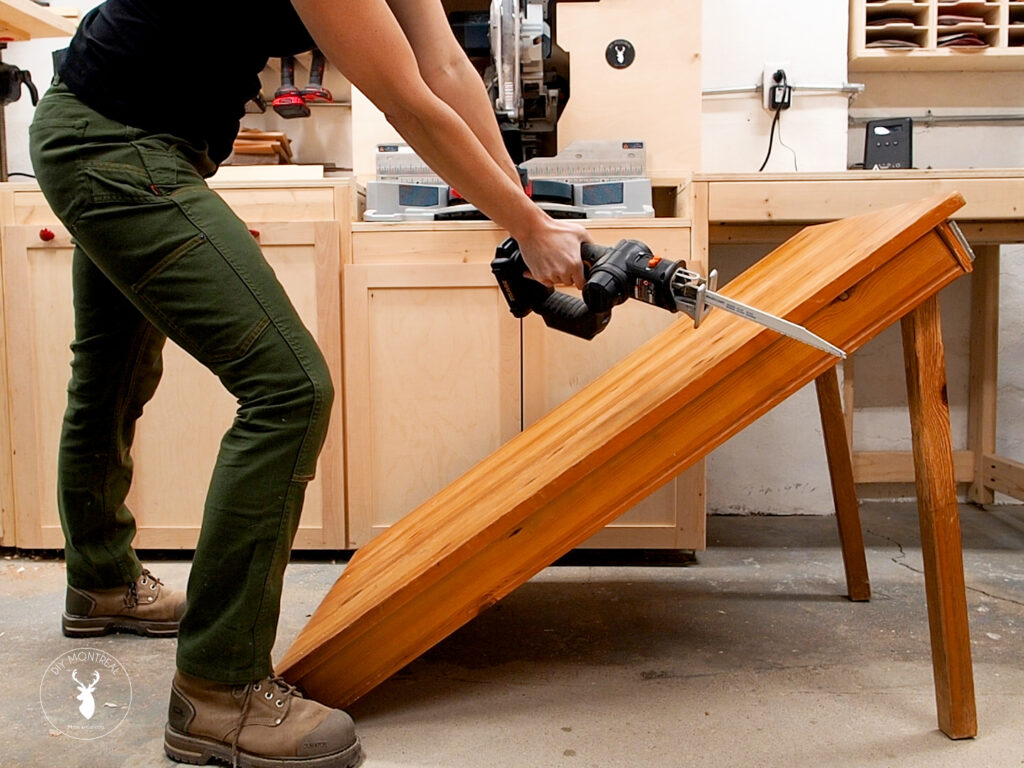
If you can take the hardware off so you can access all the surfaces, it’ll make the process much easier. Removing the corner brace hardware and the aprons was easy with everything simply being connected with screws.
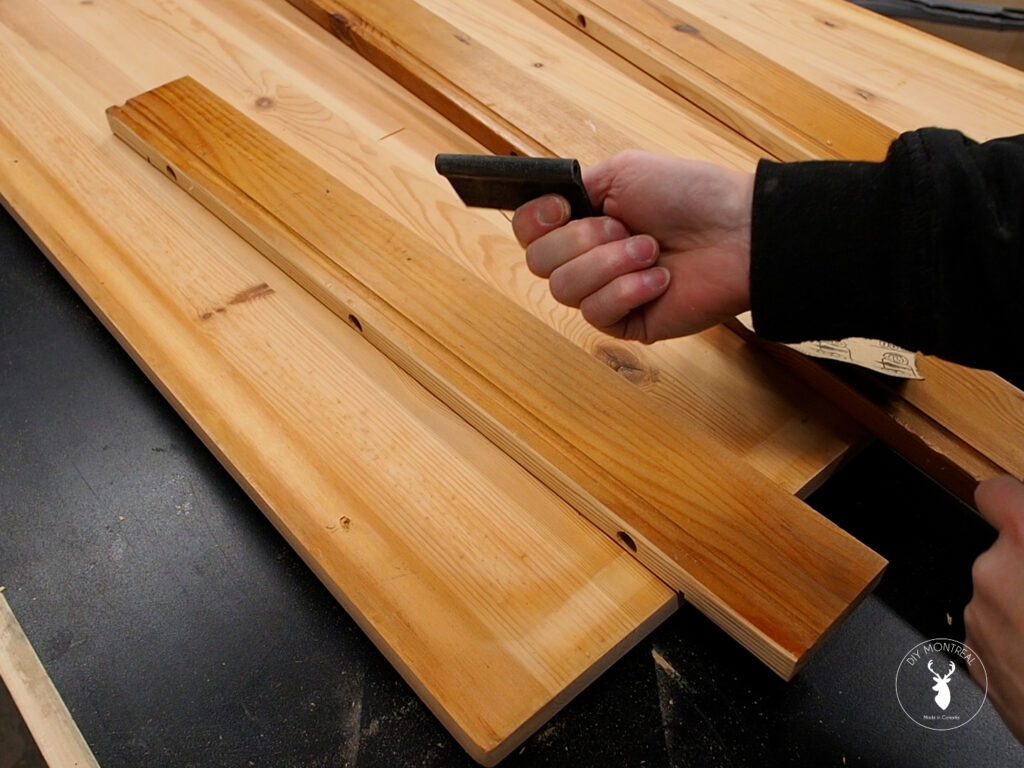
I have a small concave profile on the aprons so I’ll use this contour sanding grip. You can grab a set of these with varying diameters which make contour sanding much easier.
After that I’ll finish the flat surfaces with my orbital sander, then strip the bottom side of the table as well. As you can see, this is so much easier once the table has been broken down into parts. And with all that orange finish gone, I’m feeling so much better already!
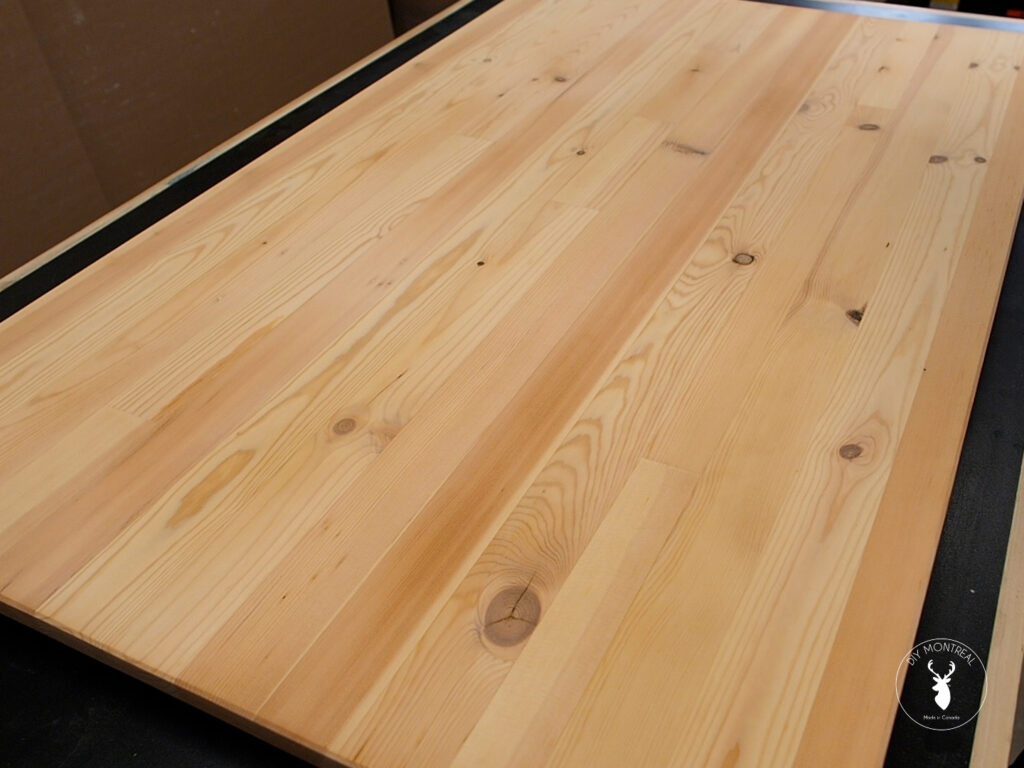
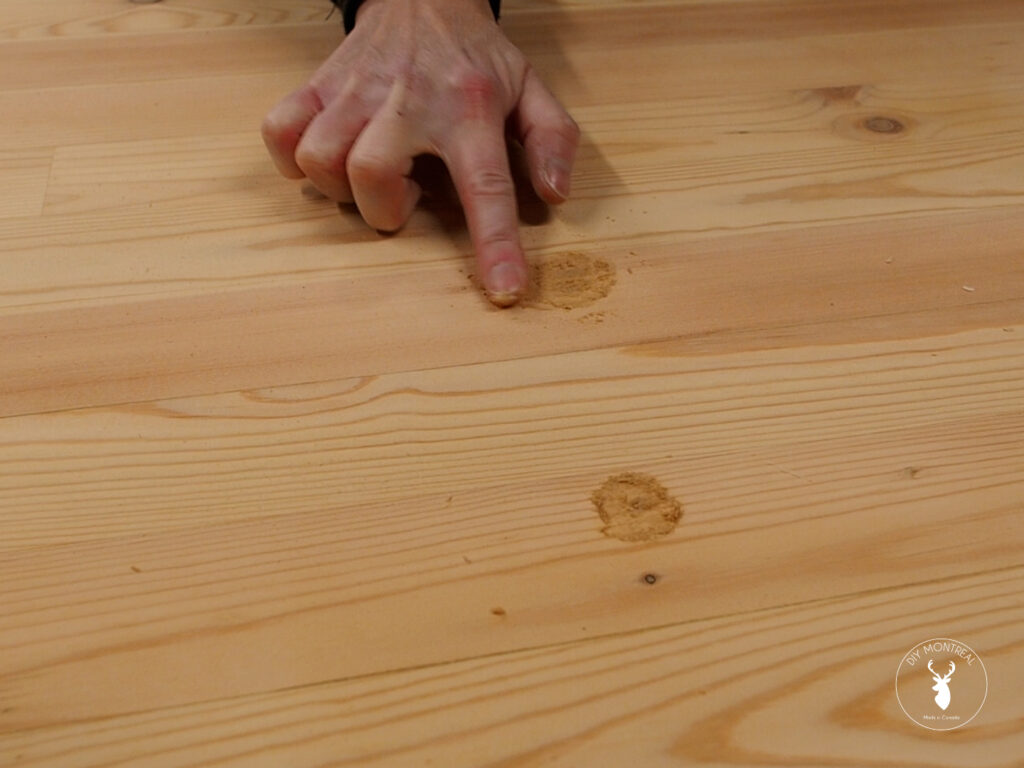
Once I’m done stripping all the surfaces with 80-grit, I’ll inspect the surfaces to make sure there aren’t any visible scratches or gouges left in the surface. I had a couple larger holes that couldn’t really be sanded down. I used some of the sawdust from sanding the table itself so it would be a perfect color match and mixed it up with a little glue to form a paste and make an improvised wood filler.
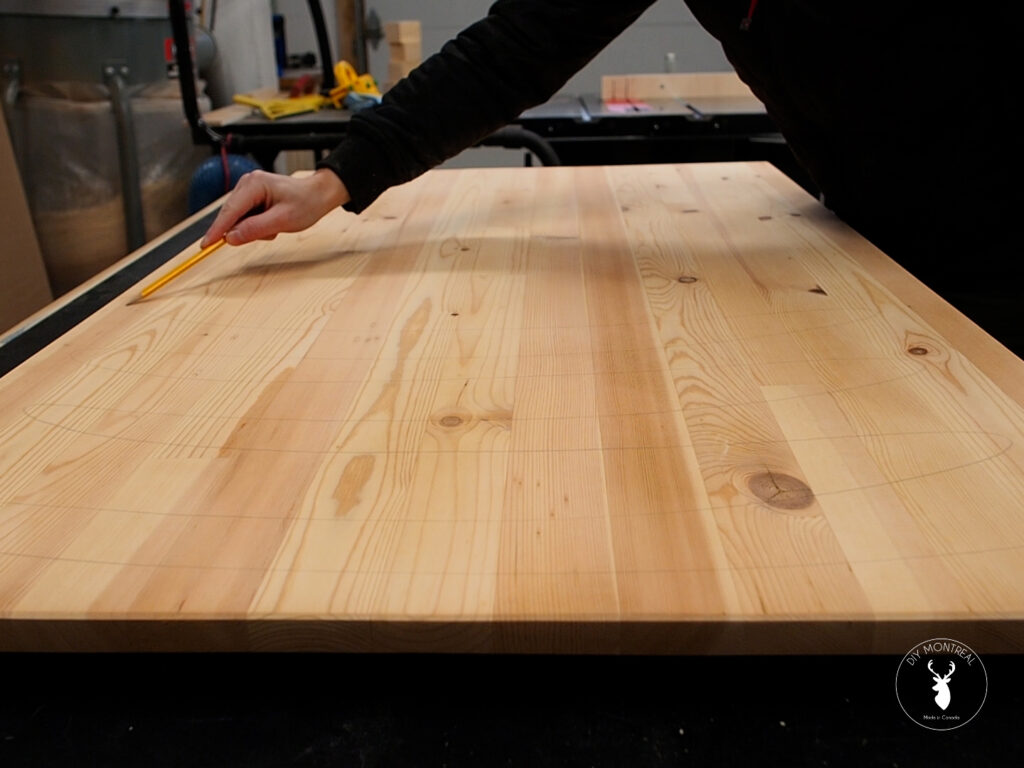
Now that I have a nice flat surface, I’ll switch to 120-grit and sand every single surface again. It always helps to make pencil marks first so you’ll be able to gauge your speed and avoid going over the same spot more than necessary, and ultimately get a nice even sanding.
After that’s done, I’ll repeat with 180-grit and stop there. If you’re unsure what grit to sand to, it’s usually indicated on the label of the finish. So when in doubt, just refer to that.
Apply Osmo Top Oil
If you work in a small space like me, I find it helps to do all the sanding one day, then clean the room and let the dust settle overnight. Otherwise I find that the dust is more likely to settle into the finish if you skip straight from sanding to finish.
I’m using Osmo Top Oil to finish this table. It’s a hardwax-oil designed for countertops and tabletops. I’ll also use an Osmo fleece applicator to get a nice even finish.
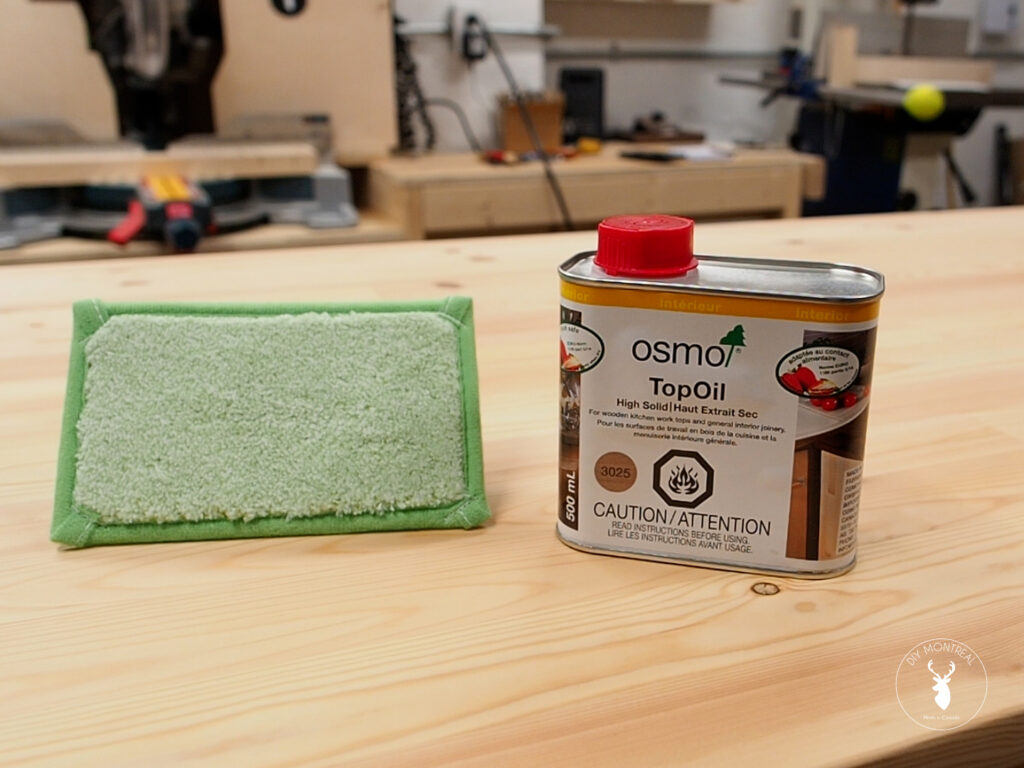
The application is super easy: just pour onto the fleece pad and rub it in. You’ll notice how white in color the product is. That’s because I chose the natural color that won’t yellow like other clear finishes do.
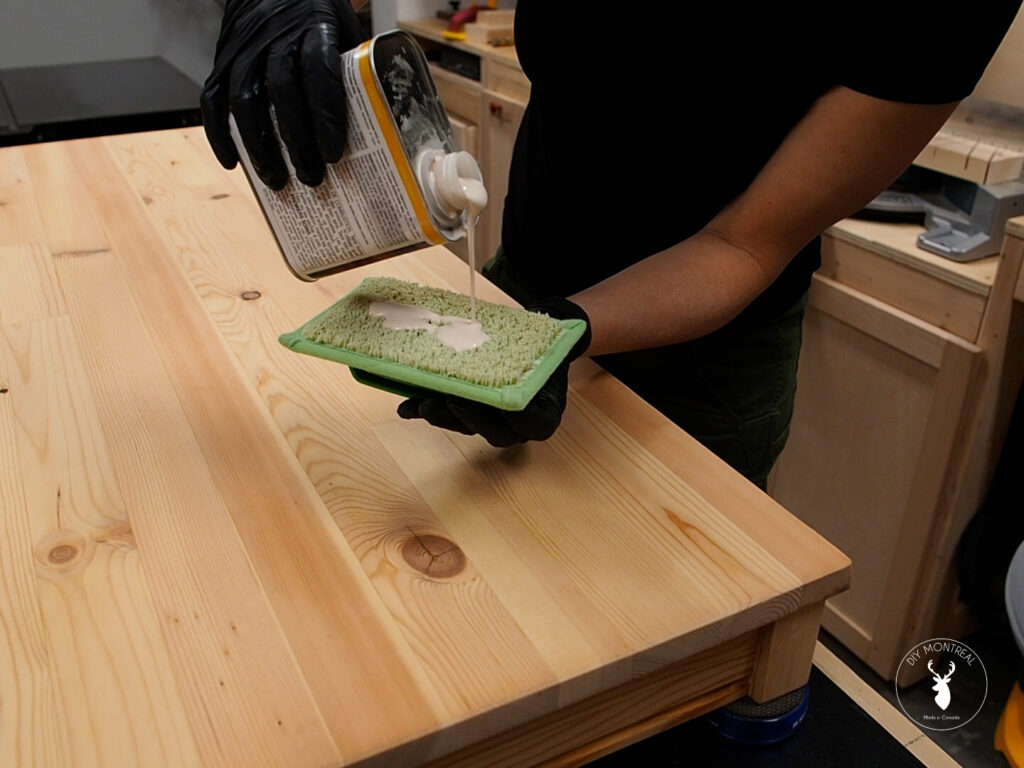
I like to start with circular motions then finish off with even strokes going with the grain. The best part is that it’s low VOC and you can get the finish done within 24 hours.
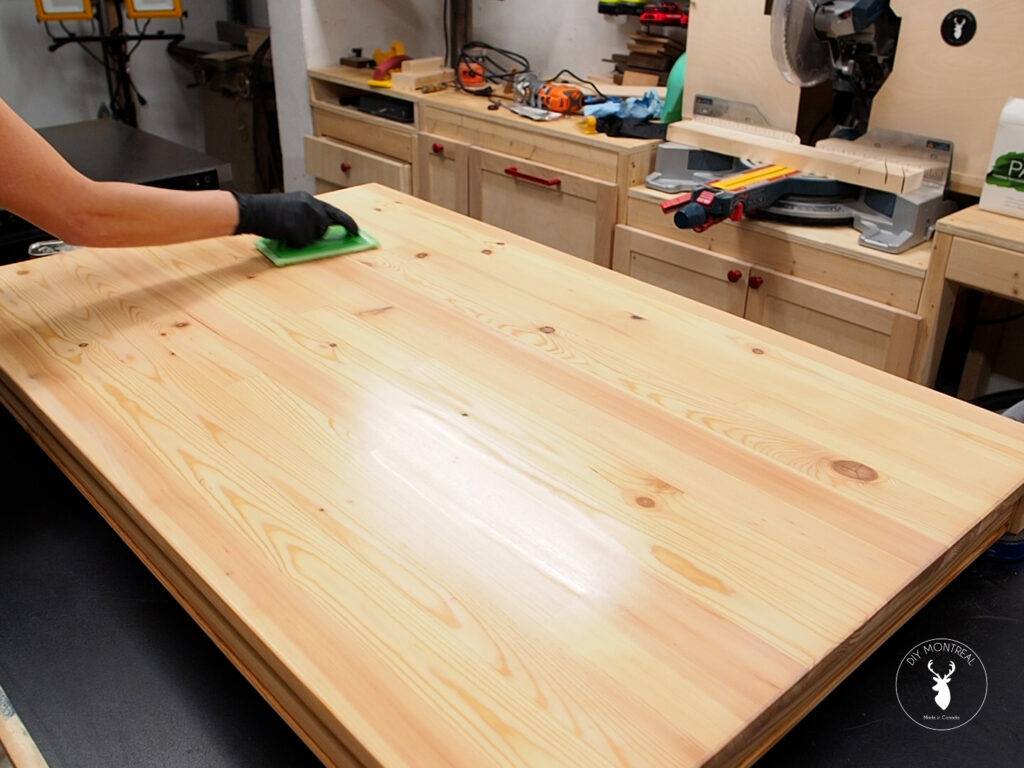
They recommend 2 to 3 coats at least 8 hours apart. Before applying the next coat, I’ll lightly sand using 320-grit, just enough to remove any dust nibs, then wipe away the dust using a tack cloth. I can then apply the second coat just as before. I always start with the bottom and finish with the top.
Build New Table Legs
With the sanding done, I’ll move onto making some new legs for this table. It’s going to be coffee table height, so the legs will be relatively short. That being said, I think thicker legs than the original ones will look better for a coffee table, so I’m going to double up some 2x4s to make some beefy legs.
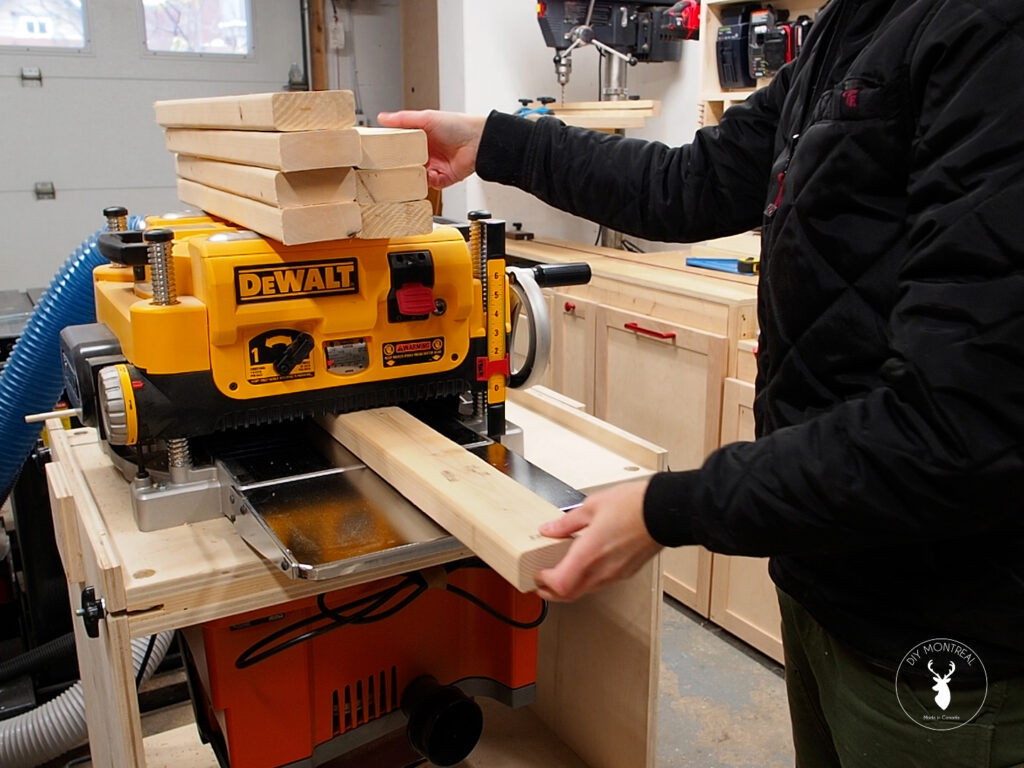
You’ll notice I’m using 2×4 pine studs for this. If you want, you can buy S4S pine that’s already squared up on all 4 sides. Instead I’m going to run each 2×4 through the planer until both sides are flat. I can then glue the pieces together in pairs.
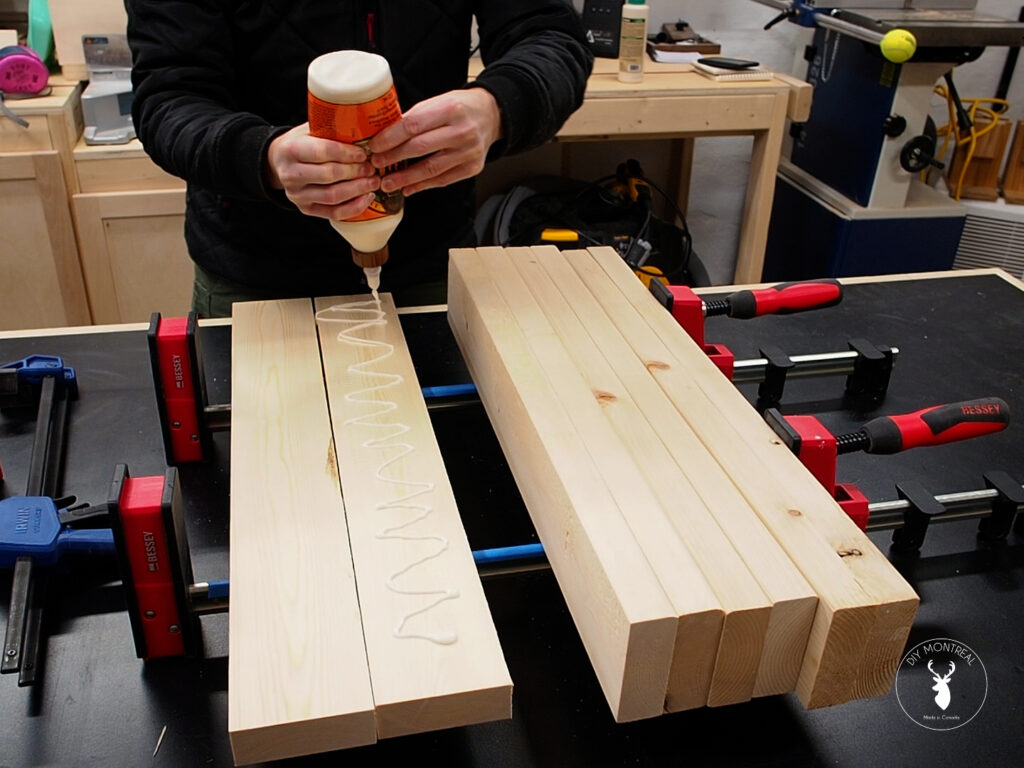
The next day, I’ll use my jointer to flatten one of the glued joints and make it perpendicular with the adjoining face. I can then rip each leg to its final dimension. Last but not least, I’ll cut them to length using my miter gauge.
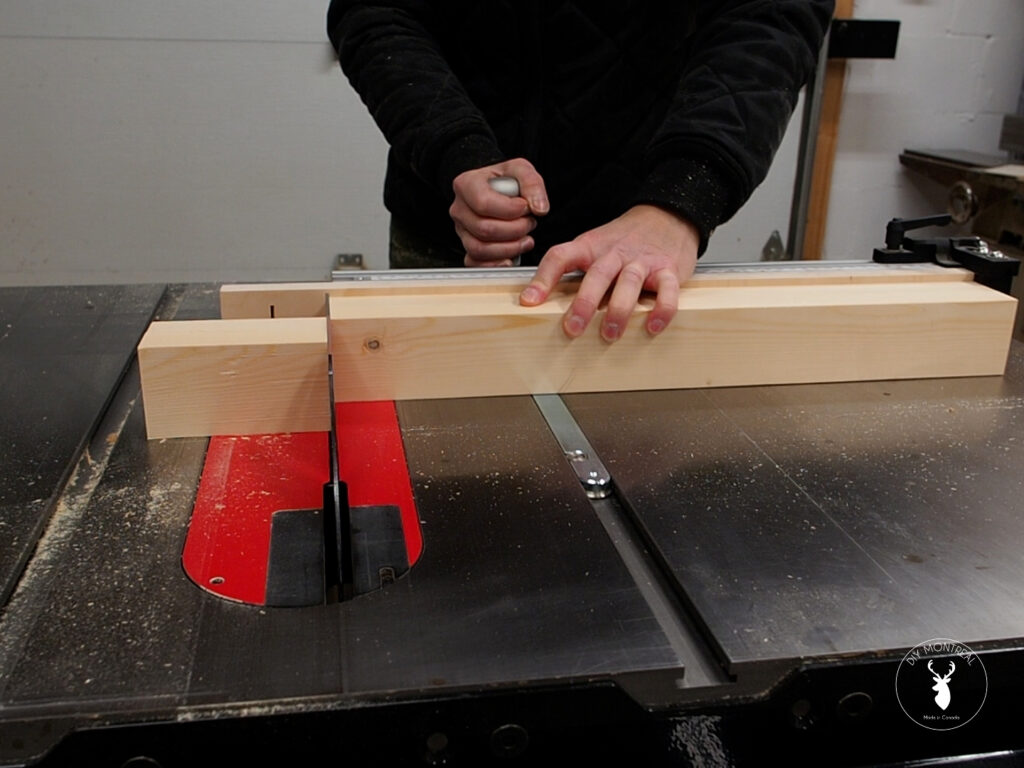
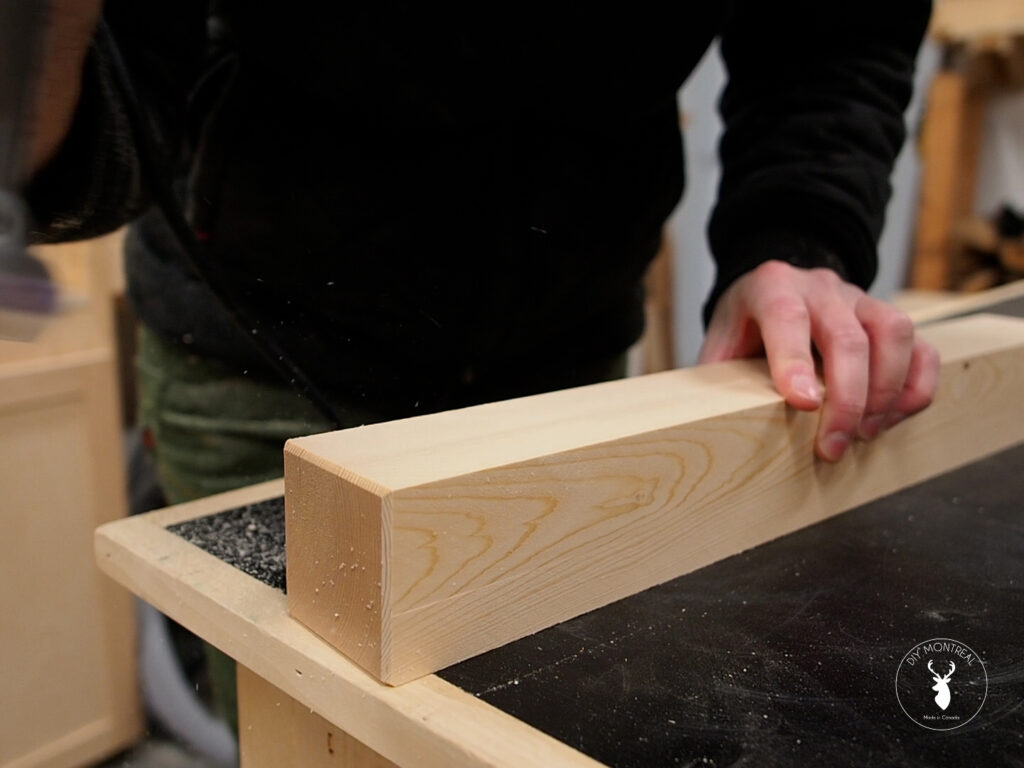
Nothing screams DIY more than perfectly square edges. Trust me, I know from experience. I don’t want to go crazy either, so I’ll simply use a chamfer bit to make a small chamfer on each edge of all 4 legs. I’ll start with the end grain – which is more prone to tearout – and finish with the long grain edges to clean it all up.
Modify the Table Structure
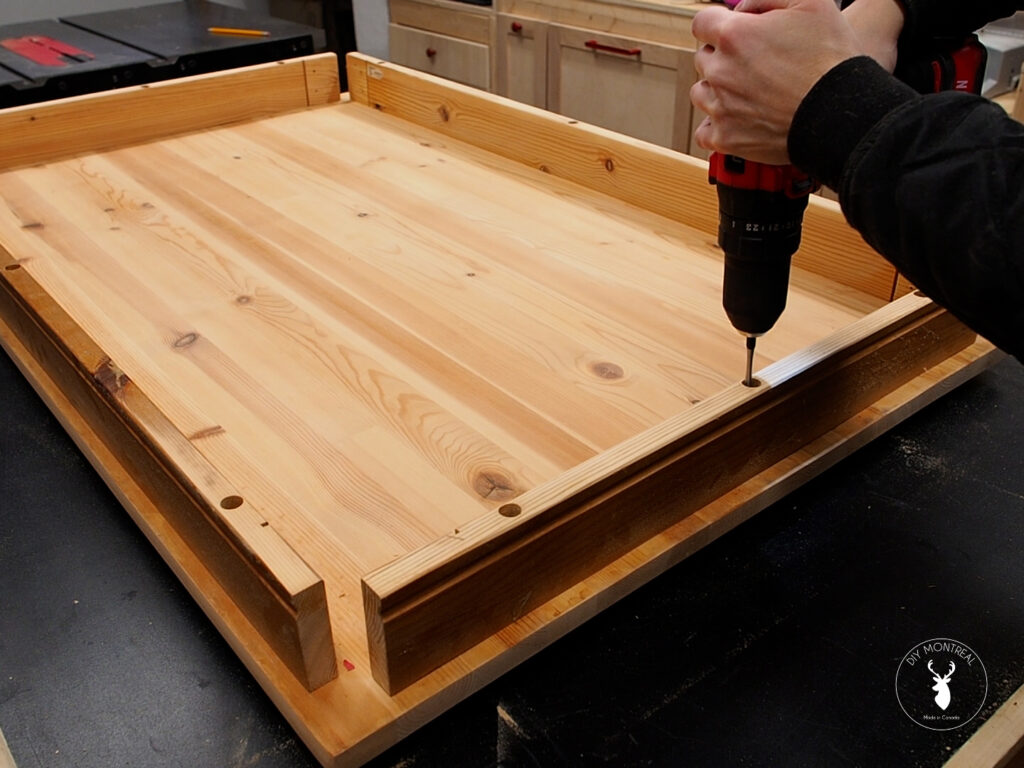
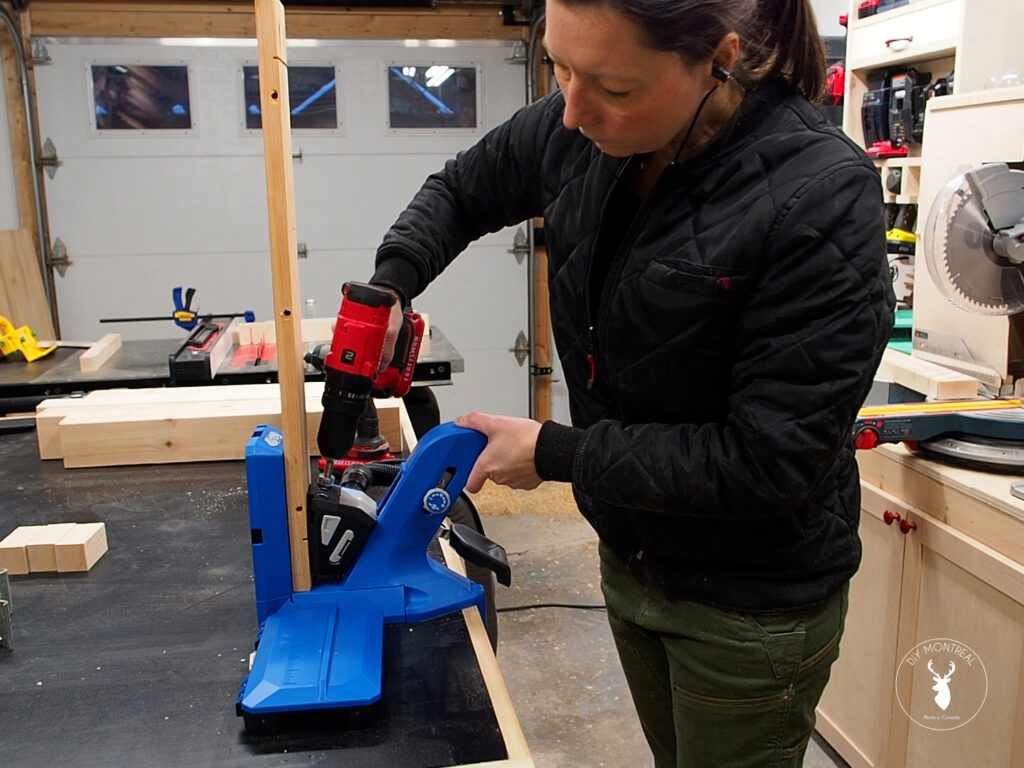
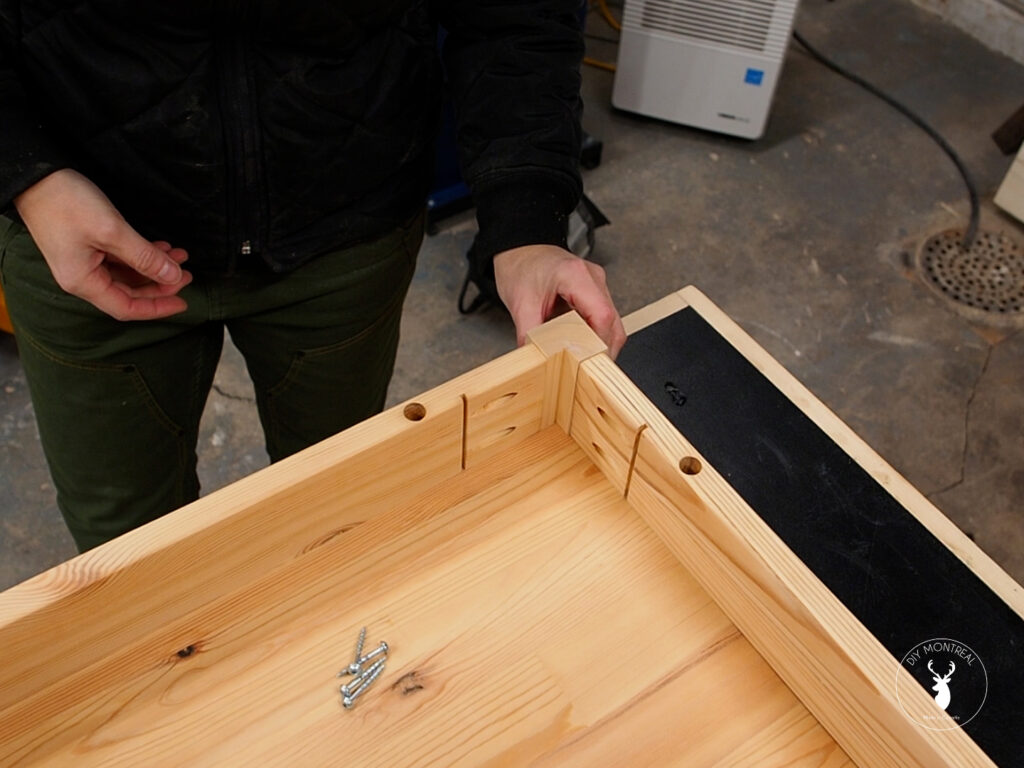
Remember earlier when I removed all the hardware? Well, I’m going to need something to hold the frame together. So, I cut some small blocks that I’ll use as connectors, and I’ll drill some pocket holes into the aprons to connect them.
With that done, I can start reassembling the table. I’ll start by screwing down the aprons, using the original screw holes as a reference.
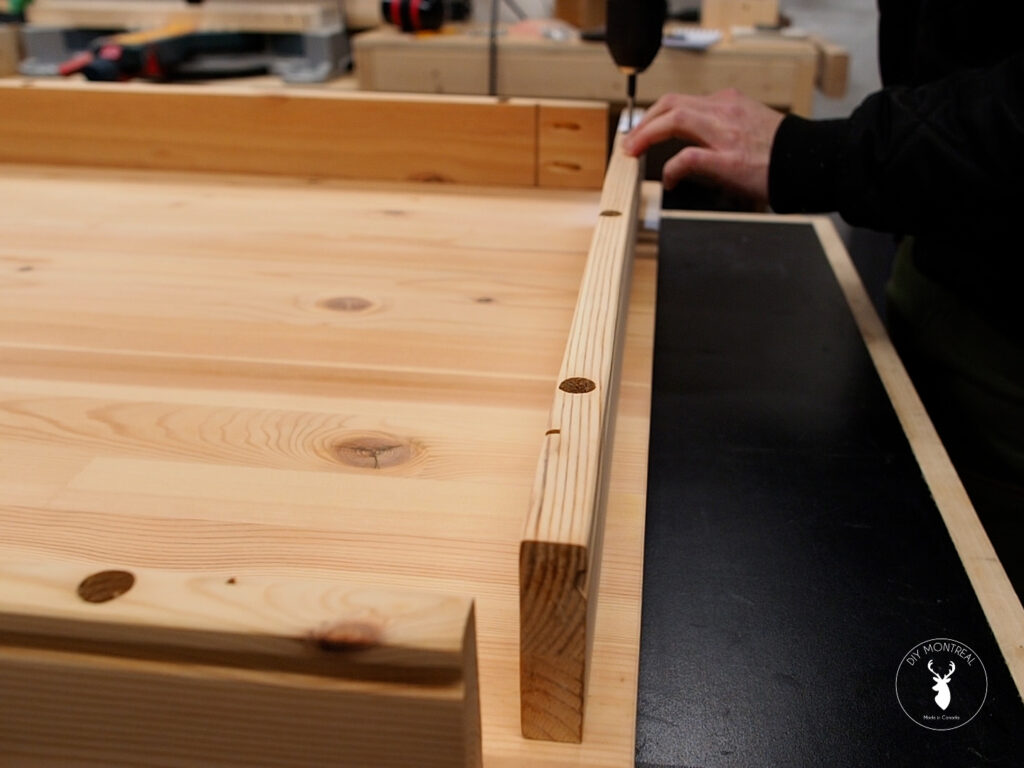
I can now insert the corner block I made but wait – I need these inside corners to be perfectly square for the legs, so I’ll need to remove a small notch. Over at the table saw, I’ll carefully cut a small rabbet.
Install Folding Leg Brackets
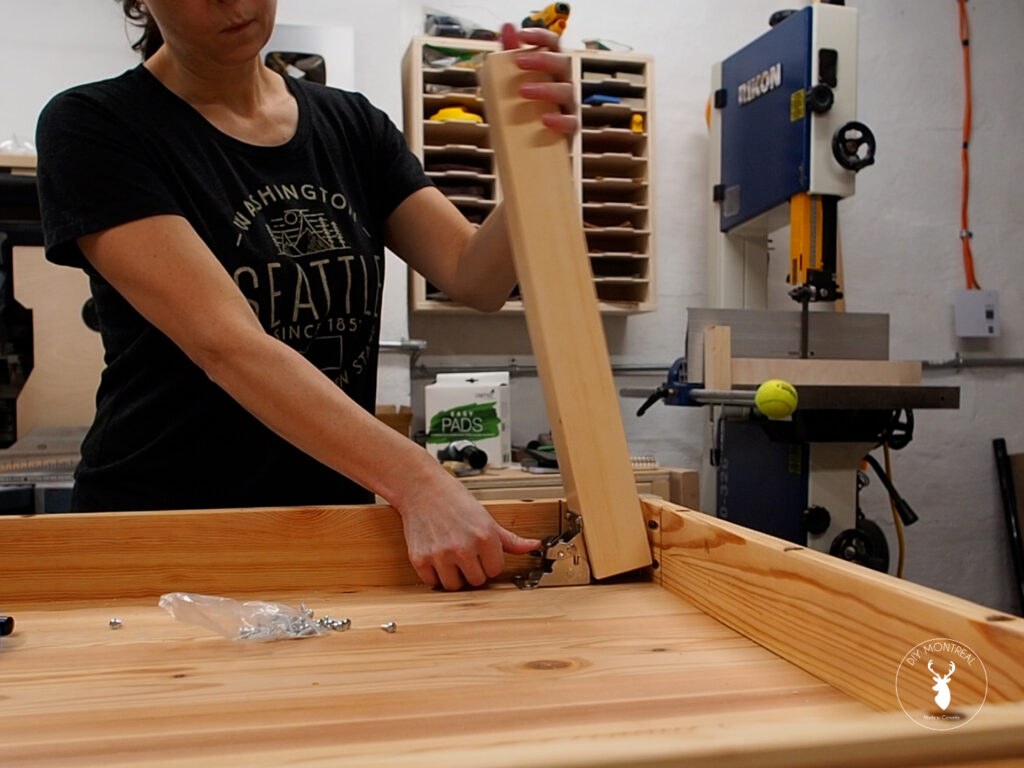
As I mentioned, this table is going to have folding legs. I found these folding leg brackets on Amazon. Once open, they click to lock into place. Then simply press down on the little lever to unlock them so you can fold them.
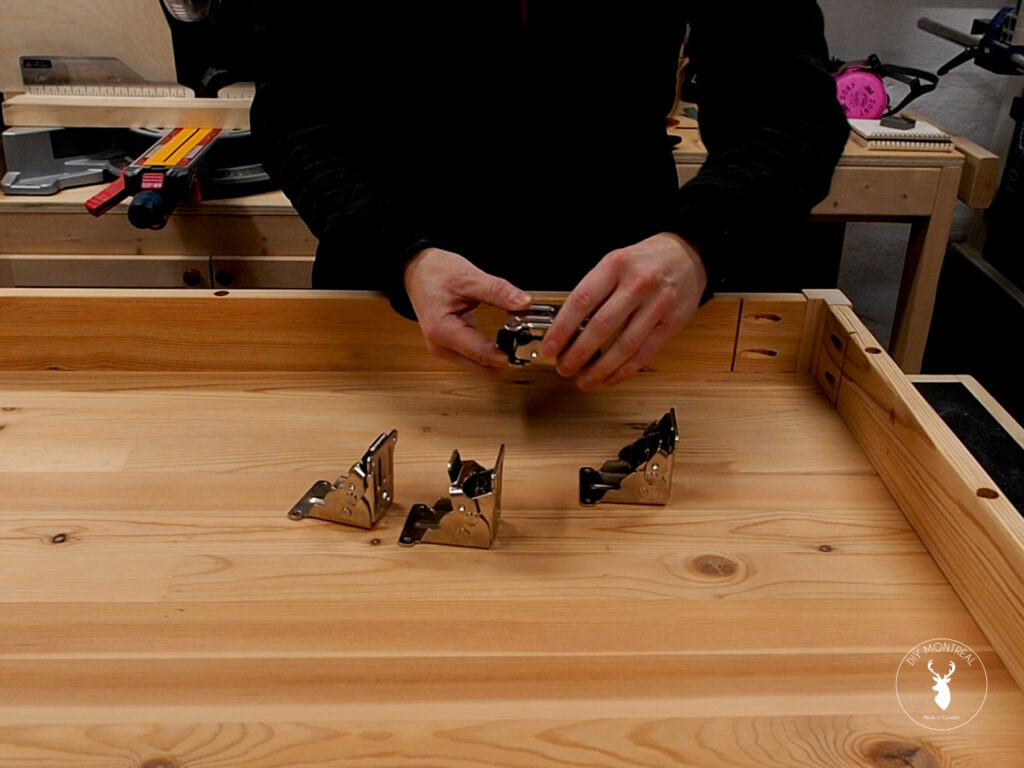
I’ve never used these before but I’m hoping they’ll work with the leg butted right into the corner (FYI yes they do!). I’ll secure the folding leg bracket to the table and the leg using the provided screws, after first drilling pilot holes.
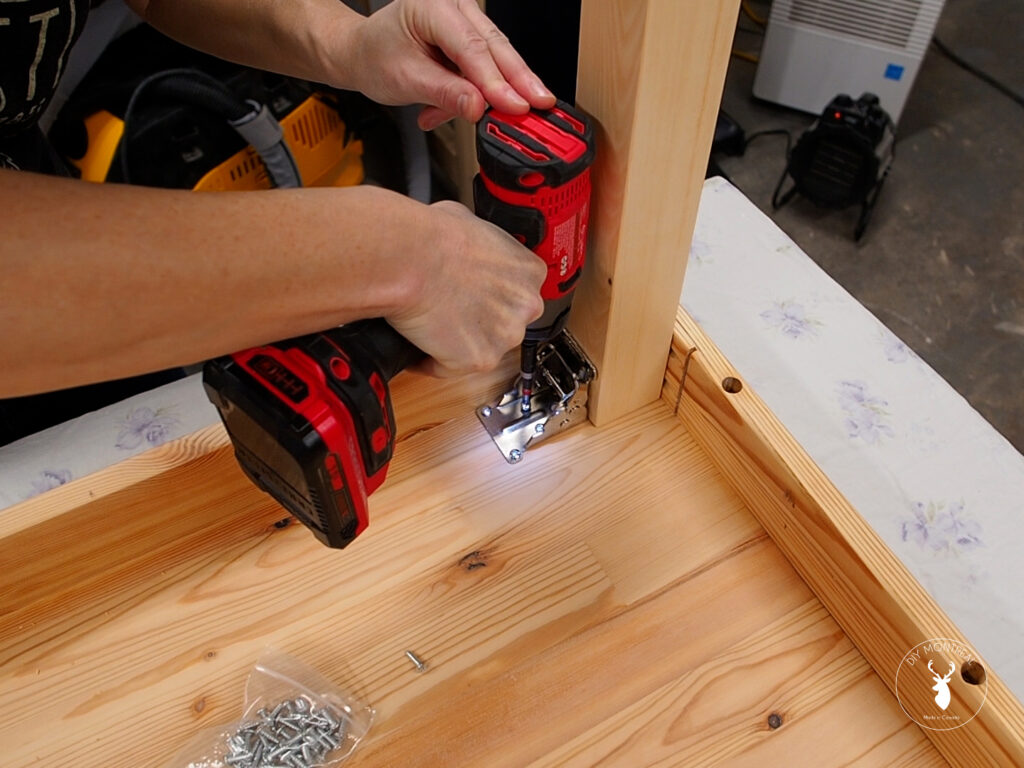
After testing the first leg, I installed the other three. At first I was going to install them in pairs, folding in towards each other, but I quickly realised they would hit each other. So, instead, each leg folds in a different direction.
Recycled Ikea Table
In the end, I was able to make this table look like new again and give it a second life for a fraction of the cost of a new table. Good for the environment, and good for the wallet too. I know it’s just pine, but I love the natural finish without any yellow hues.
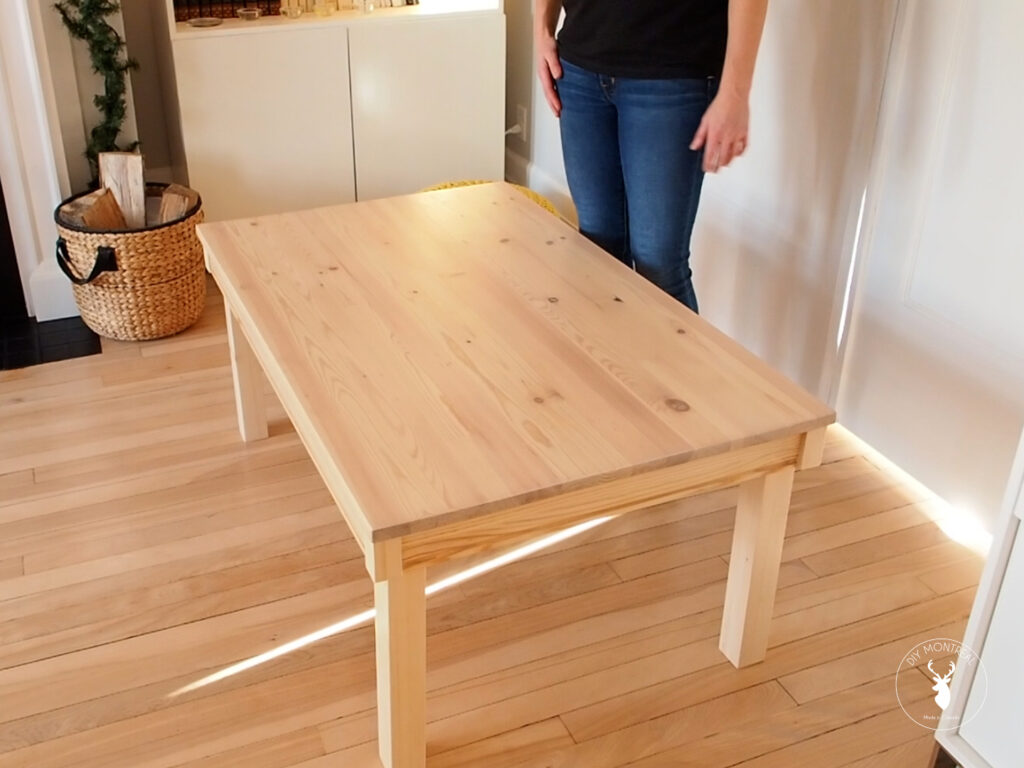
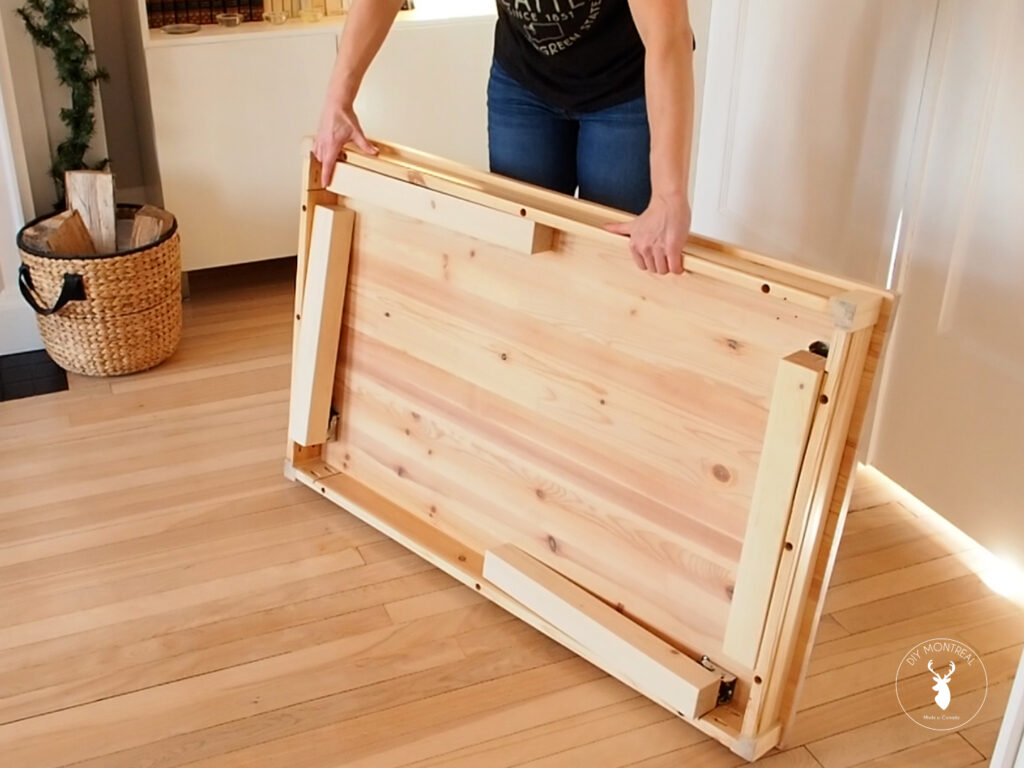
While I initially thought this old table was headed for a landfill, I’m glad I took the time and put in a little elbow grease to salvage this piece and give it a second life.
