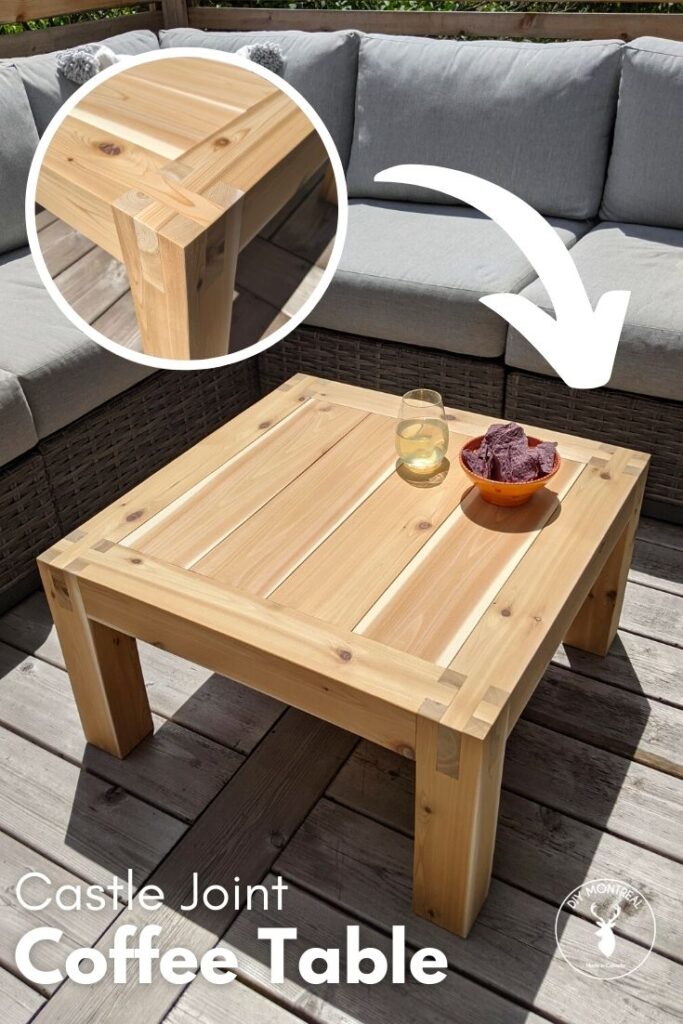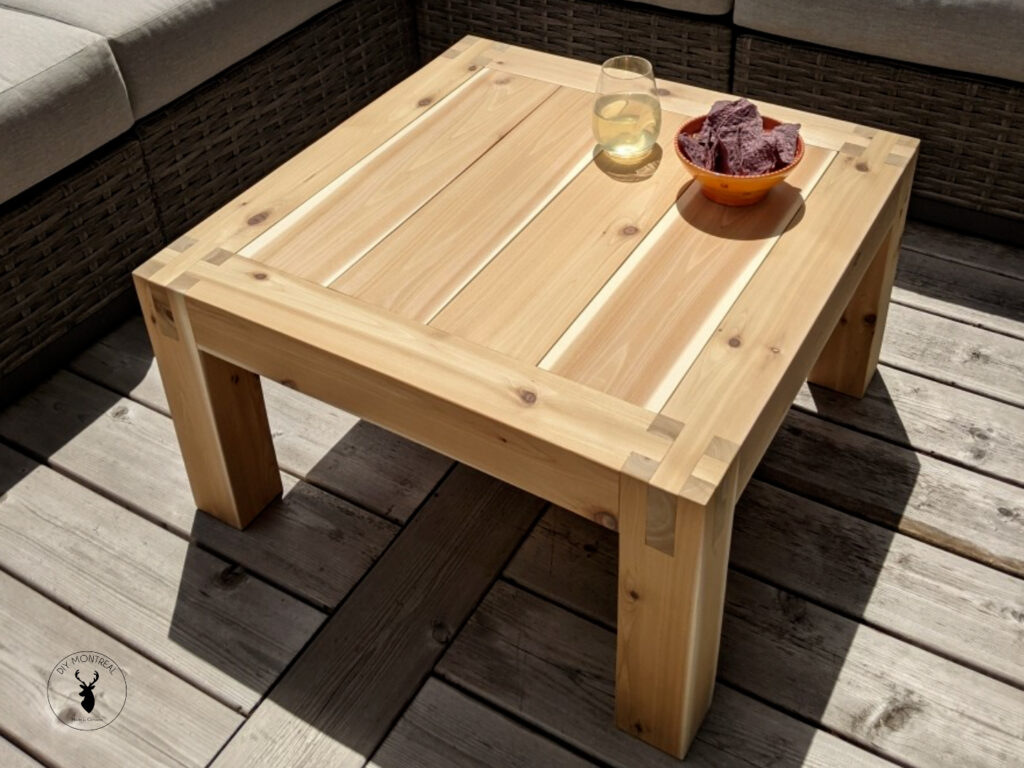
Summer is in full bloom and I’ve been enjoying the the warm sunny weather out on my deck here in Montreal. That being said, one key piece of furniture has been missing to complete my patio set: a coffee table. Not any coffee table though, but something that looks cool.
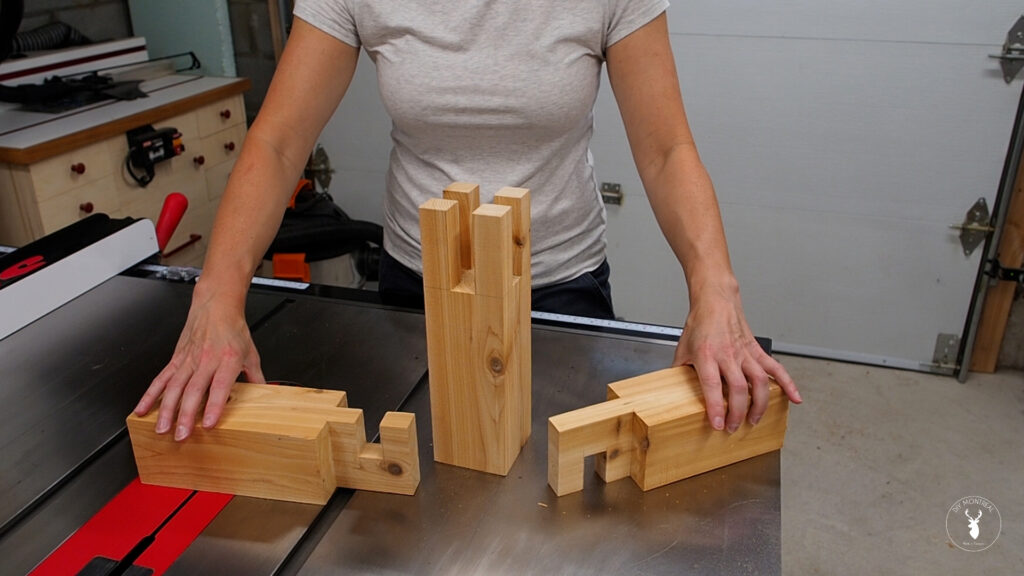
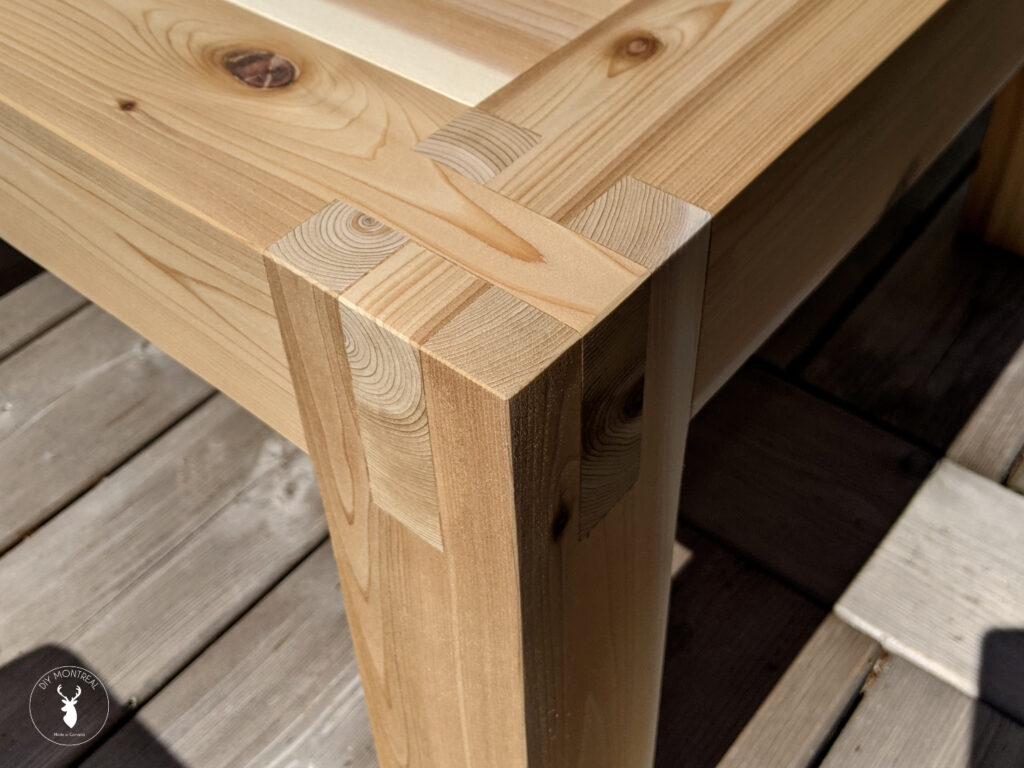
Meanwhile, I’ve been itching to try making castle joint joinery. So, I figured this would be the perfect project to try it out. What’s a castle joint, you ask? It’s essentially a 3-way interlocking joint that combines the bridle joint and the cross lap joint. If you think that sounds complicated, not to worry! I’ve broken it down into simple steps in the video below.
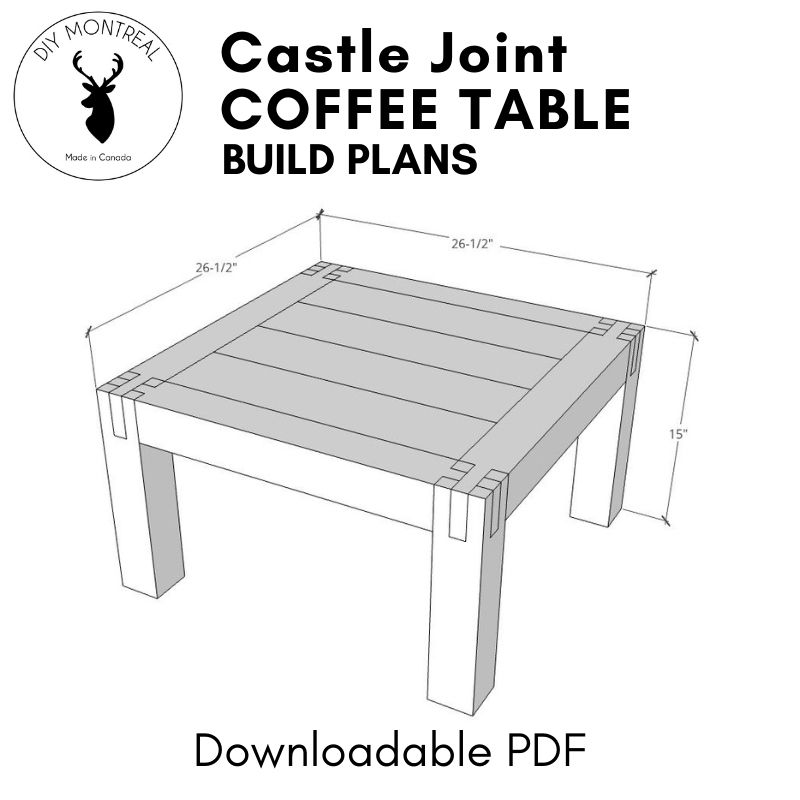
If you’re interested, I’ve got builds plans available for this outdoor coffee table build. The plans include how to make a simple yet solid homemade tenoning jig. Click on the image below for more info.
Materials
Recommended Tools
- Cedar posts – 4x4x8
- Cedar fence boards – 1x6x8
- Titebond 3 (outdoor wood glue)
- 1-inch corner braces
- 1-1/4” screws
- 1/2” screws
Castle Joint Coffee Table
How to Build an Outdoor Coffee Table Using Castle Joints
Seeing as this coffee table will live outdoors, I’m using cedar wood. It’s important to first square up whatever wood you’ll be using. As such, I started by squaring up my 4×4 posts and cutting the legs and aprons to length.
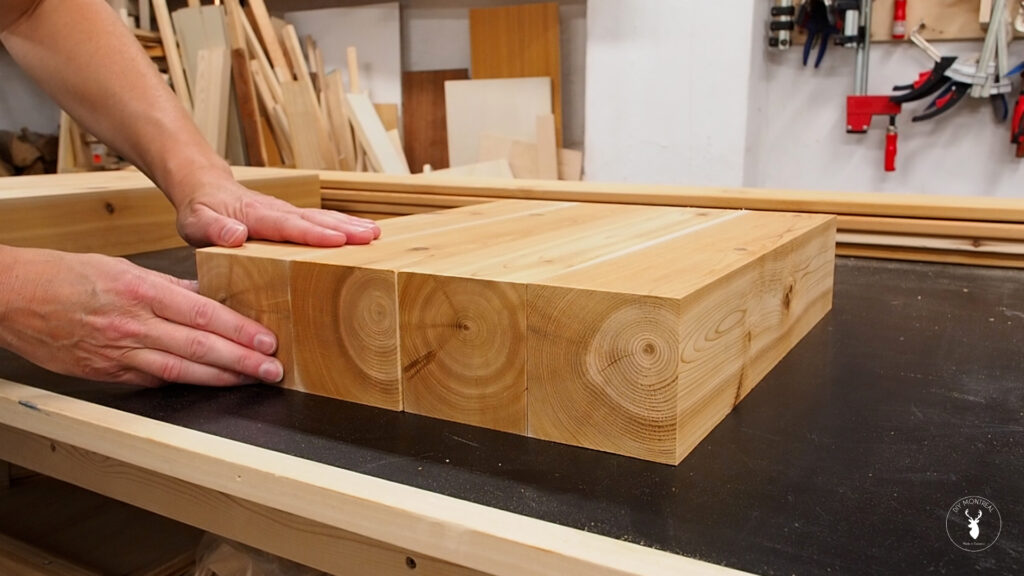
Step 1: Cut the “Castle” of the Joint
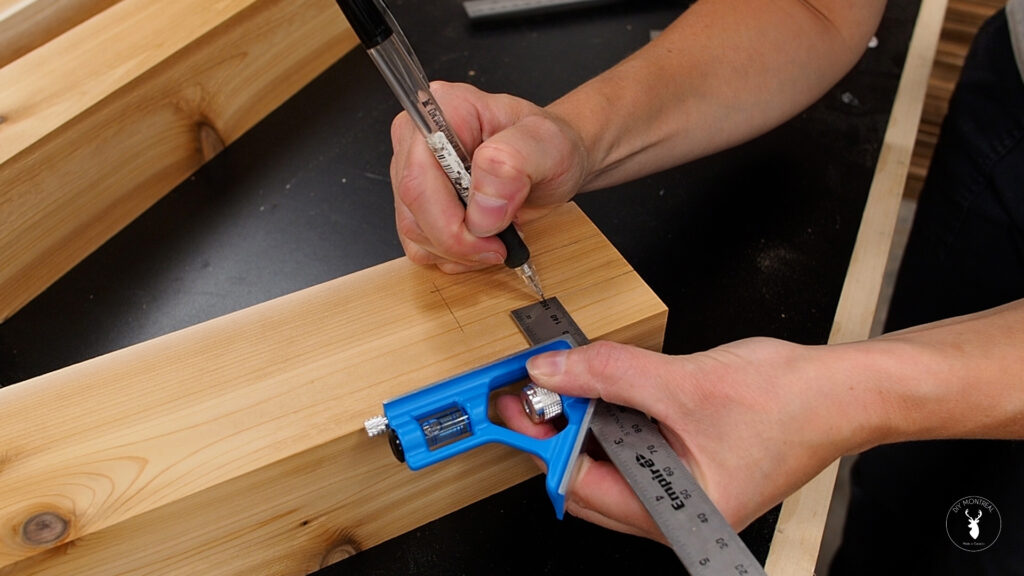
First, I’ll measure the width of the stock and divide that number by 3. Then, I’ll set my combination square to that length. I can then grab one of the legs and mark it from both sides. Don’t stress too much here, it doesn’t have to be exactly one-third, just close enough so it will look evenly balanced.
Next, I’ll grab a second combination square and set it to the width of the stock. Then use it to mark the top of the joint. You actually only need to mark one of the legs; you don’t need to mark them all.
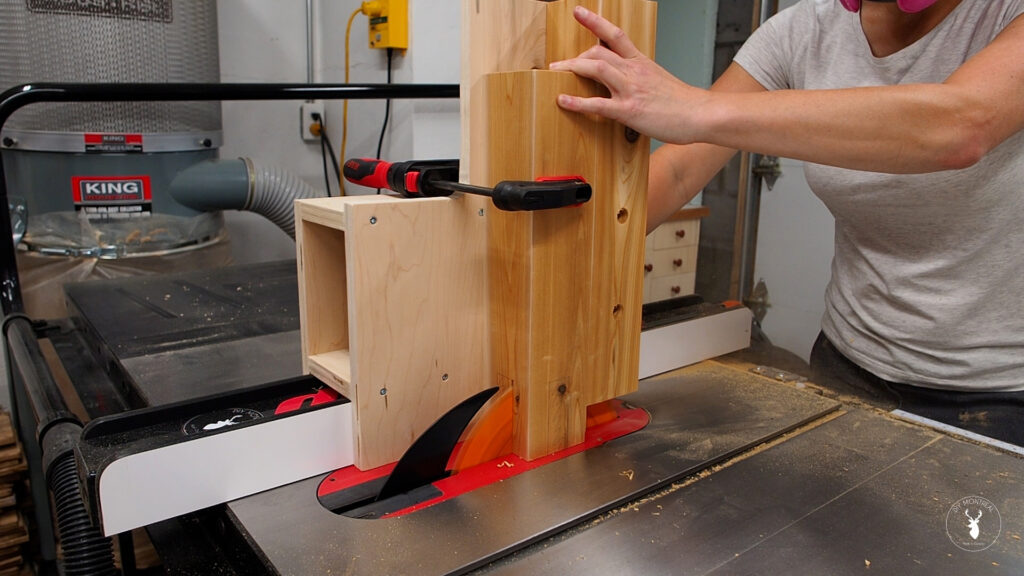
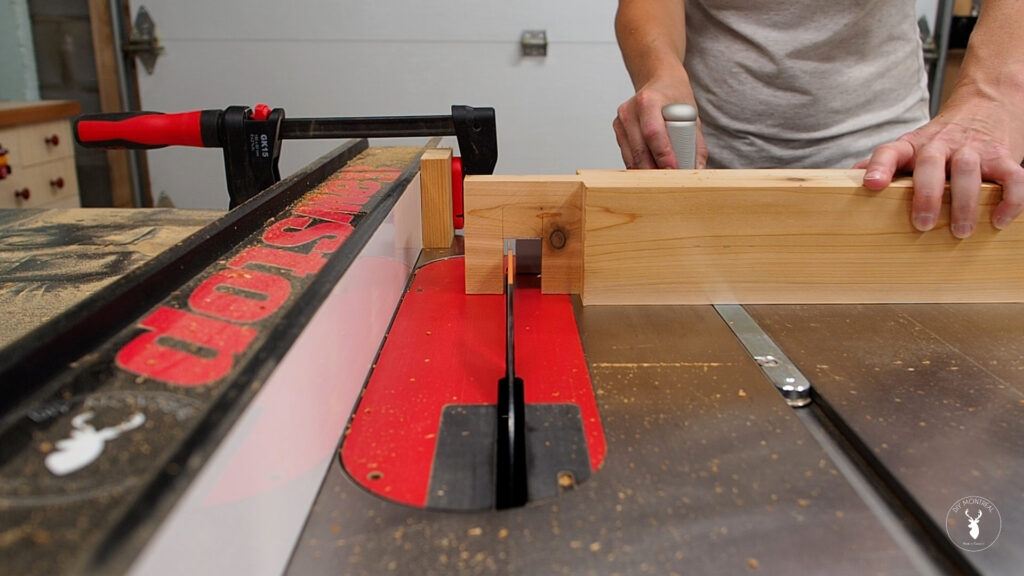
In order to cut the bridle joint, you’ll want to build yourself a solid tenoning jig. It should be snug to the table saw’s fence and tall enough to support your workpiece, with a solid backstop. I’ve included details on how to build your own tenoning jig in the plans.
Start by raising the blade to the marking at the top of the joint. Then, once your workpiece is securely clamped to the jig, you’ll want to move your fence until the tips of the blade kiss the inside of your markings. Now make the first cut. After that, simply rotate the piece 90 degrees and repeat, without moving the fence.
When you’re done cutting all four sides, you should be left with a tic-tac-toe pattern. Repeat this on all four legs, without moving your fence.
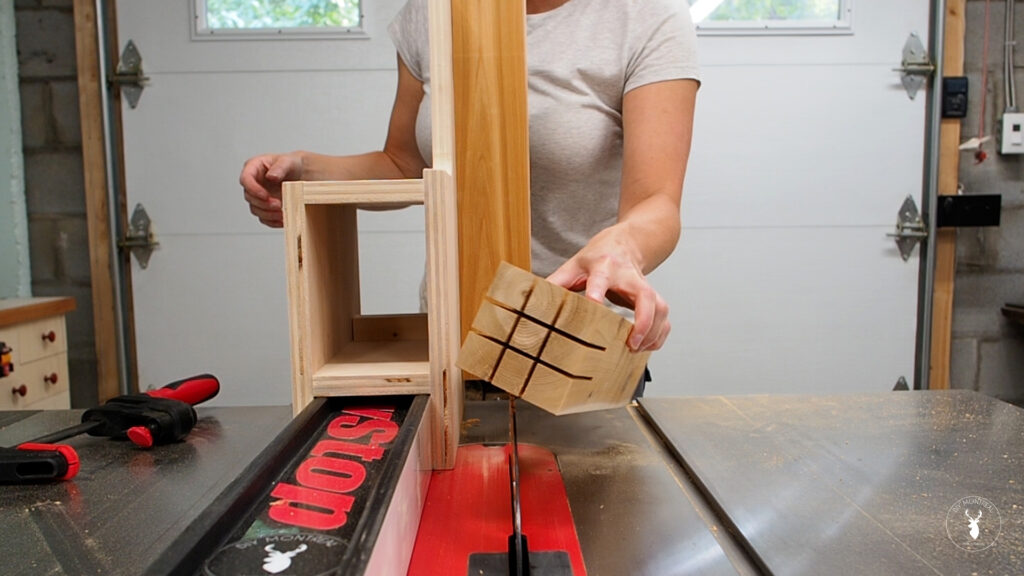
After that, you can go ahead and move the fence to progressively hog away all the material from the middle of the joint. You should be left with four legs looking like the tower of a castle.
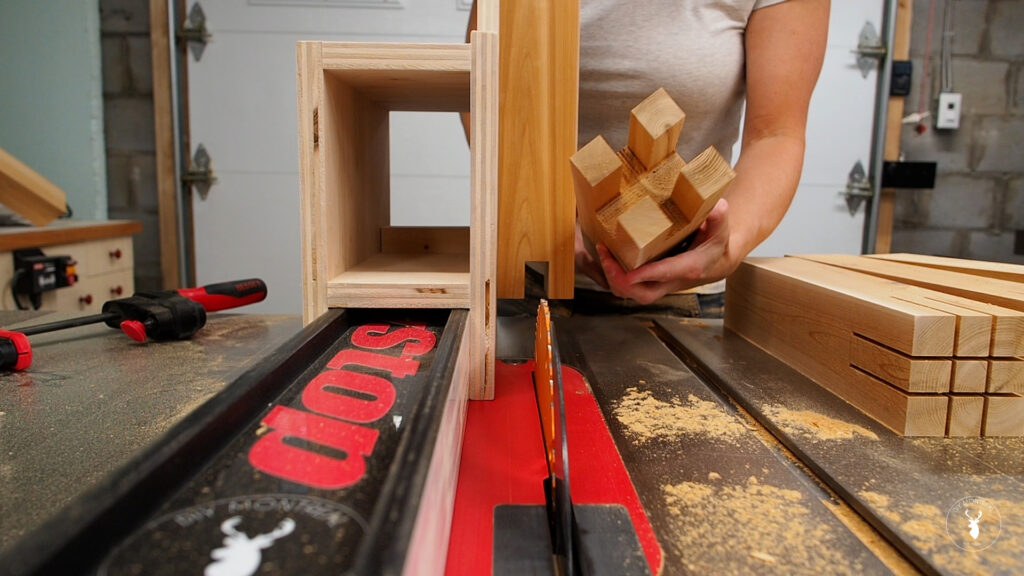
Step 2: Cut Tenons in the Aprons
Next, I can move onto the table aprons. I’ll use the same combination squares as before (without adjusting them) to make the markings.
To cut the tenons, I can once again use my tenoning jig, as the name implies. Once the stock is secured to the jig, this time I’m going to line up the tips of the blade on the outside of the line and make the cut. I can then rotate the piece 180 degrees and make a second cut.
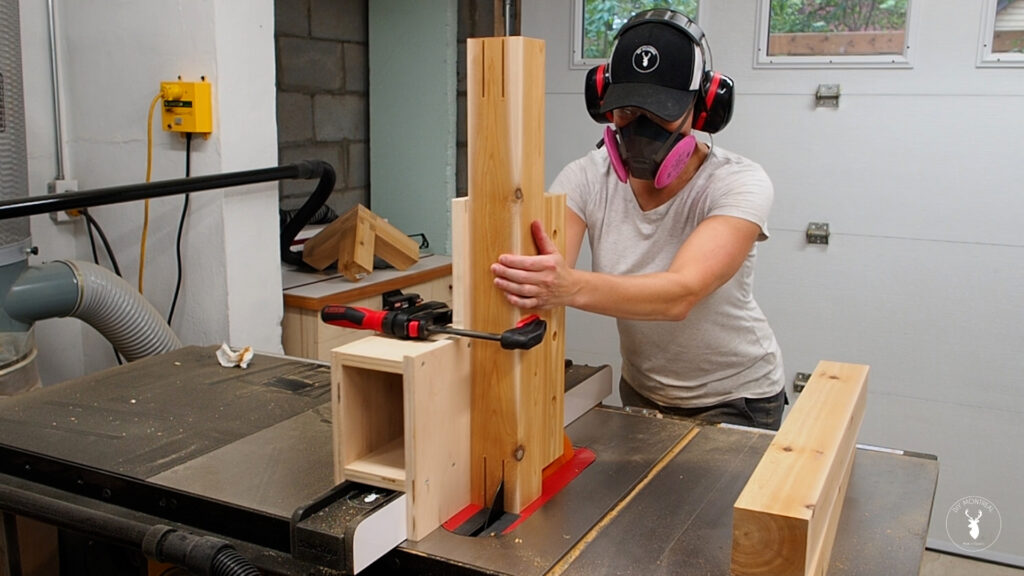
With all four table aprons cut, I can now set aside the tenoning jig. I can also freely move my fence and lower the blade. I’ll set the blade height just below the tenon.
To cut off the shoulders of the tenon, I’ll use my miter gauge. You don’t want to make this crosscut directly against your fence, so I clamped a small stop and adjusted the fence until the blade was just inside the line. I could then proceed the cut the shoulders to expose all of the tenons.
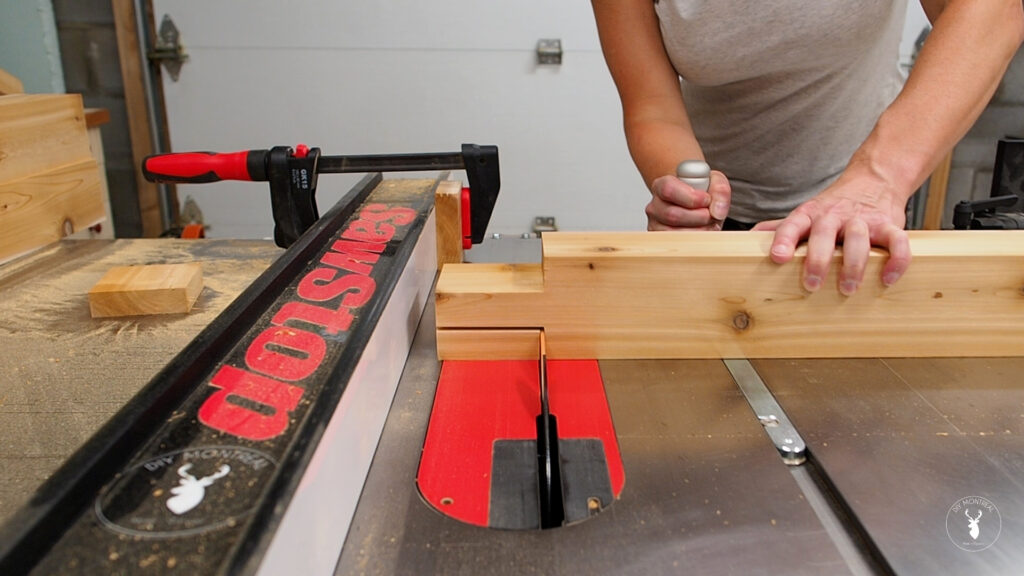
Step 3: Cut Lap Joints Within the Tenons
Alright, so I’ve now got my legs cut and my aprons cut, but there’s one final cut I need to make to the aprons for this castle joint to all fit together, and that’s a cross lap joint within the tenons themselves.
To mark where to cut the lap joints, I’ll slip one of the legs onto the tenon and mark the edges with a pencil. I’ll also make a second mark at halfway up.
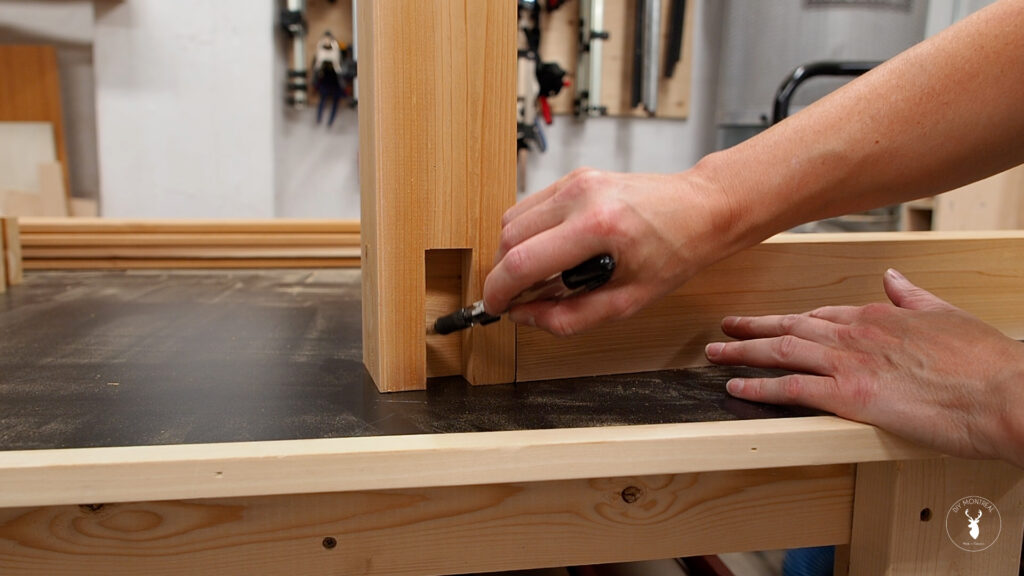
After setting the blade height, it’s easiest to use a miter gauge and set up 2 stops: one stop for each end of the cutout, just inside the line. This will allow you to make repeatable cuts on all the aprons. After making the initial cut at each end of the joint, you can progressively move the stock to hog away the material left in the middle.
Step 4: Glue-up the Table Base
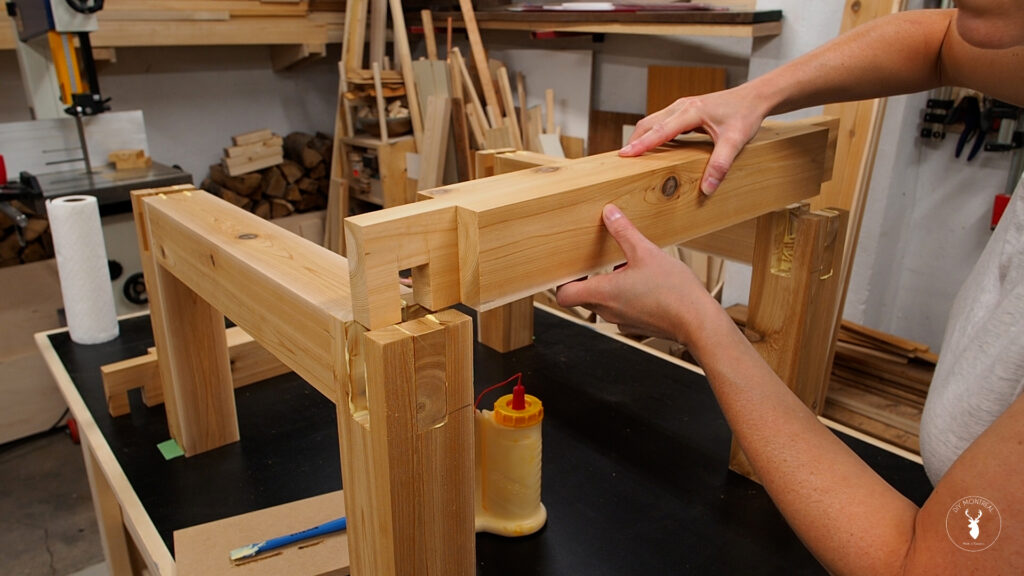
Once all the pieces are cut, I’ll check that all the parts fit together. I could then apply glue to each part of the joint and connect the pieces like a puzzle. I’ll clamp the table base down to my workbench and let it dry overnight. The next day, I hit everything with some 80-grit sandpaper to flatten and smooth out the joints.
Step 5: Install Tabletop Planks
Okay it’s time to add the tabletop and complete this coffee table build. I’ll start by cutting the rounded edges off of 2 cedar fence boards. I can then cut 4 pieces to length at the miter saw, and also rip 2 thinner pieces as well. I secured the thin pieces to the sides with some screws. These pieces will hold up the planks that will make up the top.
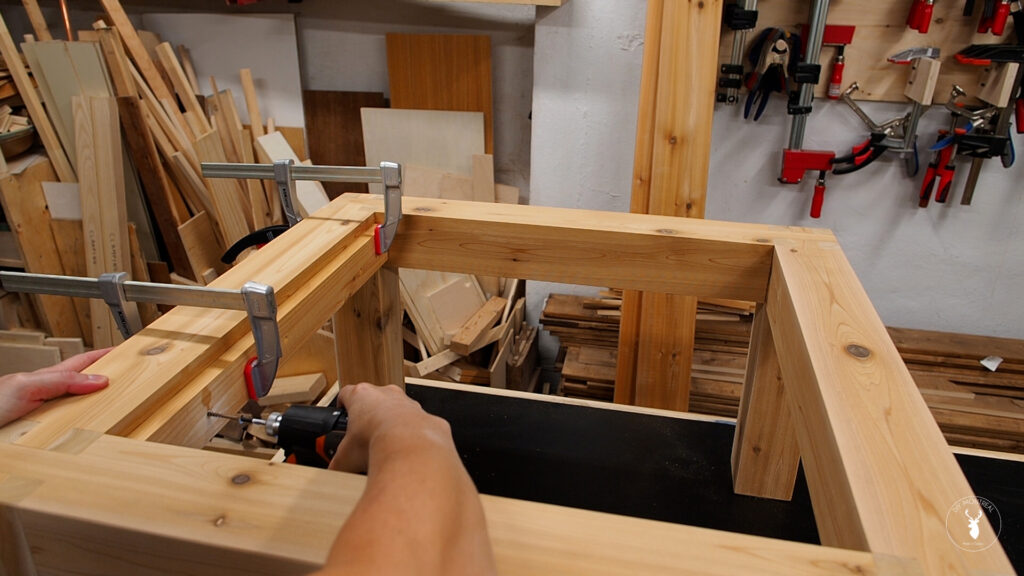
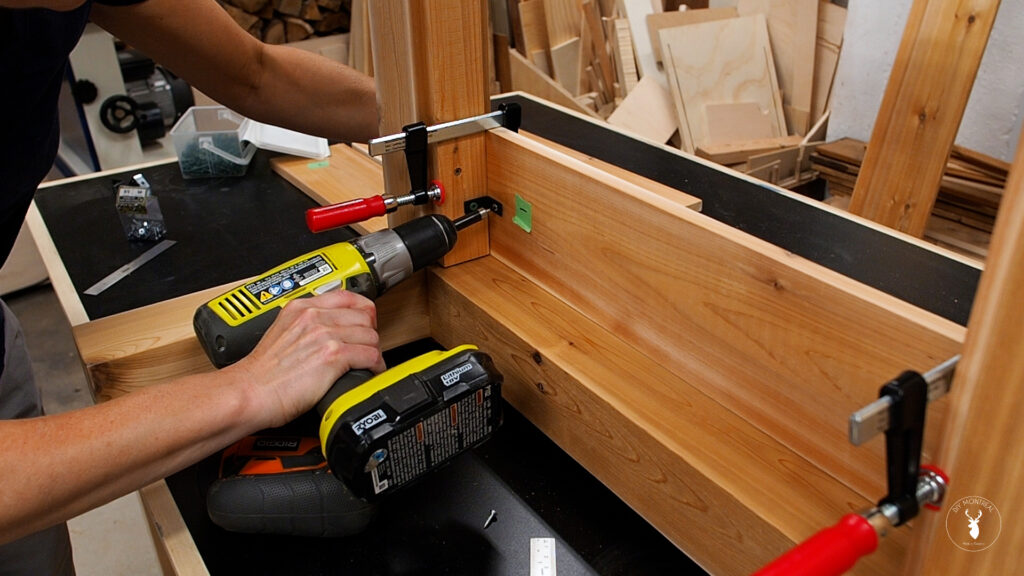
At this point, I can drop in the planks and check that everything fit. Now I could easily screw these planks down, but I don’t want any visible screws, so I’m going to flip the table over and attach them from underneath using some corner braces. I used one corner bracket per plank and worked my way up, one plank at a time.
I hope you liked this build and that it might inspire you to try out castle joints yourself! If you’re interested, I have plans available for this coffee table build, which include instructions for the tenoning jig too.
For now, I’m leaving this table raw, without any finish (so the wet cedar can dry), but eventually when I refinish my cedar deck, I’ll likely sand down the table and apply the same finish to it as well.
