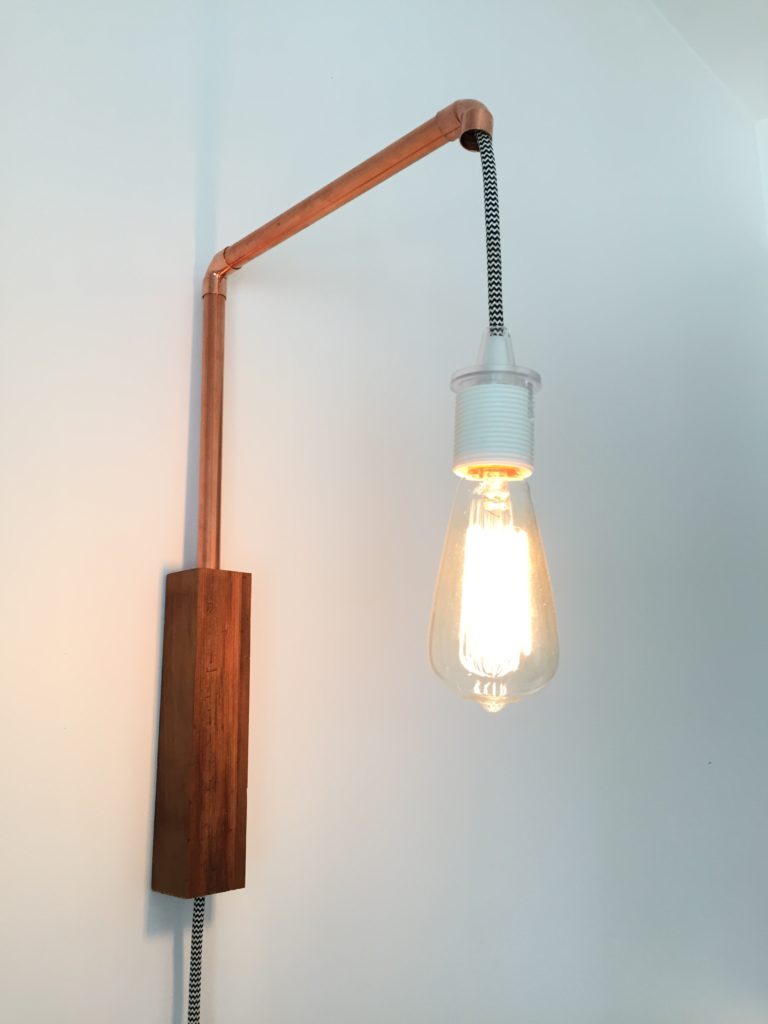
Copper pipe wall sconce. Sounds chic right?
Copper light fixtures and copper home decor are definitely trending today. Making a copper pipe wall sconce is easy and will cost you less than $30.
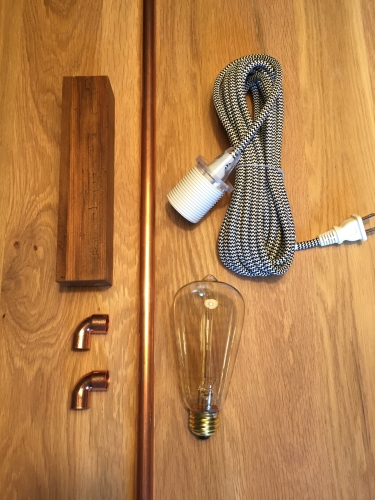
What you’ll need:
- IKEA Sekond cord set
- Vintage light bulb
- 3 foot ½” copper pipe
- (2) ½” copper 90° elbows
- Wood block
- Pipe cutter or hack saw
- Mini flathead screwdriver
- Drill
- 5/8″ drill bit
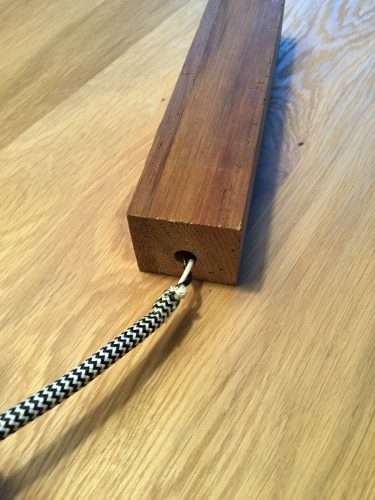
Drill both ends of the wood block
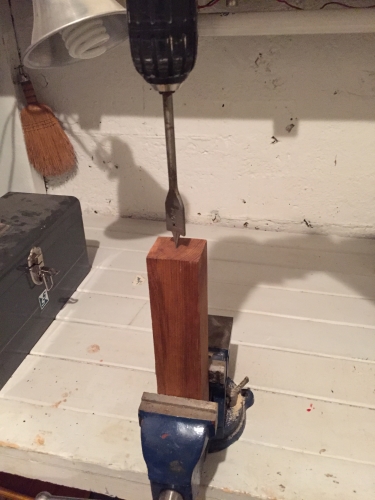
Use any sized block you’d like, but make sure it’s at least 1.5 x 1.5 inches in thickness. I used a 2″ x 2″ x 8″ piece of stained wood. You will need to drill 2 holes into your wood block. Start at the top end and drill a hole approximately 4 inches deep using a 5/8 drill bit. Flip the block around and drill a hole using a 5/16 drill bit (or large enough to fit the cord through). Drill all the way through the block until you reach the larger hole on the other end.
Cut the pipes to length
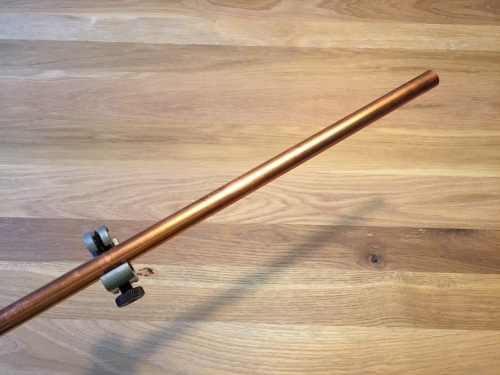
Mark the copper pipe at 9″ and at 12″. Make the cuts using a pipe cutter or hack saw.
You can customize the lengths as desired to create a unique copper pipe wall sconce.
Disassemble the socket from the cord

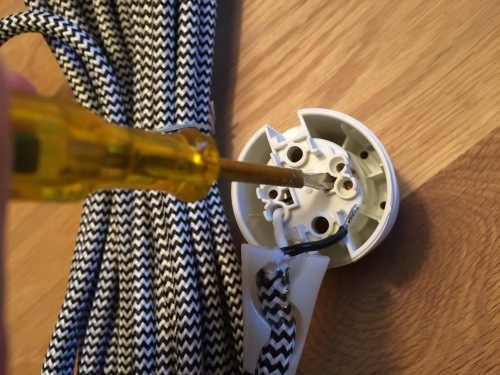
Start by unscrewing the plastic ring from the socket. I discarded this piece for aesthetic reasons. Next, take apart the socket to expose the wires. As with any electrical work, make sure the lamp cord isn’t plugged in while doing this. If you are working with the IKEA Sekond like I did, you’ll first need to use a small flathead screwdriver to release the plastic tabs so you can pull the socket away. To release the black wire from the socket, insert a mini screwdriver into the opening and push down. Hold the screwdriver in place and pull the wire free. Repeat for the white wire.
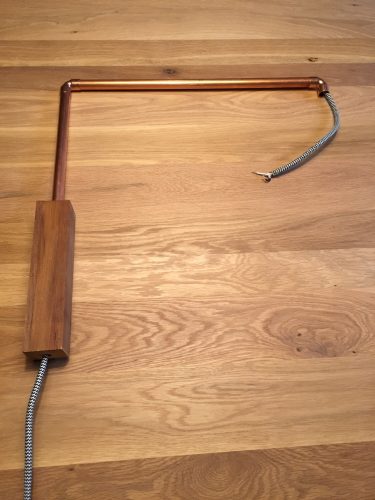
Assemble the light fixture
Insert the wires into the smaller hole of the block and pull them through the larger hole. Next slide the 12″ pipe over the wires. You will note that the pipe should easily slide into the wood block. Continue with a 90° elbow, followed by the 9″ pipe and the second elbow. Don’t connect the copper pipe pieces together until you’re done to make threading the cord easier.
Reassemble the light socket
Repeat the steps you took to remove the socket in reverse order to reattach the light socket. Screw in a vintage light bulb of your choice.
Add an in-cord light switch (optional)
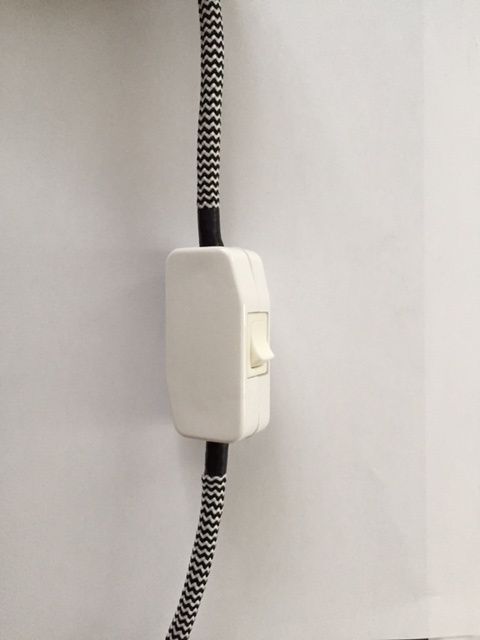 For additional convenience, like if you want to use this as a bed side lamp, you can fit the cord with a switch. See adding a cord switch in the tips & tricks section.
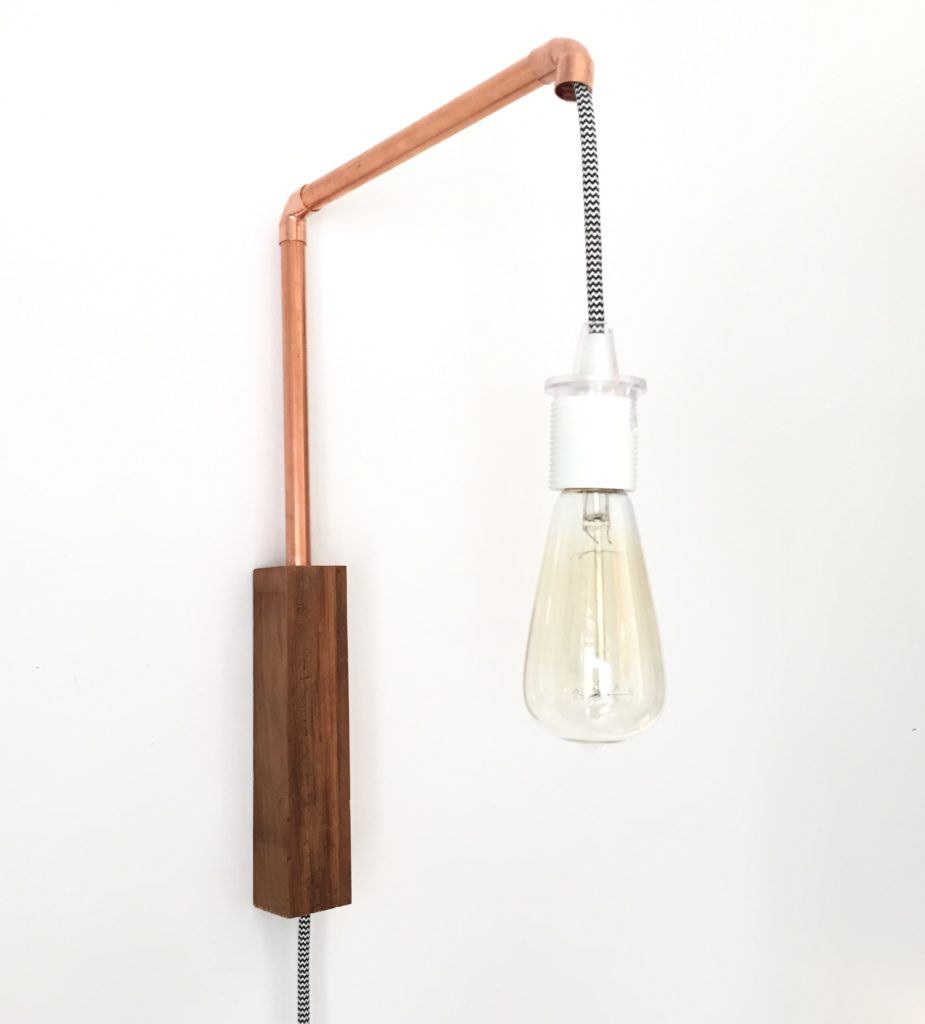
Hang on wall
I mounted the light fixture flush against the wall by simply making two small holes on the back of the wood block, one towards the top and one at the bottom. I carried the measurements over to the wall and simply used 2 nails, with the heads slightly angled upwards.
If you don’t care for a flush mount, you can use a simple d-ring frame hanger that just needs to be screwed into the wood black and hung on the wall like a picture frame.