A couple years ago I built a hexagon cutting jig that’s adjustable and can cut out hexagons any size. I have plans available for the hexagon jig, but I get a lot of requests for either a pentagon jig or an octagon jig.
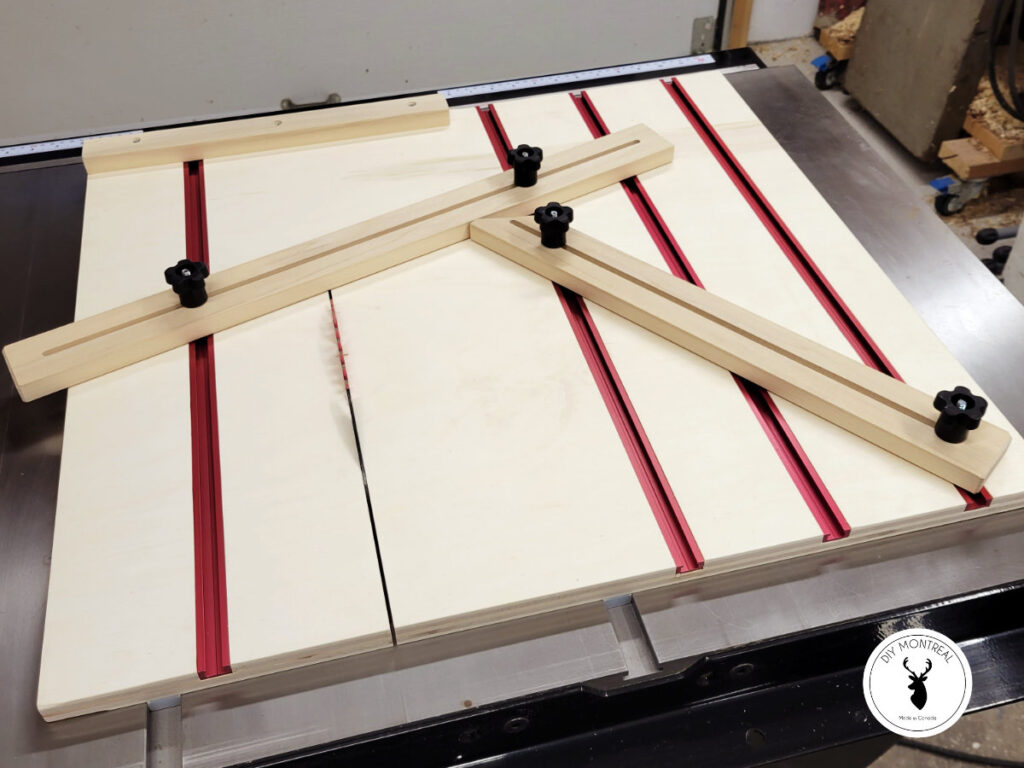
Instead of building a dedicated jig for each shape, I’m building a polygon cutting jig. With this jig, you can cut any shape you want! Cut a pentagon, hexagon, octagon or even a heptagon. Could this be the jig that does it all?
Watch on YouTube | Subscribe to my YouTube channel
Recommended Tools & Materials (affiliate links)
Get the plans!
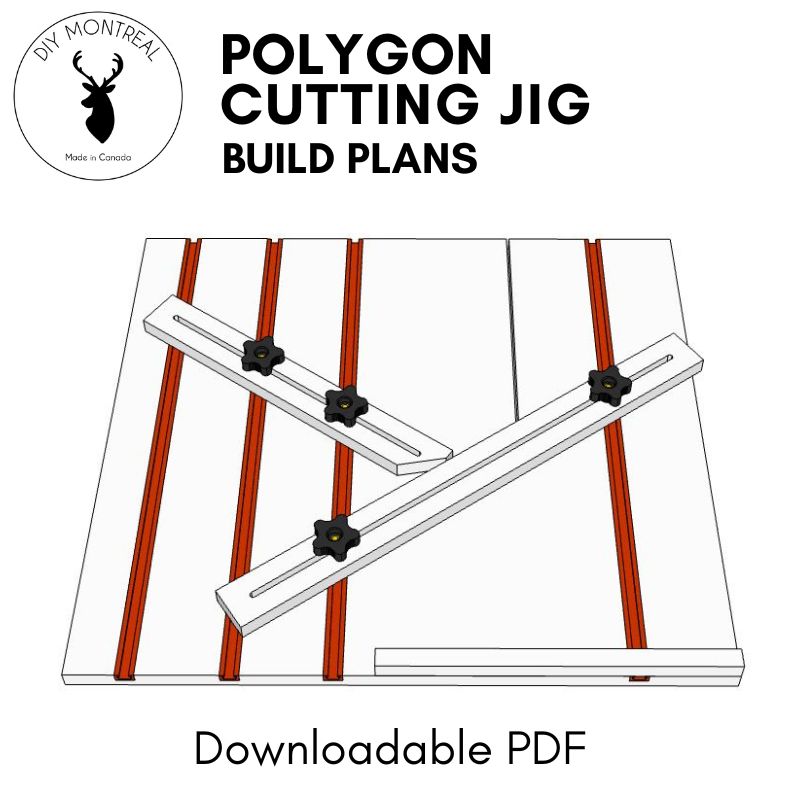
If you’re interested in building this polygon cutting jig yourself, I’ve got builds plans available. Click on the image below for more info.
Polygon Cutting Jig
In woodworking, precision is key. That’s why having the right tools and jigs can make all the difference in achieving accurate cuts and shapes. In this blog post, we’ll take a look at how to build a jig for cutting polygons.
Base and Runners
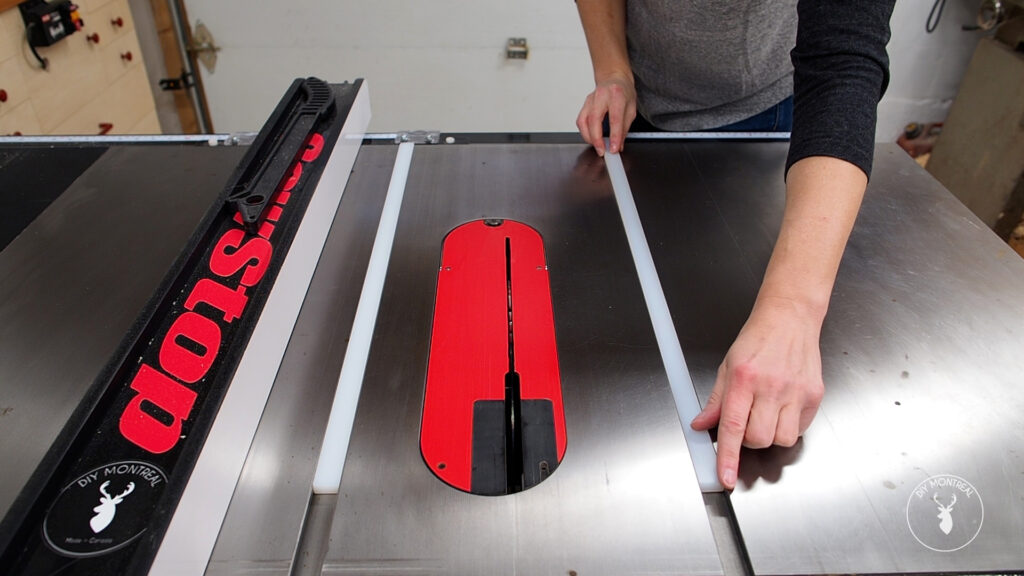
To begin, start by cutting a roughly square piece of ¾ inch plywood for the base of the sled. Once you have the base, it’s time to add runners that will slide through the miter slots on the table saw. While hardwood runners are an option, we recommend using plastic runners made from a low friction plastic called UHMW. These runners provide a perfect fit for the miter slots and glide smoothly without any side-to-side play.
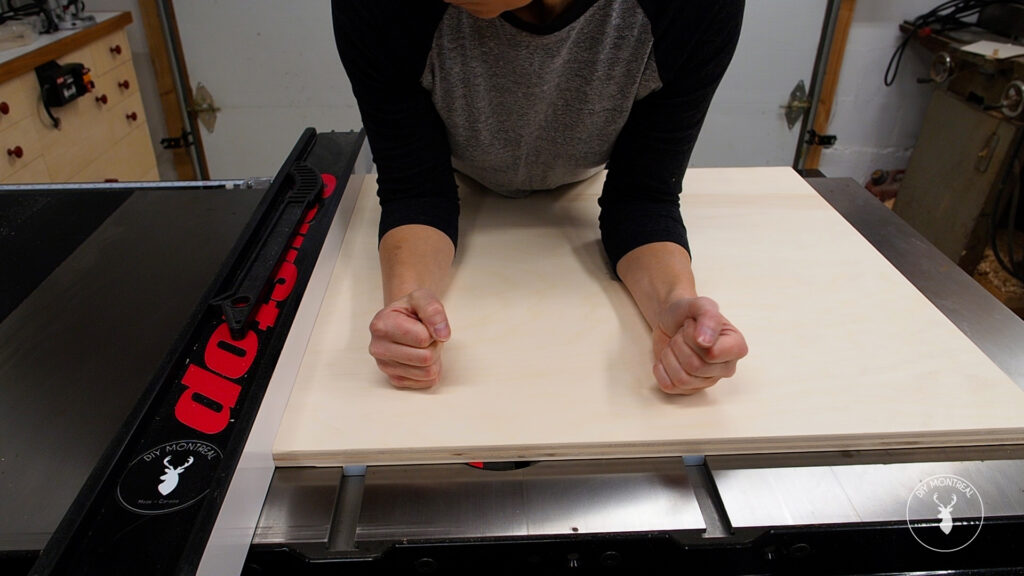
To ensure that the runners stick to the bottom of the sled, place some nickels in the miter slots, and then add a few dabs of super glue to each runner before placing the plywood base onto the runners. After pressing down for about 45 seconds, gently pull up the sled. Use clamps to keep the runners secure while you drill countersink pilot holes.
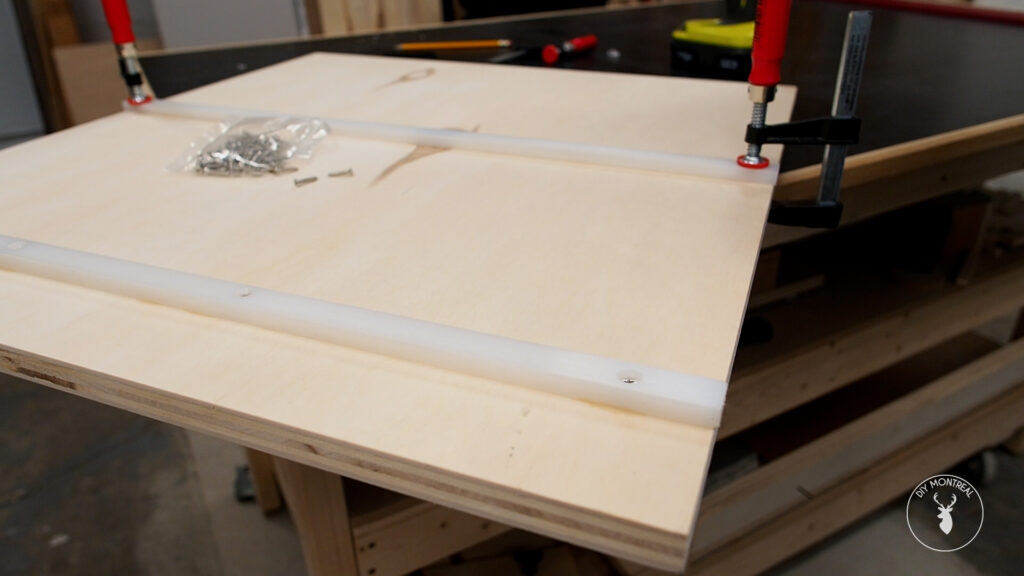
Once the pilot holes are in place, secure the runners with small screws, making sure that the heads are sunk beneath the surface. Be gentle when tightening the screws to avoid overtightening, which may cause the runners to expand and not glide smoothly in the miter slot.
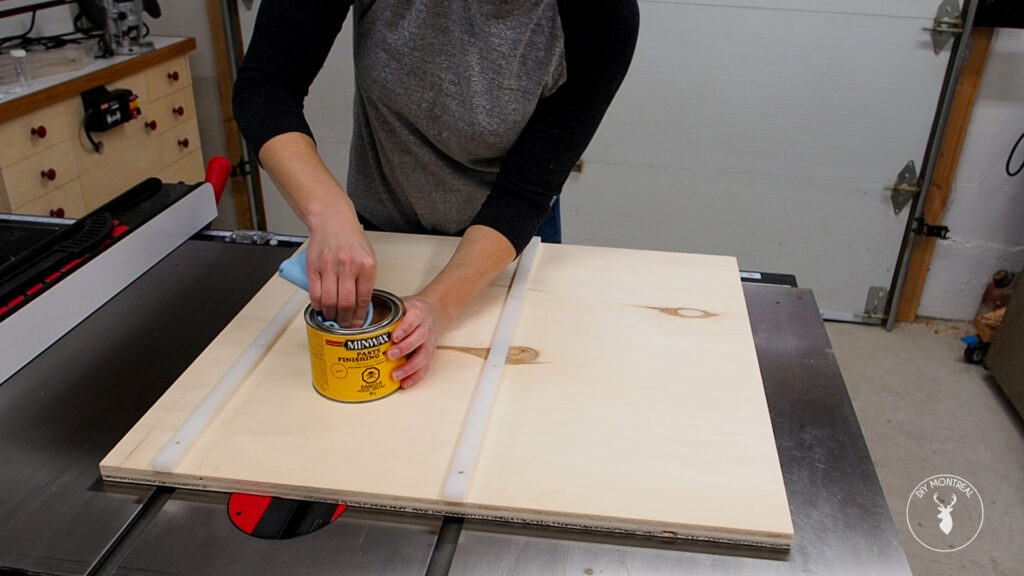
After attaching the runners, test the sled to see how it glides through the miter slots. If you find any friction points, sand down those spots, and repeat the process until the sled slides smoothly. Adding a little paste wax on the table and on the bottom side of the sled can help to reduce friction.
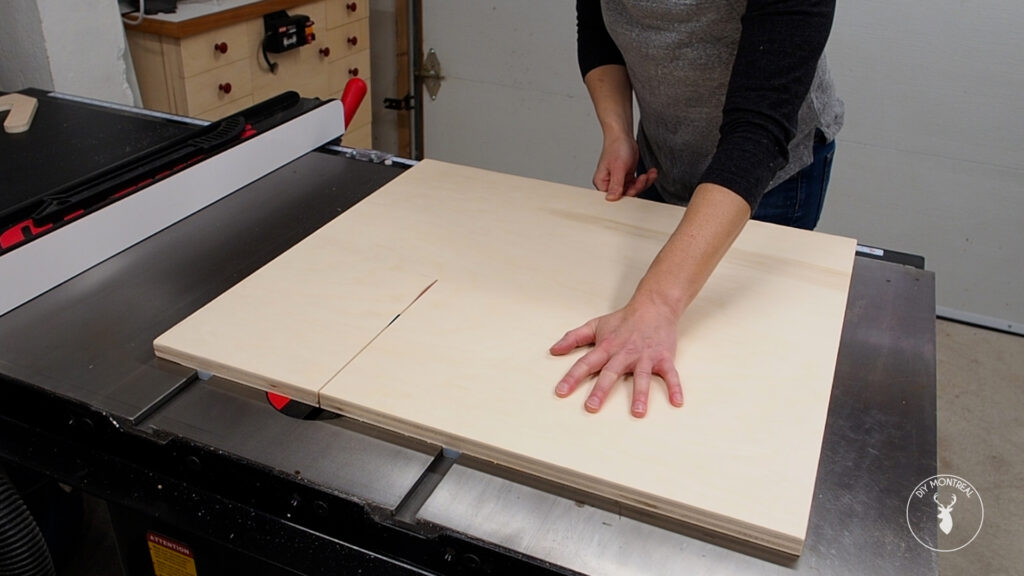
Next, you can cut a partial kerf that doesn’t compromise the sled’s integrity.
T-tracks
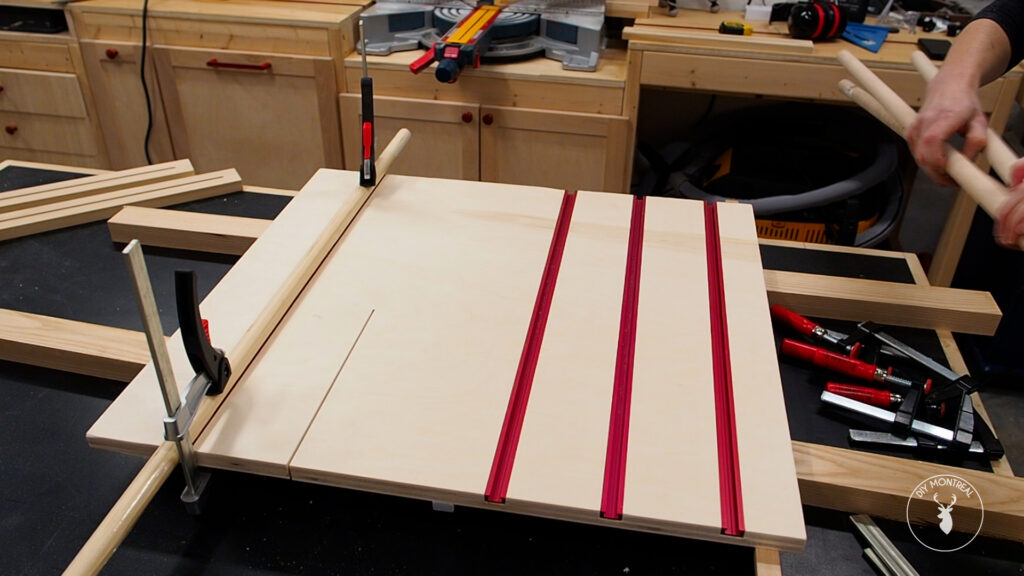
Once you have the kerf, add T-tracks to the sled at specific intervals that will allow you to position and lock down adjustable fences at different angles as needed. Mark where the tracks need to go and add reminders as to which side the track goes on so that you do not make any mistakes.
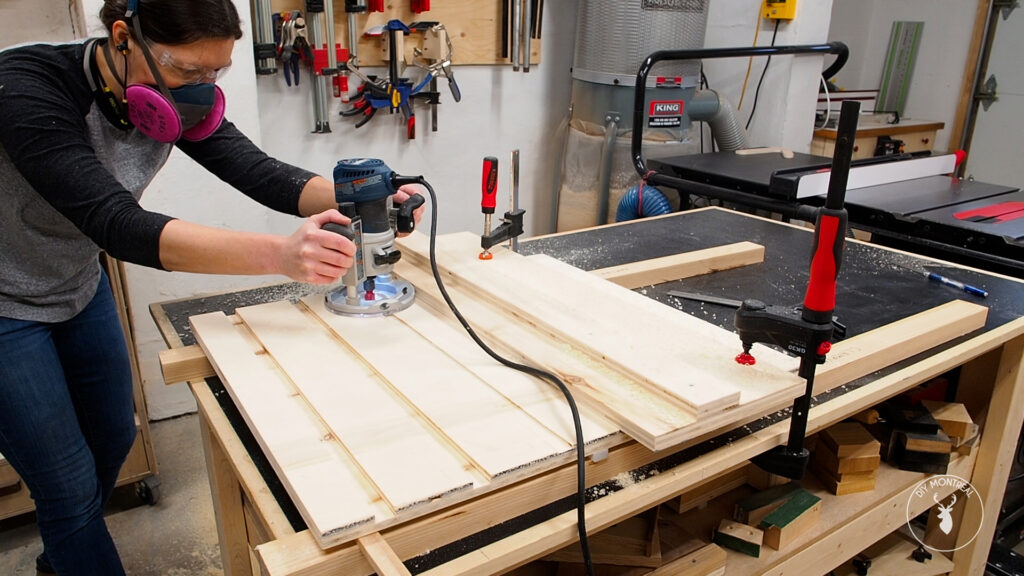
To sink the tracks into the sled, flush with the surface, use a router with a ¾ inch straight bit. To figure out your router setup, grab a scrap piece of plywood and clamp a fence to it. Then run the router along the fence and make a shallow pass. Measure the distance between the fence and the track and set the guide for your router. Use this setup to make a dado using three passes, lowering the bit by an eighth of an inch on each pass. On the final pass, set the bit’s thickness to the track or slightly deeper, so the track sits flush below the surface.
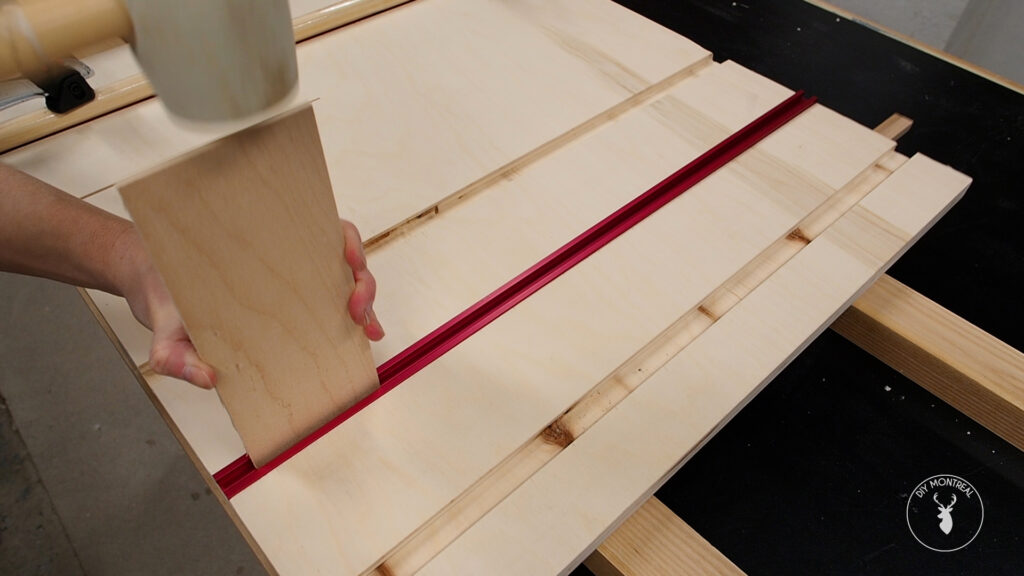
Secure the T-tracks into the slots with 5-minute epoxy. Weldbond glue is another option that holds up well. The tight fit of the tracks might require knocking them in to ensure that they are flush beneath the surface. Clamping a dowel across the track helps to apply even pressure while it dries.
Adjustable Fences
Moving on, the adjustable fences are made from hardwood and can be shaped using a router table with a quarter inch spiral bit that is ideal for plunging. A piece of tape can be used to mark a start and stop line about an inch away from the bit on each side. The board is then lowered onto the spinning bit while keeping the end of the board lined up with the start line. Push the board all the way through until the other end of the board reaches the stop line. Flip over the board, keeping the same edge against the fence and repeat. In the end, you should be left with a perfectly shaped slot.
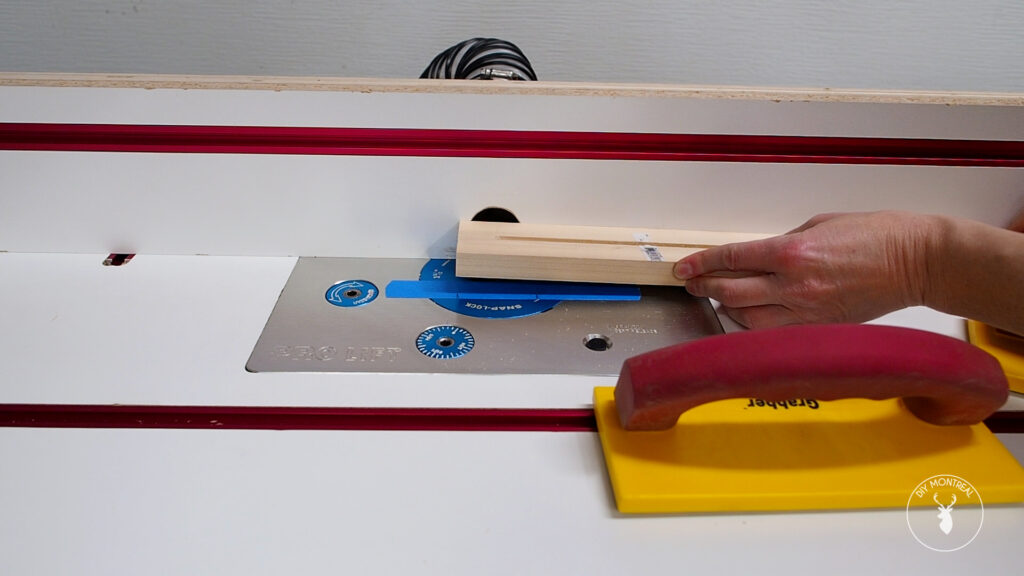
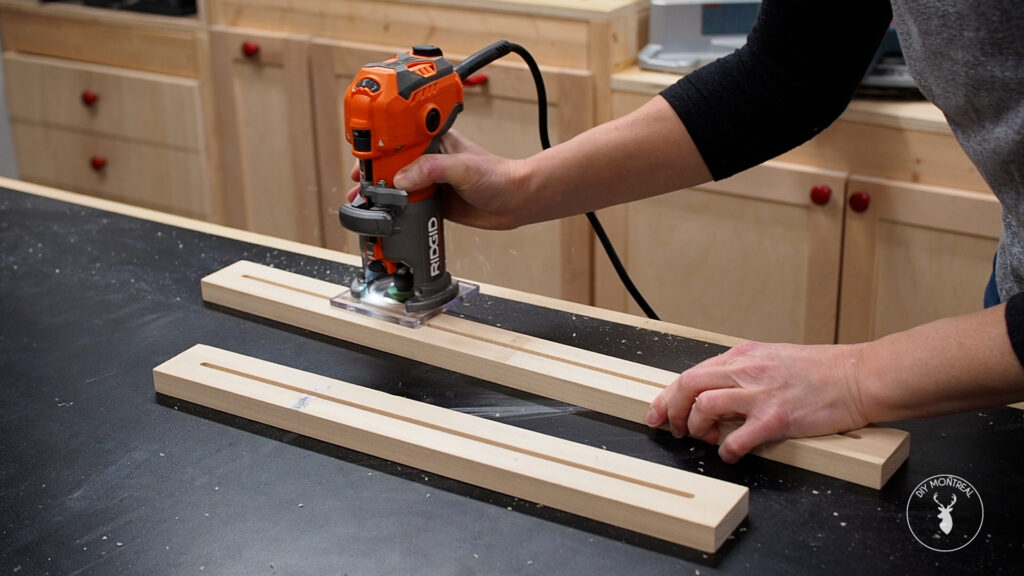
Once the slots are cut, a small chamfer is added on the bottom side to allow sawdust to escape while using the jig. One corner of the shorter piece is also cut off to make the use of the jig easier.
To assemble the jig, four T-bolts are inserted into the T-tracks. You can then drop on the adjustable fences, then add washers and star knobs to lock them down.
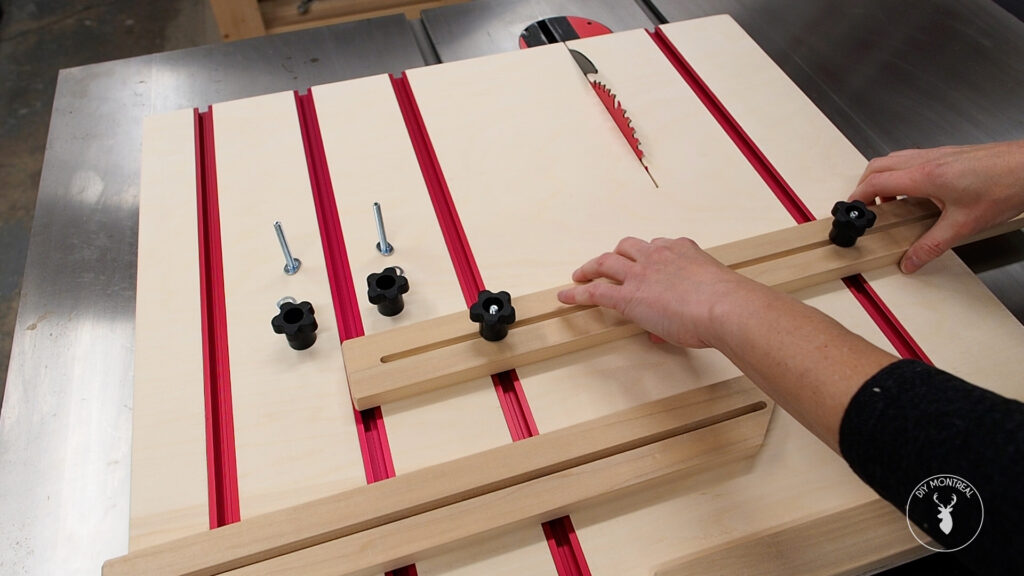
Using the Polygon Cutting Jig
Using the jig requires a digital protractor to dial in the angles perfectly. A cheat sheet for all the polygon angles is provided below as a reference. For any other regular polygon with X sides: (X-2)*180/X = angle.
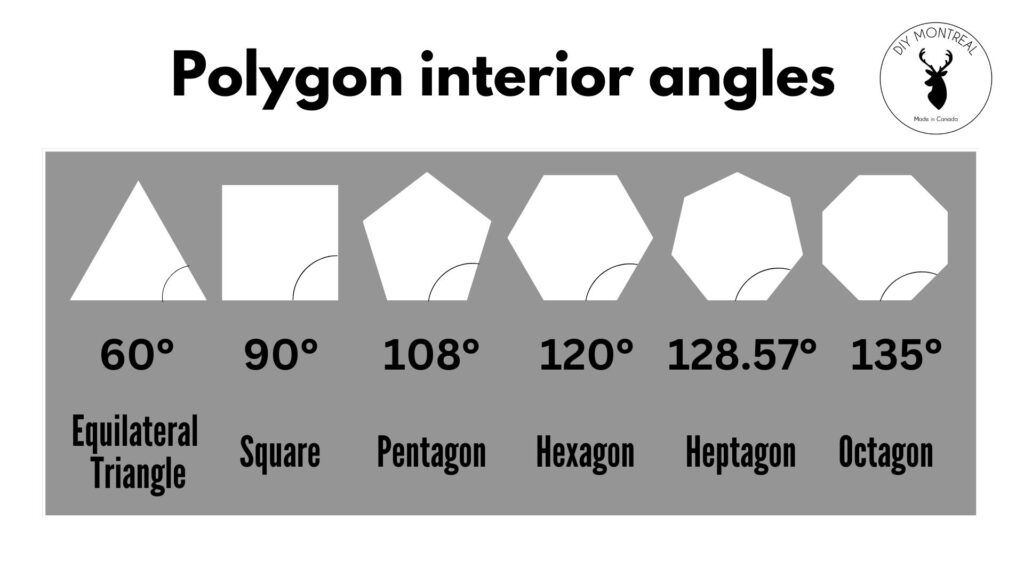
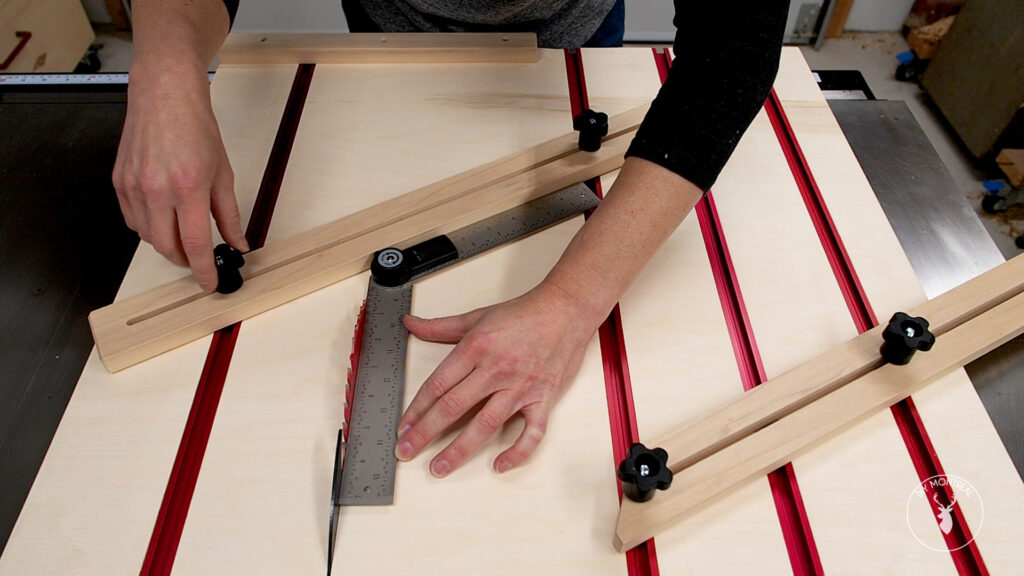
For example, to cut a pentagon, you’ll want to set the protractor to 108 degrees. The long back fence is set up first by placing one edge against the left side of the blade, and then gently butting the fence up against the other side and locking it down. The second angle is set using the first fence as a reference.
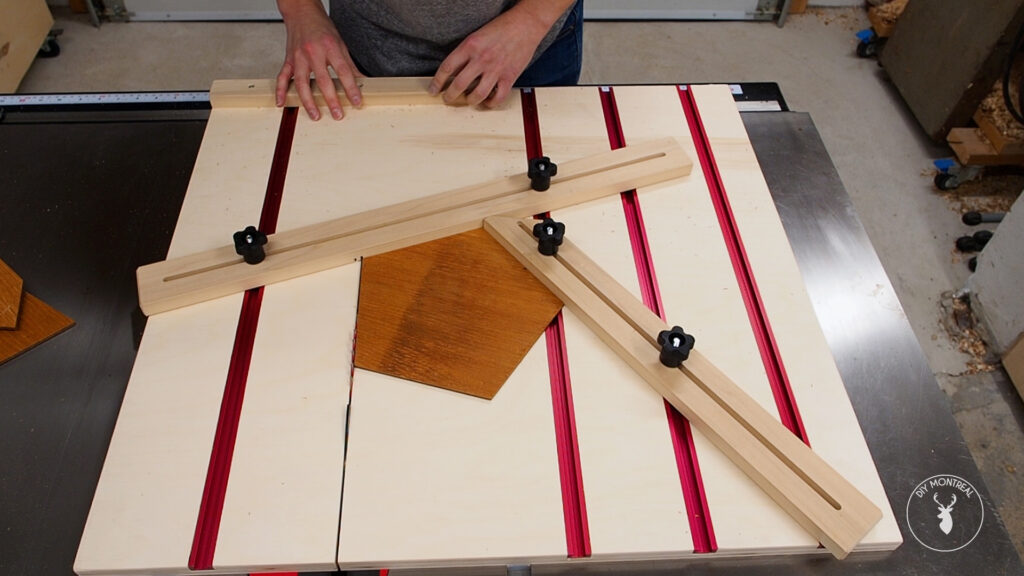
To cut the pentagon, make a first cut using only the back fence to establish the reference angle. Now the piece can be easily nested up against both fences to make the next cut. Rotate the piece and repeat until all sides are cut and you’re left with a perfect polygon.
In conclusion, this jig is a great tool for woodworking enthusiasts who want to create precise and consistent polygons in their projects. With a little bit of effort and the right tools, anyone can build and use this jig for their projects and cut precise geometric shapes out of wood with ease.

